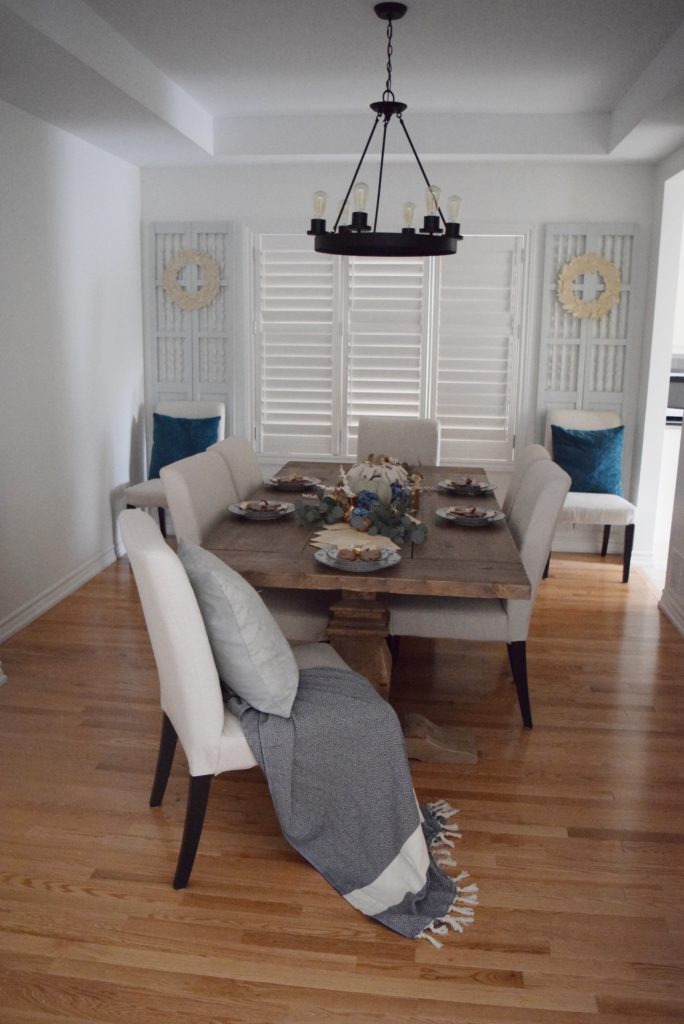
Hows it going friends? How has your week been so far? Well... its just about to get better because I am sharing a super easy and fun DIY wreath that will take you a maybe one episode of your favourite TV show (for me, it is "This is Us" - have you seen it?!?!)
What you need
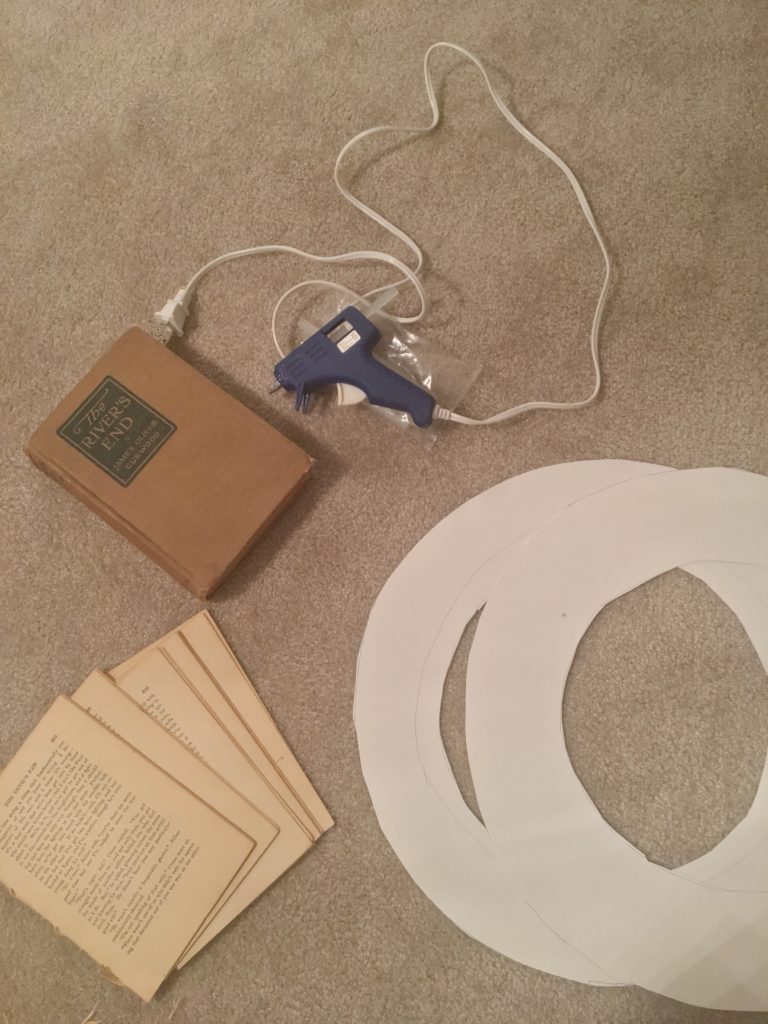
So, for this tutorial you need one or two old books - Head on over to your local thrift store and buy them for a few dollars!You can buy the cheapest ones, as we will be ripping out the pages anyway!
You will also need Bristol Board from your local craft store or dollar store. I picked up this white bristol board from the dollar store (2 for $1!)
Glue Gun with glue refills (I went through a whole pack of the glue refills)
Scissors
Box Cutter
Pen or Pencil
How to make the book wreath
Use the lid of a pot or a round charger to trace out a circle on your bristol board.. If you are fancy (or have kids who own these supplies) you can also use a compass to draw out a circle. I used a 12 inch charger I have from Ikea. Cut out the circle and freehand draw another circle inside the larger circle to create a ring. You can keep this ring as thick as you want - I kept mine to be 1.5-2 inches thick. Then use your box cutter to cut the inner circle out - I used a scissors.. didn't have a box cutter on hand, hence the ugly cutting.. hehe.
Next, rip out pages from your old books!
Freehand draw a leaf shape on a page - You can vary the sizes and shapes. I went with a simple leaf shape.. because lets be real, I am no artist and this is as artsy as my leaf drawing gets.
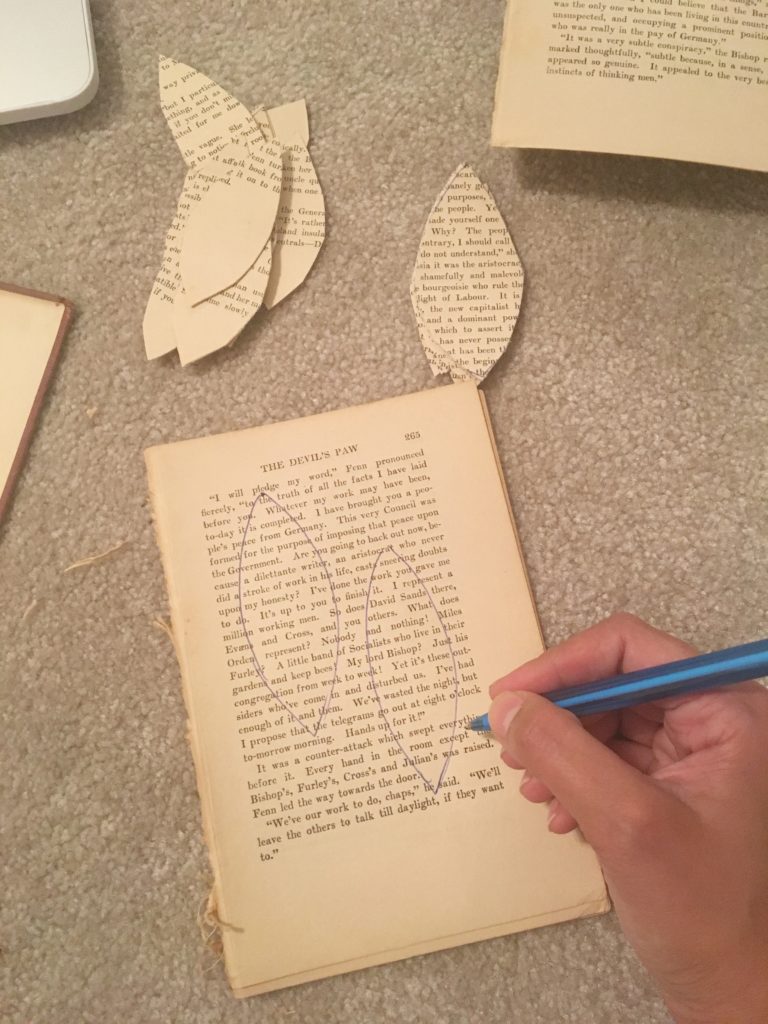
I then stacked 5-6 pages together and put my page with the leaf shape on top and cut them all out at the same time.
Once you have about 20-25 leaves, start glue-ing them onto the cardboard ring. Make sure you glue them going in on direction. Also don't glue the whole leaf - put glue on the bottom part of the leaf (the section that would be closest to the imaginary stem) and glue there - that way you will be able to "fluff up" your leaves and add texture.
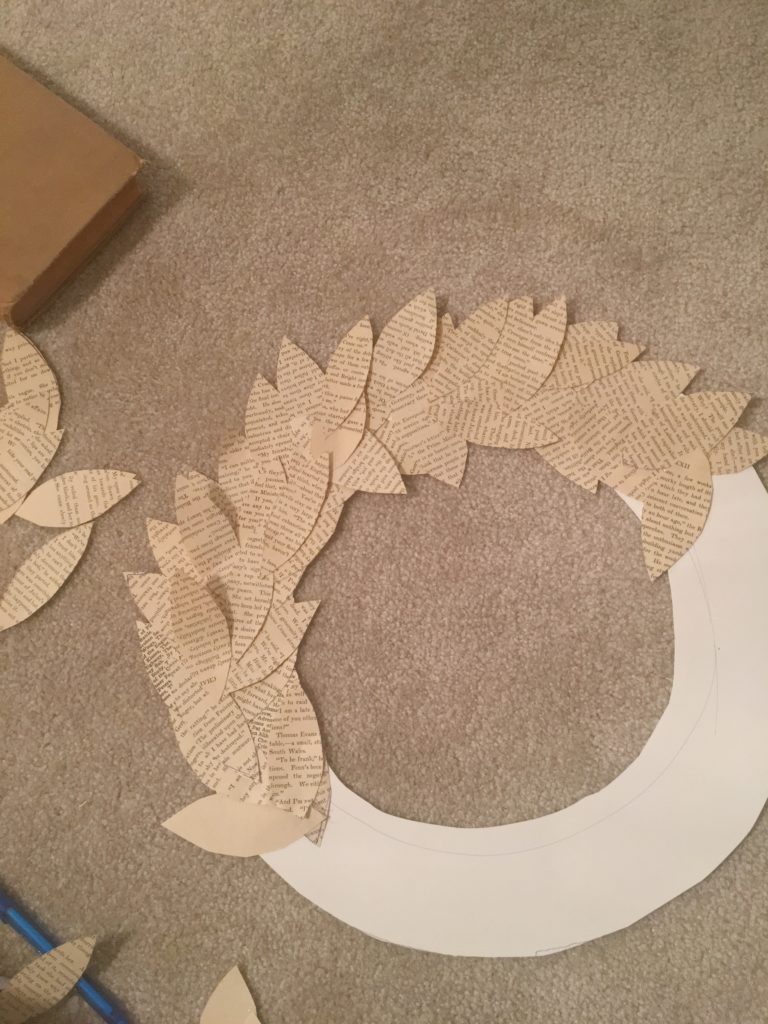
Once you have your first layer on, you can start layering your leaves until you have achieved the fullness you want - I did 2-3 layers and bent the leaves to "fluff" them up as I went along.
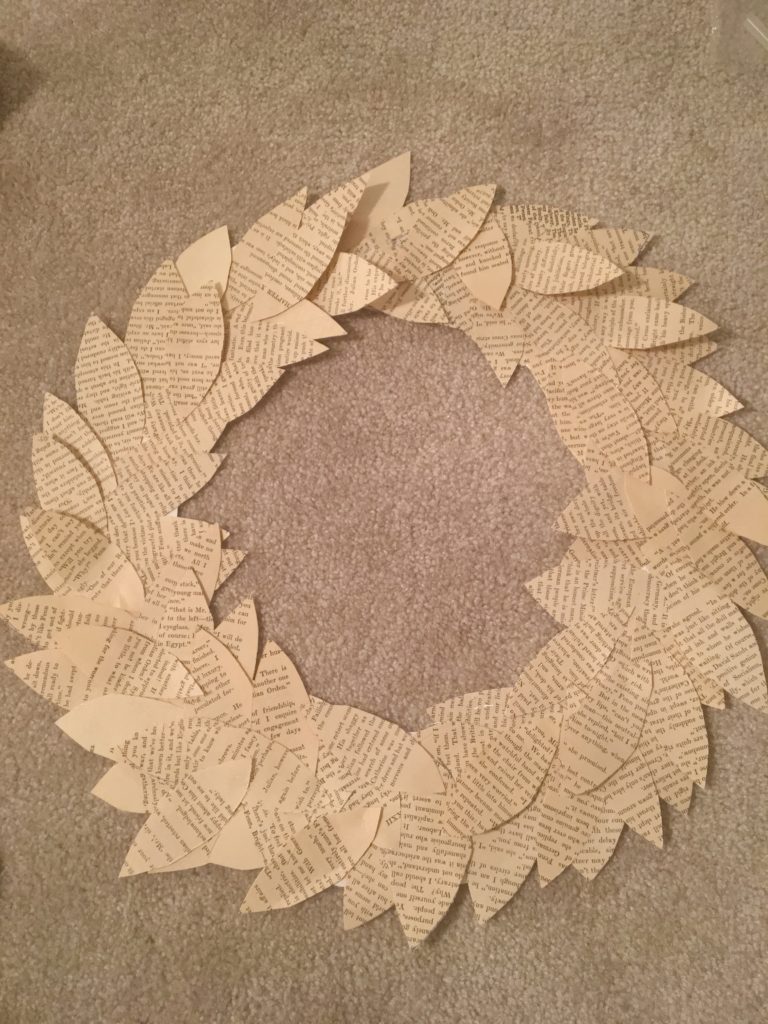
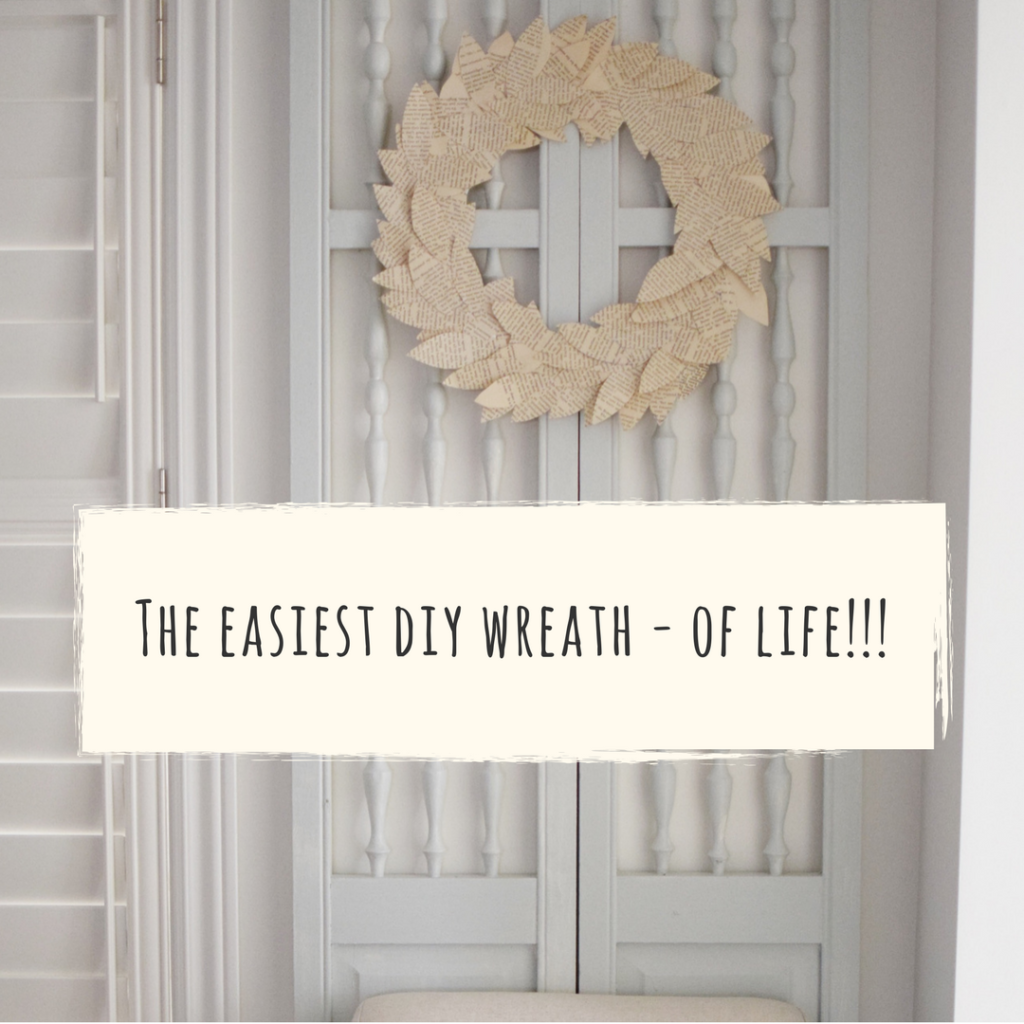
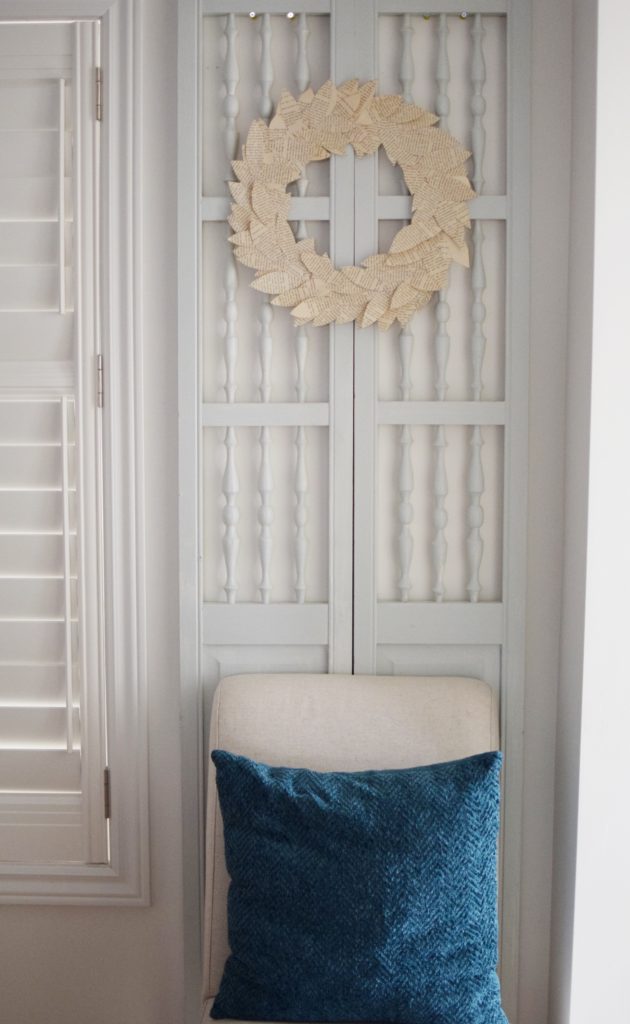
And thats it.. easy right? I hung them in my dining room on these bifold shutters I salvaged and repainted in Sherwin Williams Sea Salt. My dining room tablescape was inspired by vintage books [Check that out HERE] so these added the perfect book-themed accent and I had all the supplies at home.. so were pretty much free!
SOURCES
Don't miss a single post from Mint Candy Designs!
Other Posts You May Like
-
Easy Pakistani Chicken Curry with Potatoes
-
Creamy No-Bake Tiramisu
-
Matar Pulao/Peas Pilaf and Fluffy Rice Hack
-
Easy DIY Abstract Art with a Thrifted Frame
-
Sindhi Style Aloo Kachri
-
A Weekend away at Hockley Valley Resort
-
Easy 20 minute Butter Chicken
-
A fun weekend away with Kia Canada
-
Easy Weeknight Shrimp Tacos with High Liner Oven Crunch Shrimp
-
Fall Sweet Potato and Carrot Curry Soup
-
One Room Challenge Fall 2020 – Playroom Makeover
-
DIY Scrabble Tile Coasters with Krazy Glue
-
Whimsical Fall Porch Decor
-
How to Choose Outfits for Fall Family Photos
-
5 Easy Fall Outfit “Recipes”
-
Glass and Brass Fall Tablescape
-
Brilliant Colors of Fall Home Tour 2020
-
DIY Copycat Pottery Table Lamp
-
Jewel Toned Fall Entryway Decor
-
How to Choose Prints for your Home
-
5 Ways to Update a Builder Bathroom
-
3 Tips to Style a Console Table
-
Spiced Almond Milk or Sindhi Thaadal
-
Pakistani Slow Cooked Nihari
-
Amazing Summer Basil Pasta Salad
-
Custom Trim Accent Wall Entryway
-
My Clinical Psychology Journey – Part IV
-
Pandemic Lessons and Mindfulness
-
Make it yourself at home: Instant Pot Yogurt in a Jar
-
Master Bath Makeover
-
Favourite Ontario Farms to Visit in the Summer
-
Spring ORC – Board and Batten Hallway Makeover Reveal
-
A Quarant-EID Dessert – Dulce de Leche dessert jars
-
Dairy Free Kheer/Rice Pudding – a twist on the classic!
-
Stay at Home Eid Tablescape
-
Kitchen Upgrade on a Budget!
-
Crispy Pakistani Pakoray – My all-time favourite snack
-
Free Ramadan Printables for Your Home and Kids!
-
Your Favourite Coffee Shop Recipes – At Home!
-
Quarantine Spring Home Tour
-
Cinnamon Honey Almond Butter with Pink Salt
-
Easy and Spicy Biryani
-
We got a cat and here is what we have learned!
-
DIY Valentine’s Day Gift with Old Crayons for your Toddler’s Classroom
-
My DIY Journey – How I got started in the DIY world.
-
First Licensing Exam – DONE!
-
Instagram Break for the soul and goodbye to 2019 and the last decade!
-
5 Minute Makeup Tutorial!
-
How to Host a Sweat Free Party!
-
One Room Challenge Week 6 – Office Makeover Reveal
-
One Room Challenge | Week 5
-
One Room Challenge – Week 4
-
One Room Challenge – Week 3
-
The Endy Mattress – My 100 Night Review
-
One Room Challenge – Week 2
-
One Room Challenge -Week 1
-
My Clinical Psychology Journey – Part III
-
DIY $50 Skinny Board and Batten Feature Wall
-
Liyana’s Transition to a Big Girl Room!
-
My Clinical Psychology Journey – Part II
-
A Moment in Time
-
When in Calgary….
-
Old Navy Spring Haul
-
A Letter to Liyana
-
National Geographic Kids – “Weird But True!” Book Review
-
DIY Rose Water Sugar Scrub with FREE PRINTABLE
-
My Top 3 Secrets to How I Get ANY Thing Done while Working From Home
-
Autumn Home Tour
-
Falling into Autumn Tablescape Blog Hop
-
DIY Framed Faux Shiplap
-
Fall Entryway Blog Hop – Mint and Cotton Fall Entryway
-
Easy Peasy Fall Arrangement
Leave a Reply