
Every DIY blogger has been making DIY fluted furniture since last year and I am a full year late to the trend. I decided to finally get on trend and make a DIY fluted nightstand with an old nightstand in the basement! I have seen some talented friends recreate the fluted/reeded look on a coffee table, ikea dresser, and even on an Ikea nightstand. I wanted to recreate the same fluted look on a nightstand that I have sitting in my basement from a few years ago. This was originally chalk painted in a beautiful gray, but over the years has worn down and ultimately ended up in the basement.
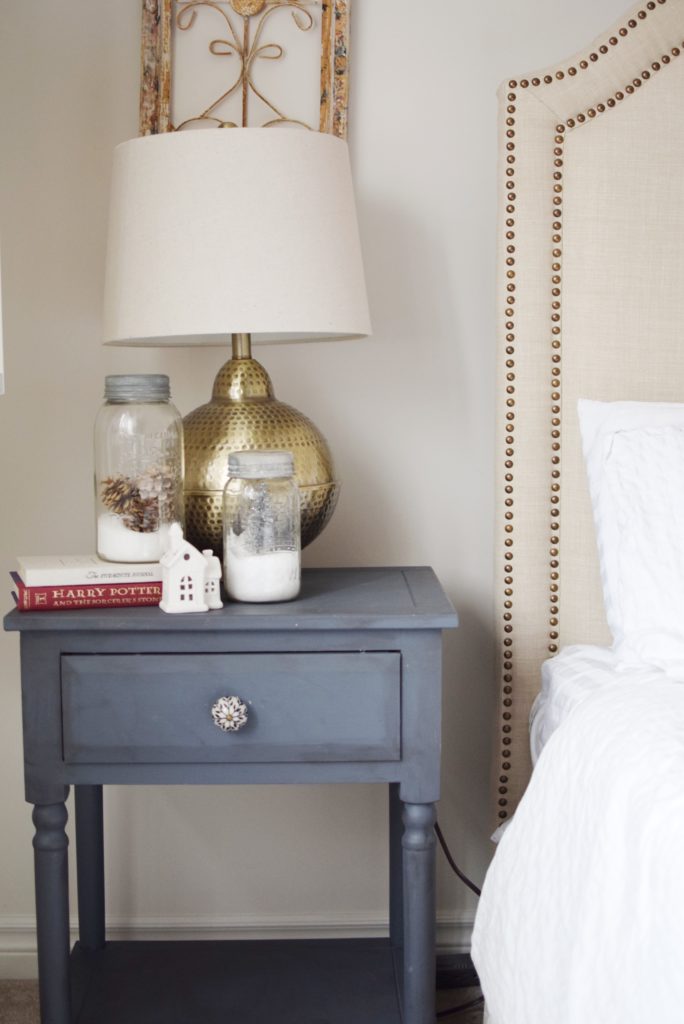
I decided to haul this shabby nightstand back up and DIY it to give it this fluted look that I so wanted for Liyana’s rainbow room that I am working on.
Now, here is the real problem. Every single piece of DIY fluted furniture I have seen has used trim work that is sold on Amazon by a particular brand. Given the recent trendiness of this style of furniture, the amazon seller has tripled the price. And given that I want to be as thrifty as possible, I am not spending $30 per piece of trim to makeover a nightstand.
Instead, I opted for a beautiful pine trim in a half round shape by Metrie that can be purchased at Lowes. I used a bit more than one piece of trim and I actually did not purchase this – it was gifted to me by them.
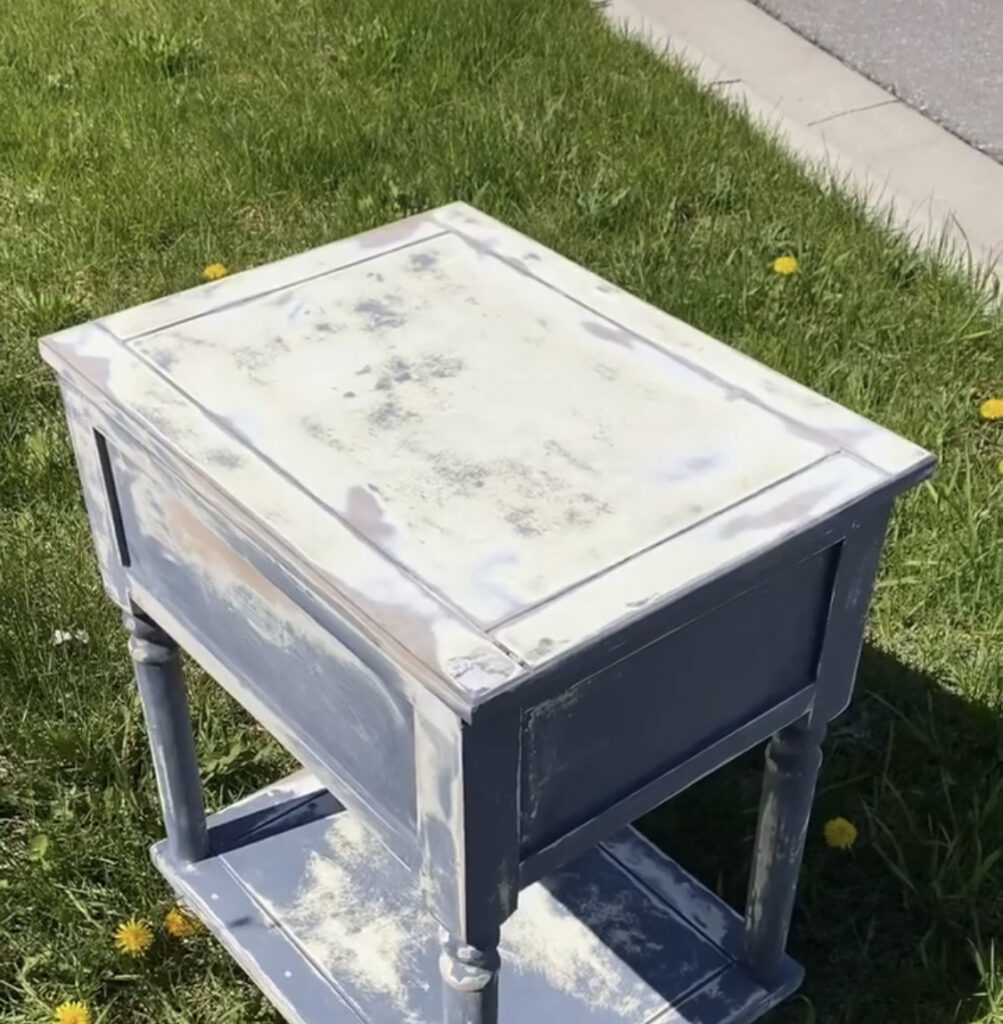
Step 1: Sand the Nightstand
To work on the nightstand to make it fluted, I first started by sanding the nightstand down. Since this piece had a layer of chalk paint on it, I had to sand it down quite a bit. You want to sand just enough to create a surface that will allow for the primer to adhere. That does not mean that you need to remove every single chip of previous paint!

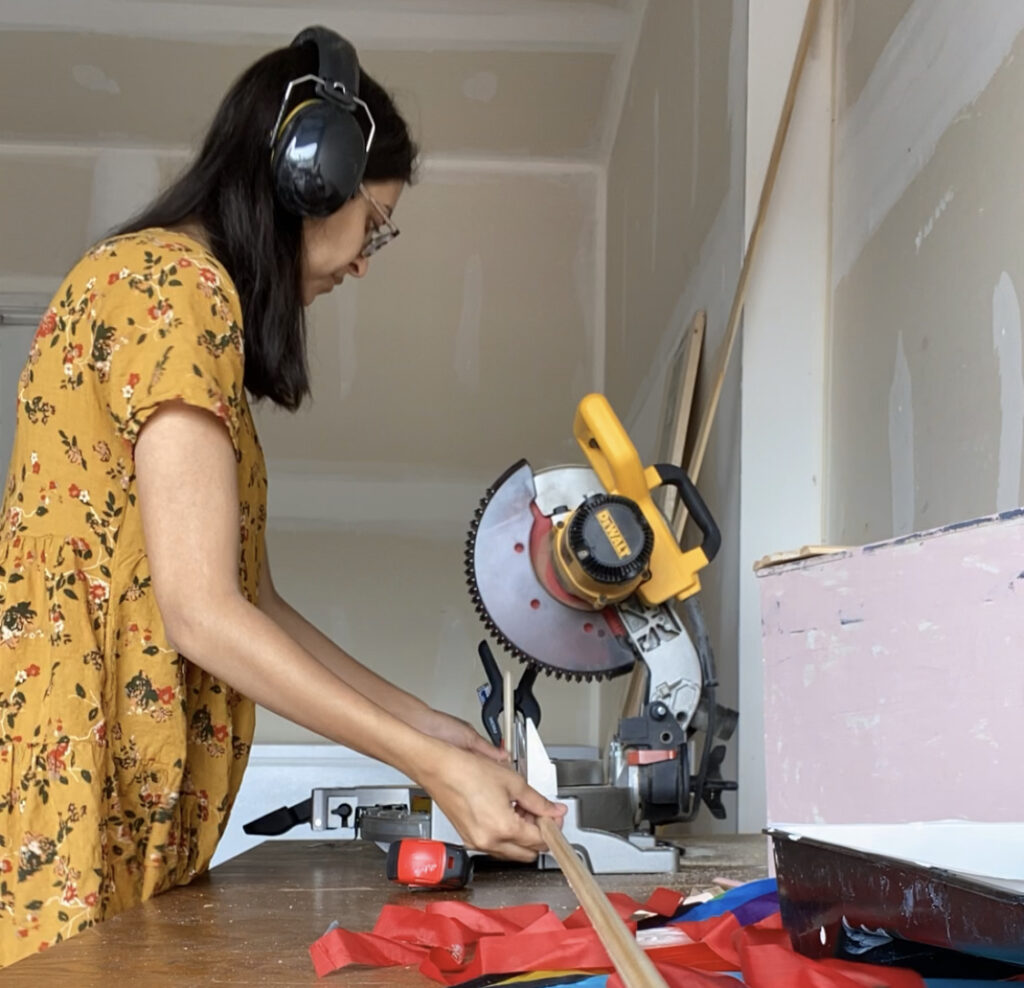
Step 2: Cut the Fluted Trim for the Nightstand drawer
Next it’s time to start cutting. This measurement had to be precise—our drawer height was 5″ and I had only one drawer!
Most importantly, each piece had to be cut to exactly the same size. Here’s a neat trick to do this: make a stop block on your miter saw, using a scrap piece of wood and a clamp (the clamp came with our saw)
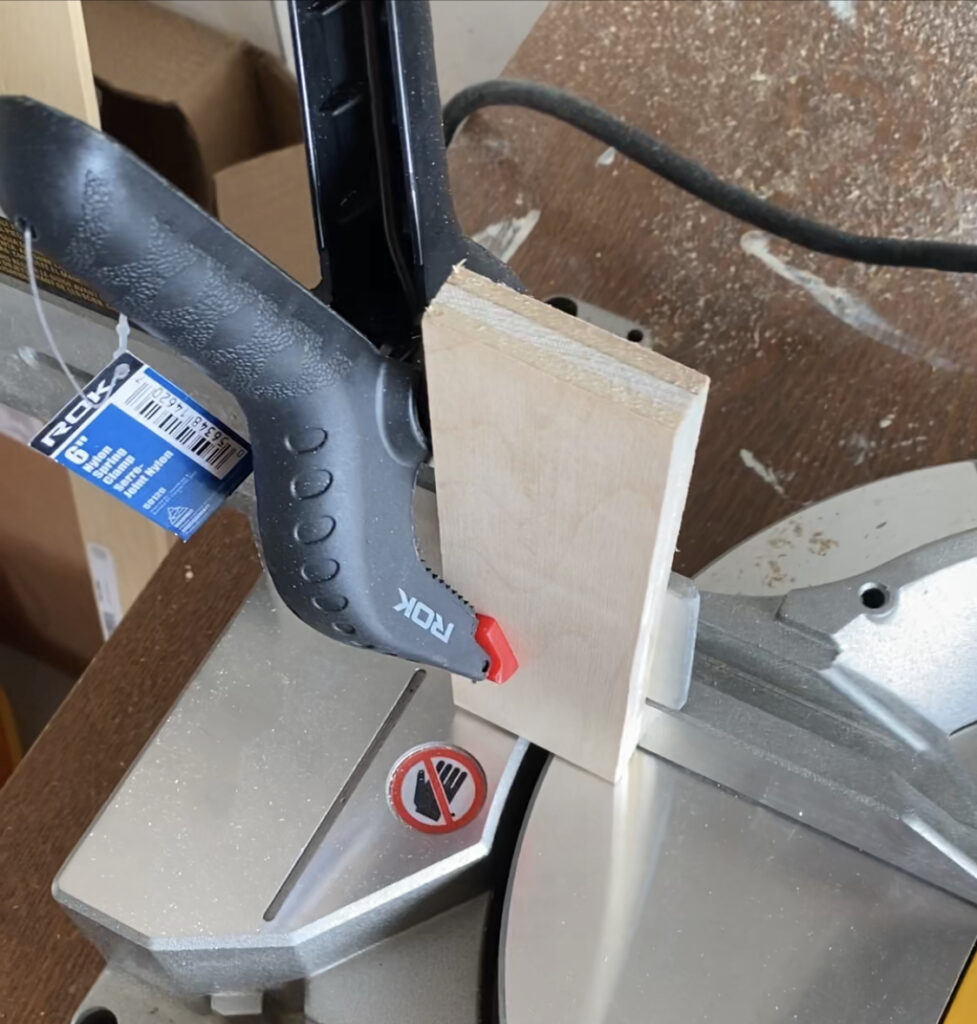
This eliminates the need to measure each time and will ensure they’re all exactly the same length—pretty cool, huh? It only took a few minutes to cut them all! It took me a grand total of five minutes to do this step!
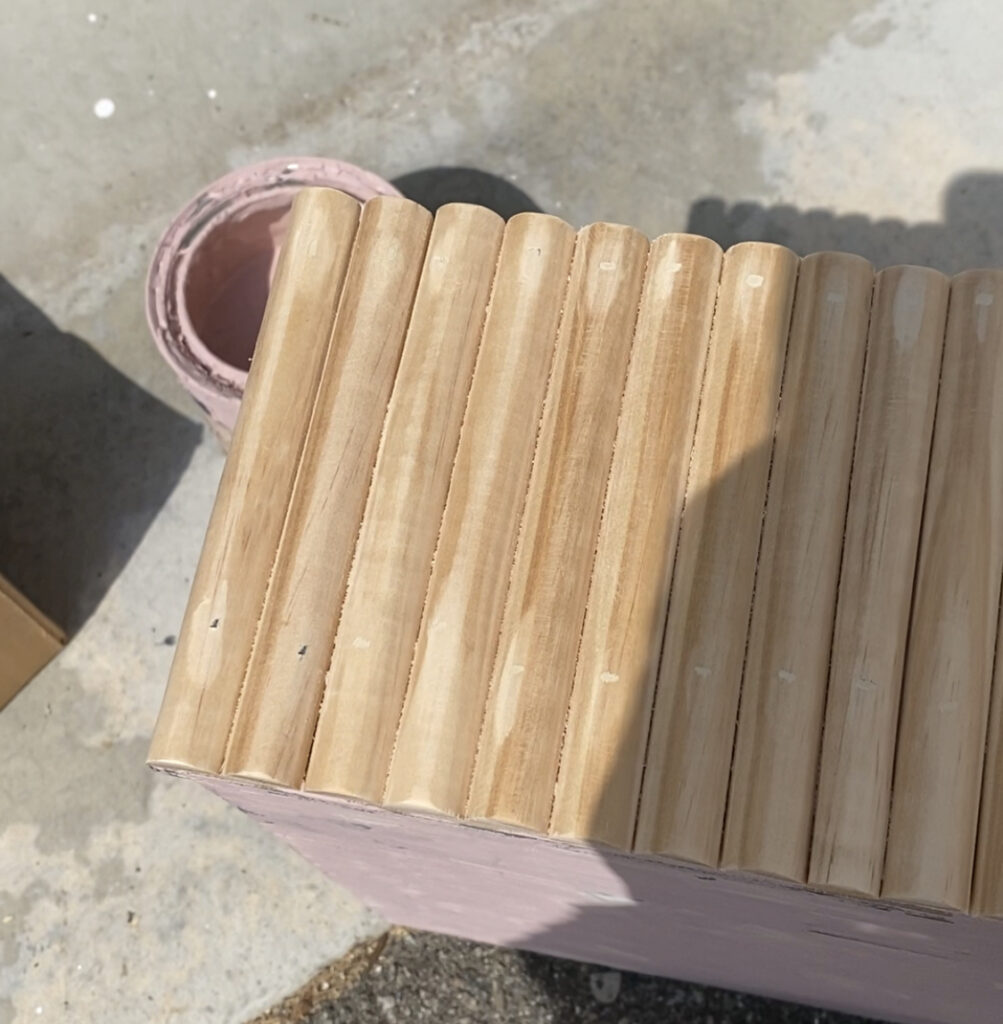
Step 3: Glue or Nail the Trim
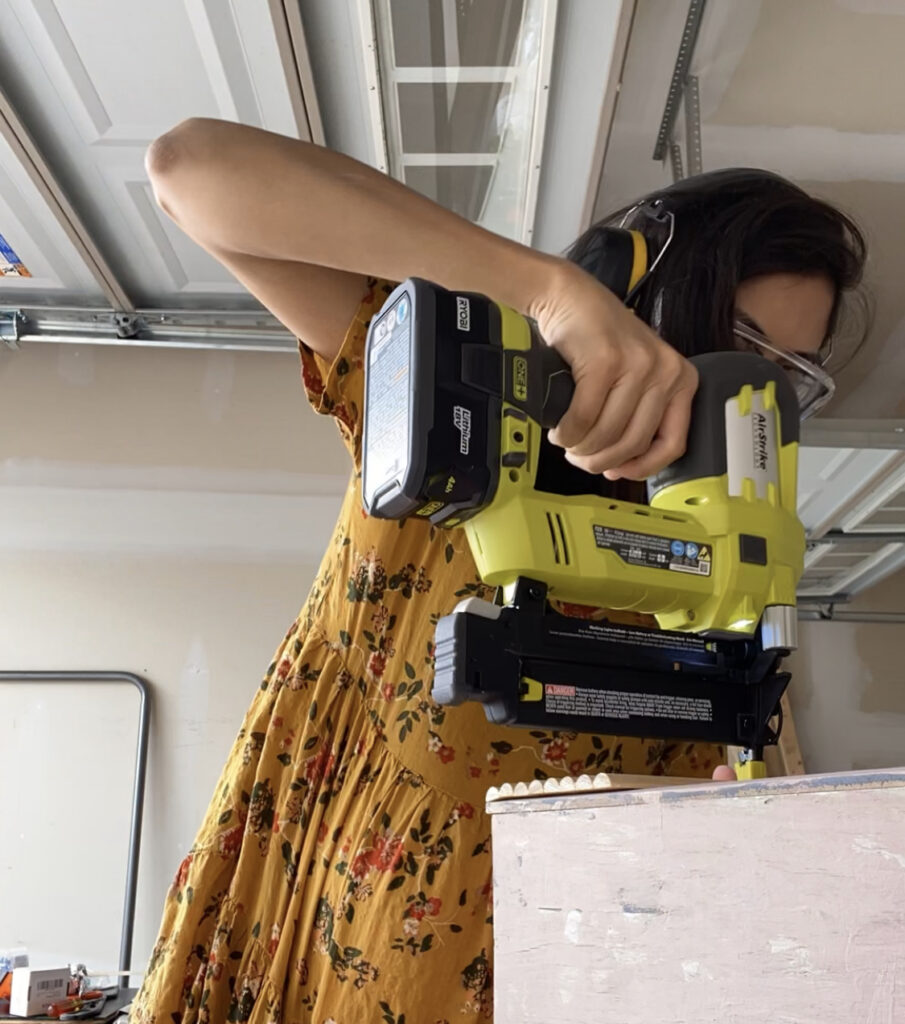
Since I am using a solid wood trim, I used our Ryobi AirStrike Brad Nailer with 3/4″ nails to nail each piece of trim in. Initially I had planned to glue each piece and clamp it down but it seemed way faster to nail the dang pieces of trim! I filled in the nail holes in a few minutes with this DAP Canada wood filler.
Step 4: Prime and Paint
Here, I used this Zinnser primer that came highly recommended. The thing with this primer is that a little goes a long way AND it dries fast! I used a small brush (this is my favourite brush!) to prime the nightstand. If you are priming a larger piece of furniture, you can also use a roller.
Once the primer is dry, I used the same brush to paint on my choice of colour. This is the beauty of sanding, priming, and painting a piece of furniture versus chalk painting (which I also lovee!!) – the world is your oasis in terms of colour choice. I am using the colour Rose Bisque by Benjamin Moore in the Regal Select Line in the Ulti Matte Finish. I will use the same exact colour on the walls of the room for a fun accent wall that I am working on so stay tuned for that.

Step 5: Attach Hardware
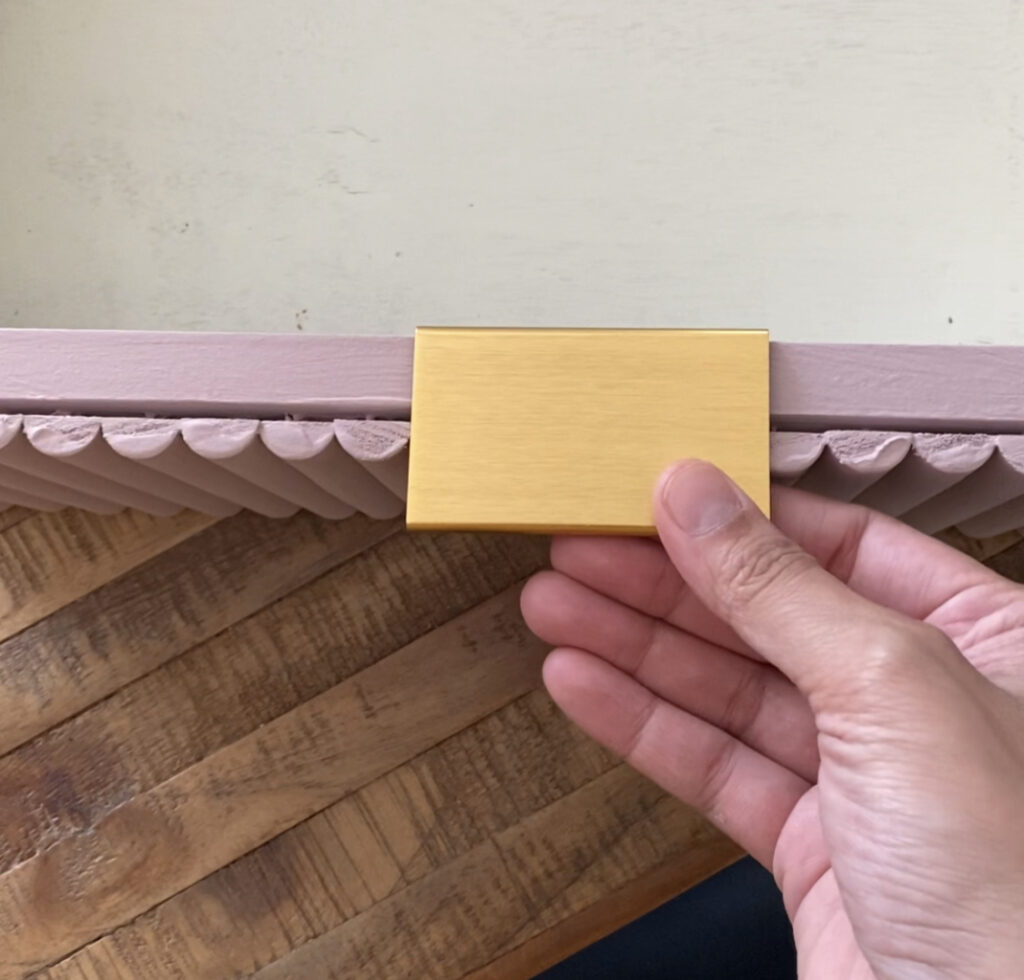
Next, to complete the DIY fluted nightstand, I attached the hardware. I had purchased these flat centre bar pulls from Wayfair for another project, and used one here! Since the trim was an exact measurement to the heigh of the drawer, I did sand the trim a tiny bit to accommodate the drawer pull fitting on top of the trim AND sliding into its spot.
And here is the finished DIY fluted nightstand!
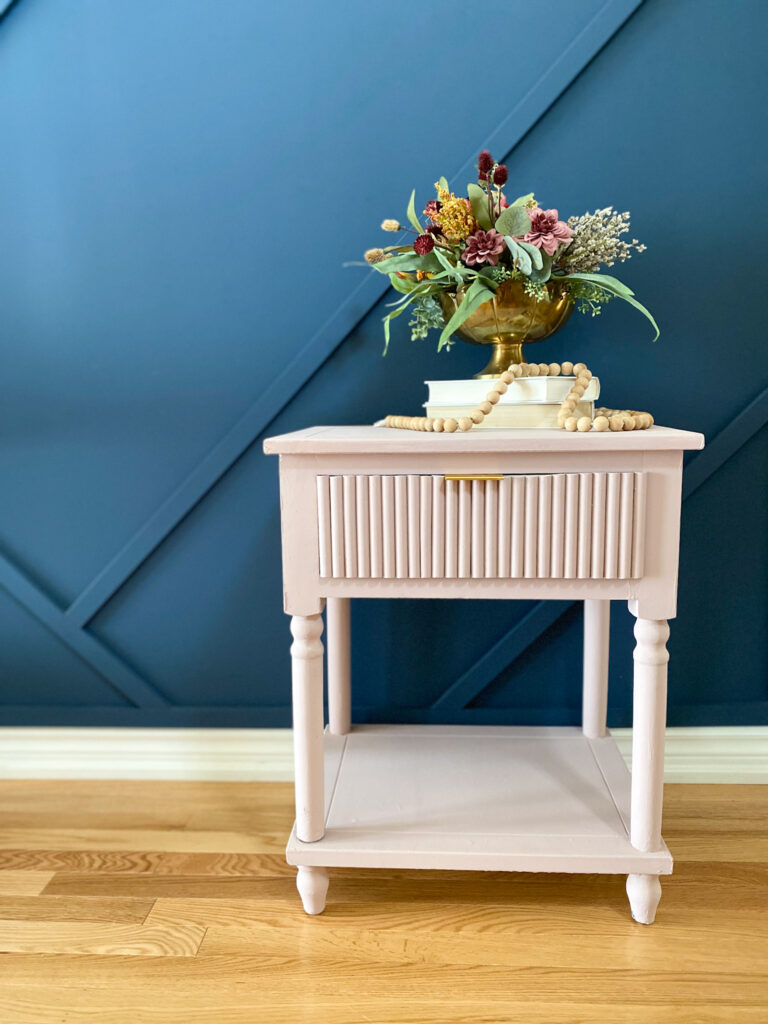
I think it turned out really cute!
PIN THIS POST FOR LATER


Leave a Reply