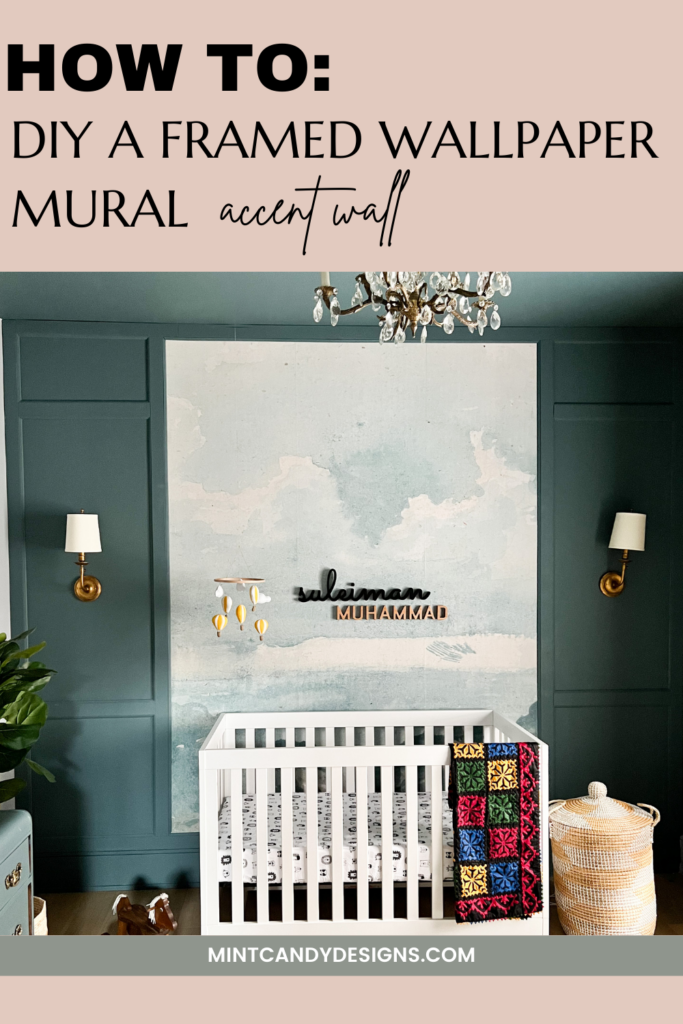
I have been working hard on the nursery makeover over the last few weeks – if you recall we first painted the nursery and I went with a dark ceiling for the room! Now it is time to install the Watercolor Blue Grey Cloud Wallpaper mural that I received from Anewall as part of a collaboration.
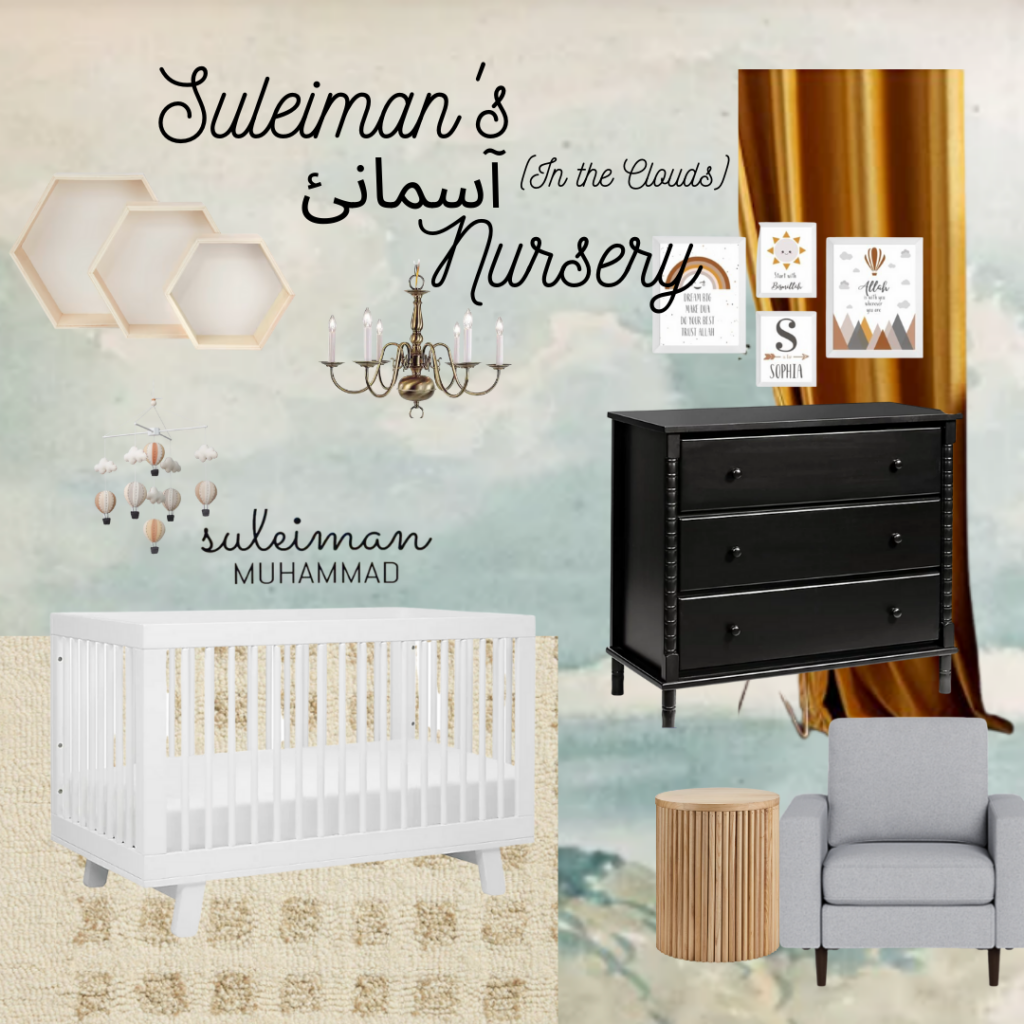
I loved this wallpaper a lot but I felt that I needed to add something to it! I have loved the look of framed wallpaper panels as done by so many before (see here and here) and wanted to have this as the main feature wall of the nursery.
Materials Needed to Create a Framed Wallpaper Mural Accent Wall
- 8 pieces of 1/2-inch x 3 1/2-inch x 96-inch Modern MDF Painted Decosmart Fibreboard Baseboard Moulding (exact number of boards may vary based on wall measurements)
- 10 pieces of PVC cove moulding (exact number of boards may vary based on wall measurements)
- 18 Gauge cordless brad nailer
- 2 inch 8 gauge brad nails
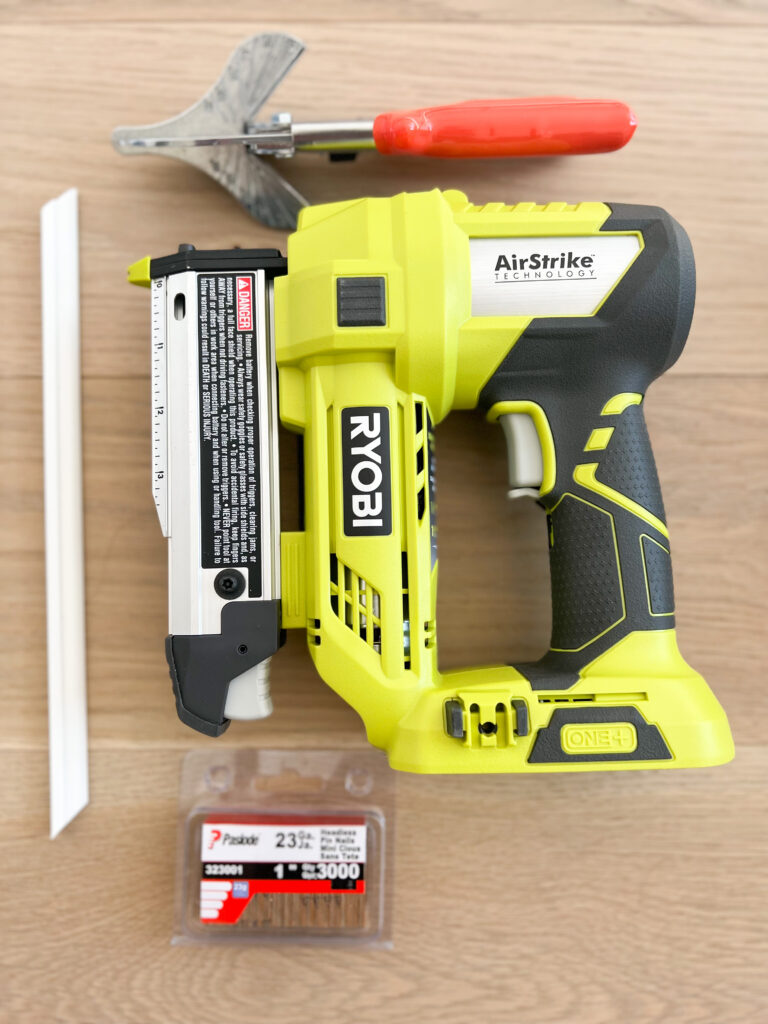
- 18 gauge cordless pin nailer + pin nails
- Miter Saw
- Miter Shears
- Caulking
- Caulk Gun
- Mural Wallpaper

How to Create a Framed Wallpaper Mural
- I first started off by drawing the framed look I wanted to acheive for my wallpaper mural and having the measurements of my wall there. This allowed me to create a visual for the framed wallpaper mural and figure out roughly how many cuts I would need to make for my mdf boards.
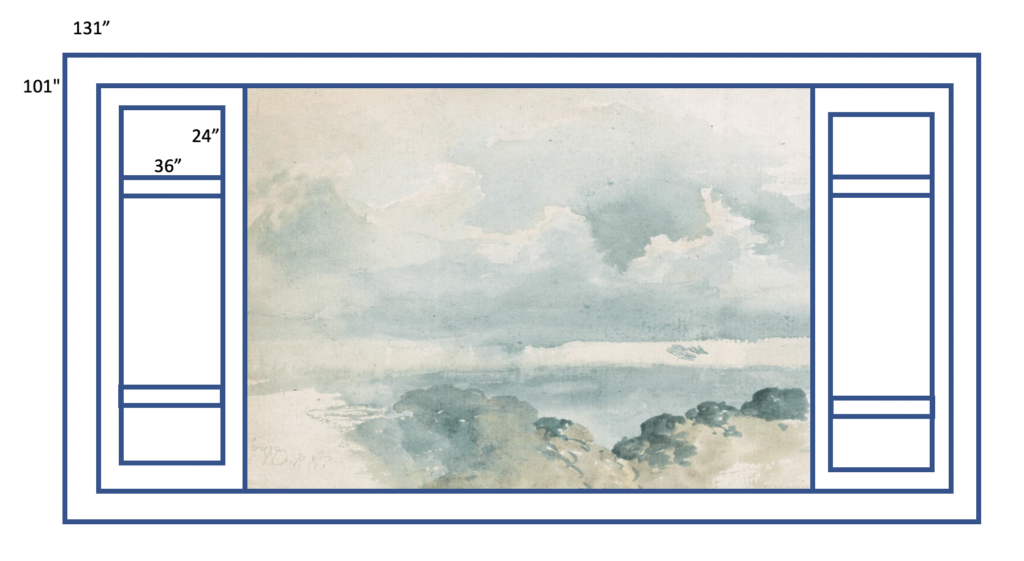
2. I started out by framing the wall with 0.5 x 3.5 mdf boards I purchased at our local hardware store. I create a frame around the wall first, and then added two thinner panels with three boxes. This gave me a larger I first nailed the longest pieces of the frame in around the wall to avoid making multiple cuts. Next, I filled in the missing pieces by making my cuts using my miter saw. I nailed the boards into the wall using a brad nailer and 2 inch brad nails.
I did not miter the edges at 45 degrees and instead kept them straight and filled them in with caulking for a finished look (see caulking tips and tricks here).

3. Next, I installed the interior moulding for each box except for the middle box where the mural would be installed. I did so because I wanted to create a seamless finished look for the mural and pre painted this moulding for the larger box before installing. If your painting skills are less questionable than mine, you can certainly paint after installing this last piece of moulding. I used a finer pvc cove moulding for the interior trim to create recessed frame look I was going for the framed wallpaper mural. Given how fine this moulding is, I was able to cut it with miter shears indoors! I love miter shears for quick jobs like this one and it prevents me from running up and down the stairs a million times.
Lastly, because this is a finer moulding, I used a pin nailer to install this versus a traditional brad nailer.

4. Now for the arduous task of filling all the seams and holes. I filled in all nail holes and seams with caulking (versus wood filler) because I wanted to avoid sanding in this room. You can read all my tips about caulking over here!
5. Lastly, I painted the frame that I had created around the mural the same colour as the ceiling which is Benjamin Moore Providence Blue in a flat finish.
6. Now for the mural install and final moulding detail for the larger box! Because I had ordered the mural for the measurements of the whole wall versus only the interior box, I installed the middle three panels here to create the framed mural wallpaper look. I did so to have it look centered. I recommend measuring our your box size beforehand and ordering a mural for those measurements versus what I did – but this worked out just fine as well!

7. After I installed the mural, I finished off this box by installing the interior moulding which I pre-painted to avoid any paint getting onto the mural. By using a pin nailer, I avoided the task of filling any nail holes for the finer moulding.
And there you have it.. a beautiful DIY framed mural accent wall in the nursery that is a little more jazzed up than a simply wallpapered wall and has modern transitional vibes to it as well.
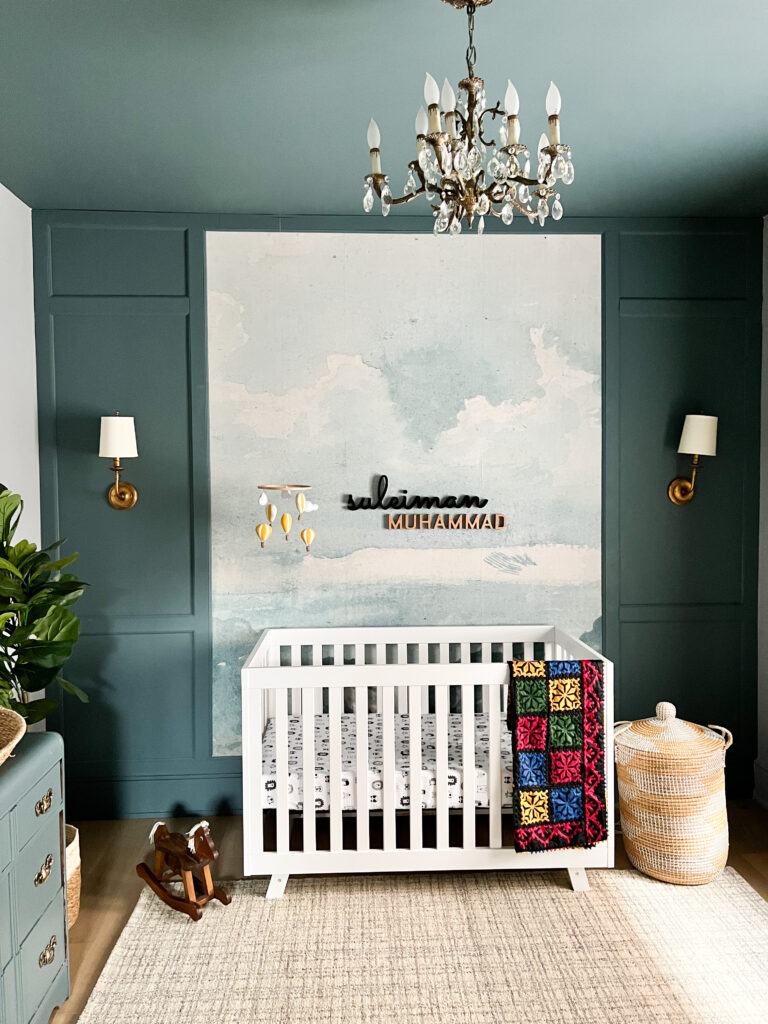
Keep an eye out for the complete nursery source guide with all the nursery links and details coming later this week!
PIN THIS POST FOR LATER


Leave a Reply