
It’s almost the beginning of Ramadan, and you know how excited I am about that! I love all the preparation and the anticipation that comes before this special time. You also know how much I love celebrating Ramadan as a family. Combine this with my love of fun DIY projects and decorating for any occasion, and it really shouldn’t surprise you that I’ve come up with a DIY Ramadan Advent Calendar! My hope is that this will encourage my kids to really get involved and grow in their faith this Ramadan season, and have fun doing it.
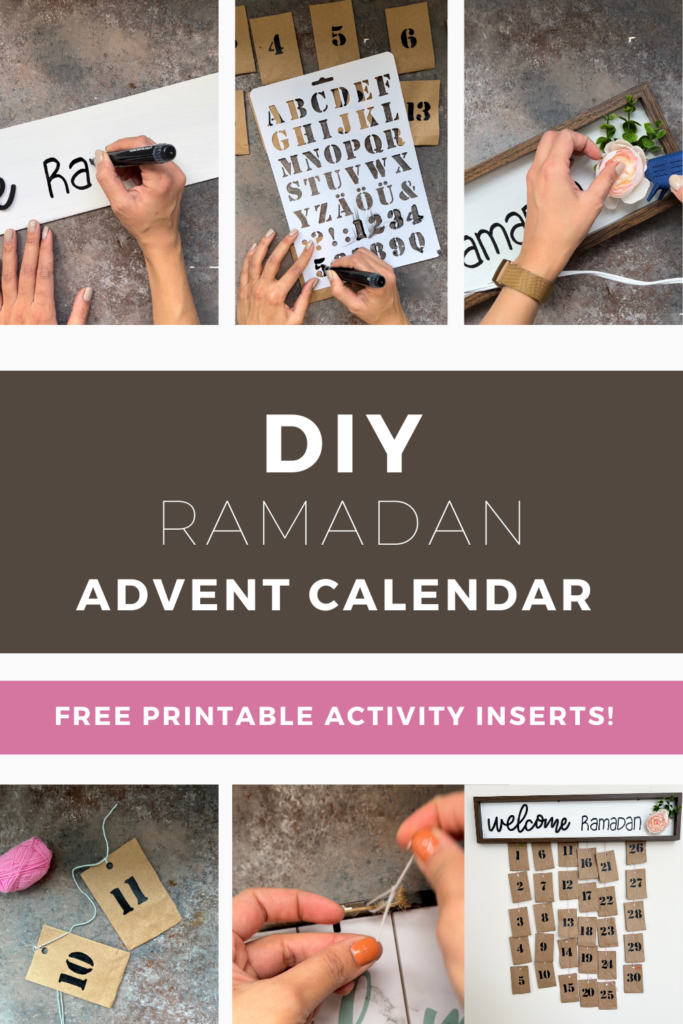
This is a simple project involving a FREE Ramadan Advent Calendar printable that I’ve created just for you. Let me show you how I did it!
My favourite projects are the ones where I can repurpose existing items and make them new and exciting. So for this DIY Ramadan Advent Calendar, I’m going to show you how I reused a thrifted “Welcome to our Home” sign and gave it new life as part of our family celebrations!
You’ll need:
- A wooden sign
- Glue gun
- Hole punch
- Embellishments
- Black marker
- Tiny brown bags
- Twine
Repurpose a Sign for Your DIY Ramadan Advent Calendar
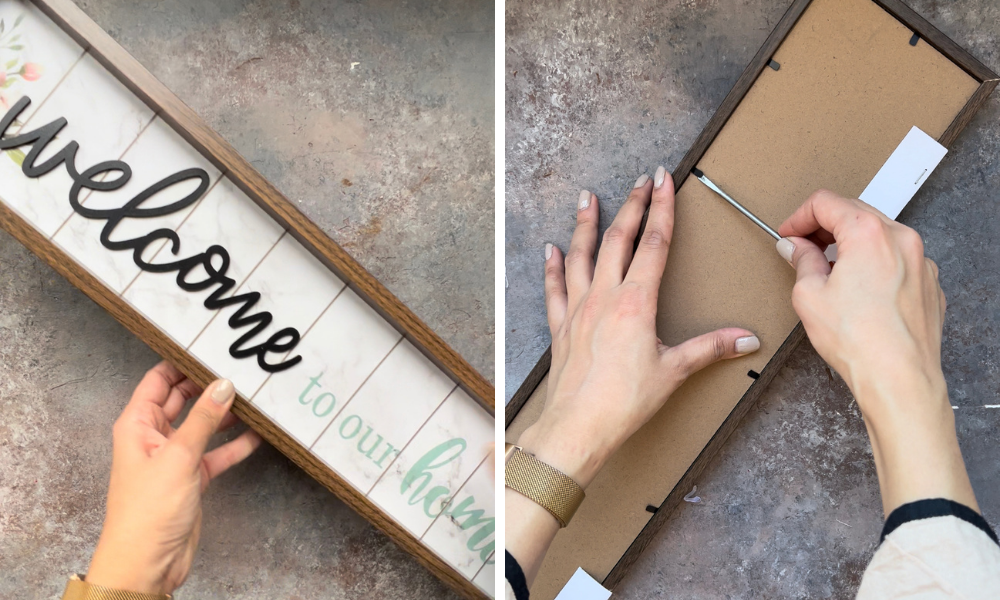
First, I chose a sign that was the right size for what I wanted to do. I also liked and could reuse the “Welcome” part of the sign, so that was fortunate!
Next, I took the sign apart so I could refresh it properly. This was simple enough and only required a screwdriver to bend the little backing tabs back without hurting my fingers, and about a minute of my time!
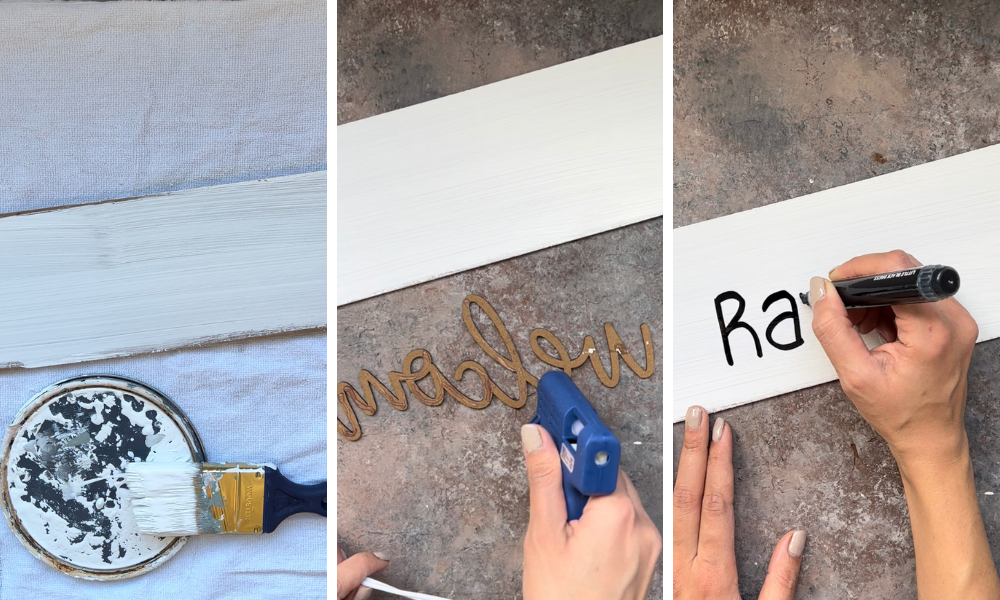
Once I had the sign piece separated from the frame and backing, I took the “Welcome” off the sign by prying it up gently with my screwdriver and then I painted the background solid white. This is a great project for a small amount of leftover white paint!
Then, once the paint was completely dry, I hot-glued the black “Welcome” piece back onto the front of the sign. I wrote “Ramadan” next to it using a black blunt marker. This is now a cheery advent message! And I purposefully chose to write “Ramadan” in a very different style than the script of “Welcome”, so the contrast would appear deliberate and add a unique flavour to my creation.
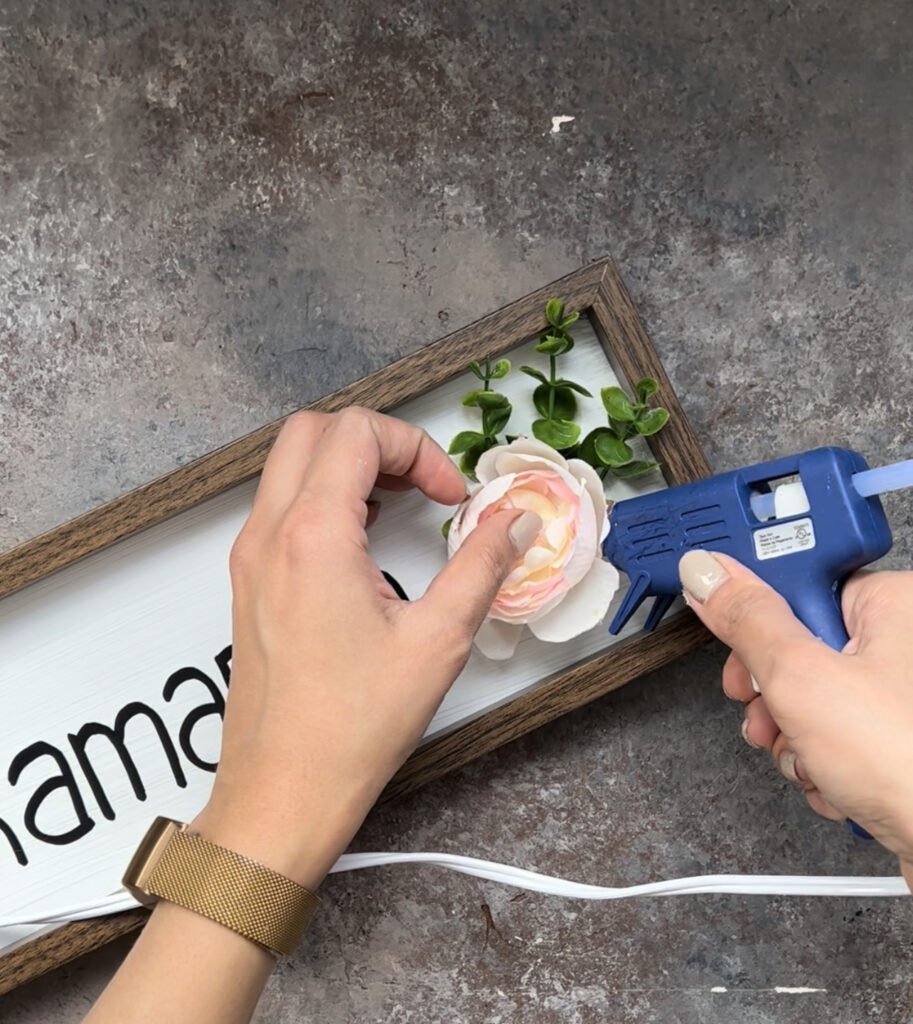
Next, I added a faux flower and faux greenery embellishment in the right hand corner with hot glue. You could put whatever you want here, let your creativity shine through!
How to Create Your Ramadan Activity Bags
Then I went to work on the bags that I wanted to use in my DIY Ramadan Advent Calendar to hold the cards for each day. These were so easy and fun to make, and turned out so beautifully!
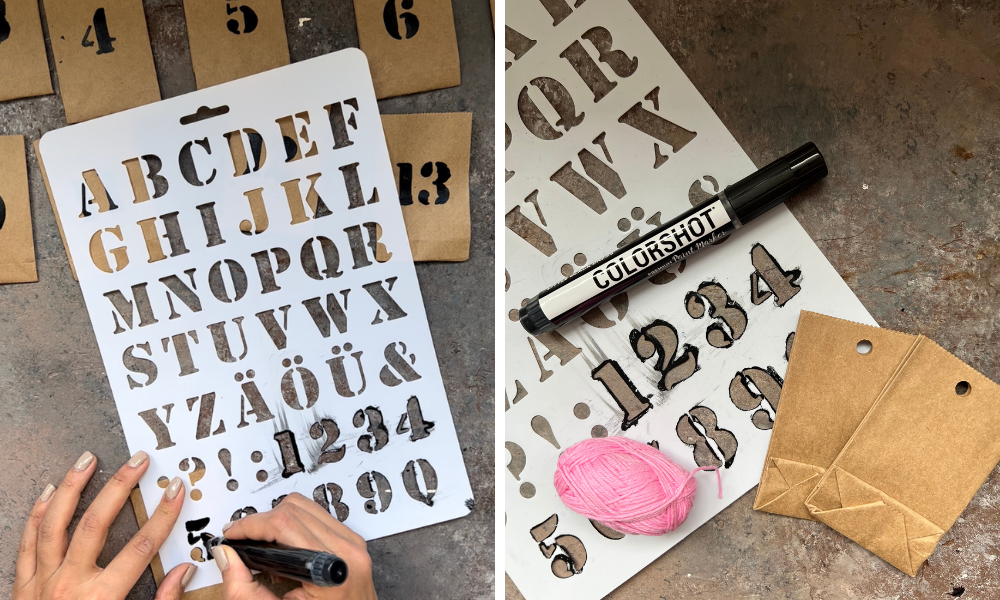
I purchased a few more than 30 small brown paper bags (always leave room for error!). With a stencil and the same black blunt marker that I used for the sign itself, I coloured the bags with the numbers from 1 to 30, one for each day of Ramadan.
Then I punched a hole in the top of each bag so they could be tied onto my sign in true advent calendar style.
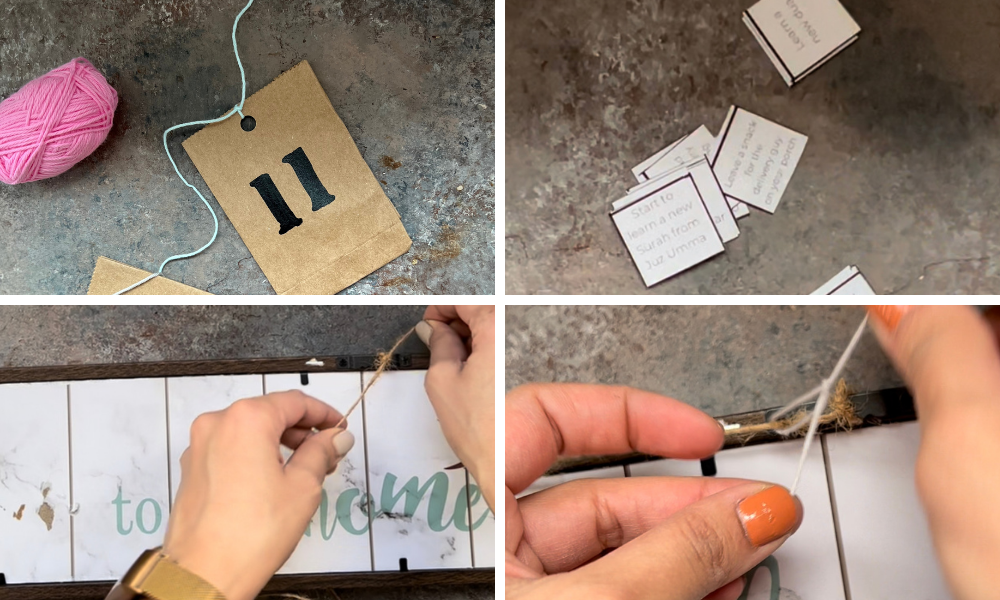
Next, all you need to do is put it all together! I printed the cards (which you will get with the FREE printable below!), cut them into individual squares, and placed them into the bags, one square for each bag.
FREE Printable DIY Advent Calendar
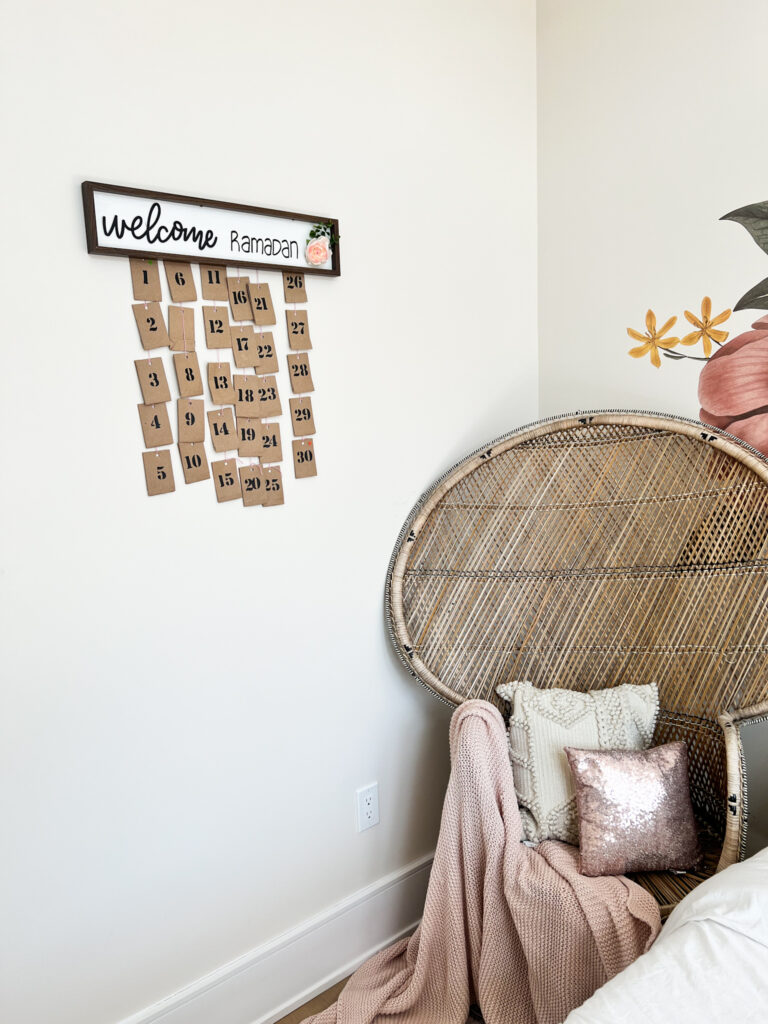
To finish the calendar off, I attached a long piece of twine from end to end to the back of my sign. Next, I cut some long pieces of pink twine and threaded one through the hole of each bag in each column. I decided to do six columns of five bags each, but you can change this depending on the size of your sign! And if you don’t have a sign, but love the idea of a Ramadan Advent Calendar, you can simply thread the bags on a long piece of twine for a banner style advent calendar! If you go that route, it would look beautiful hanging under this Easy DIY Ramadan Sign that is also a free printable.
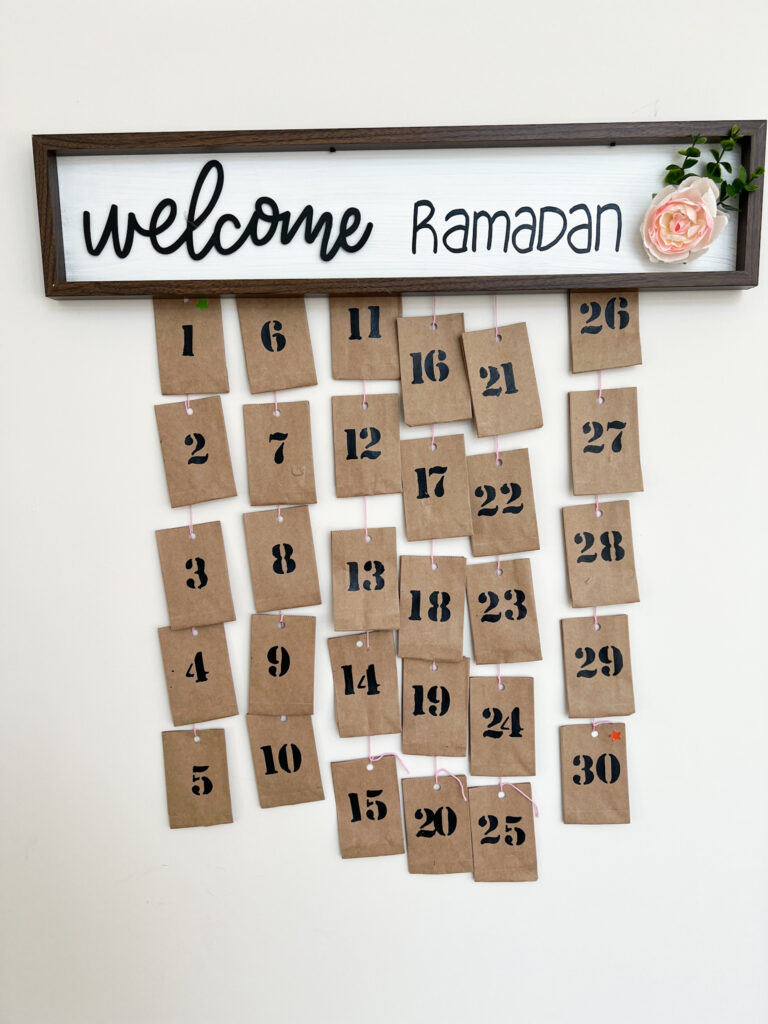
Now, hang it on the wall! You’re all done.
I hope you find as much inspiration in this DIY Ramadan Advent Calendar as I did! I can’t wait to enjoy 30 days of Ramadan with my family. I’d love to see how your family is celebrating Ramadan! Tag me on instagram @mintcandydesigns so we can celebrate together!
Click here for Ramadan and Eid DIYs & Decor Ideas!
Pin it!

This is amazing! I will be trying it for sure this year! Thanks