
Remember how I painted and upcycled these nightstands in my bedroom a few years ago with chalk paint? Well, today I am doing the same thing but with a slight twist. It shouldn’t surprise you when I say that I have this unhealthy obsession with thrifting items and upcycling them and giving them new life especially with paint. I mean, I have painted nightstands, antique school desks, thrifted frames… even vases to make into a lamp – so I can safely say that yes I am obsessed.
Here is a little bit of a backstory. My dad found these nightstands to upcycle at Salvation Army for $25 each! They are in amazing condition and have this beautiful detailing and brass pulls that are just screaming mid-century modern to me.
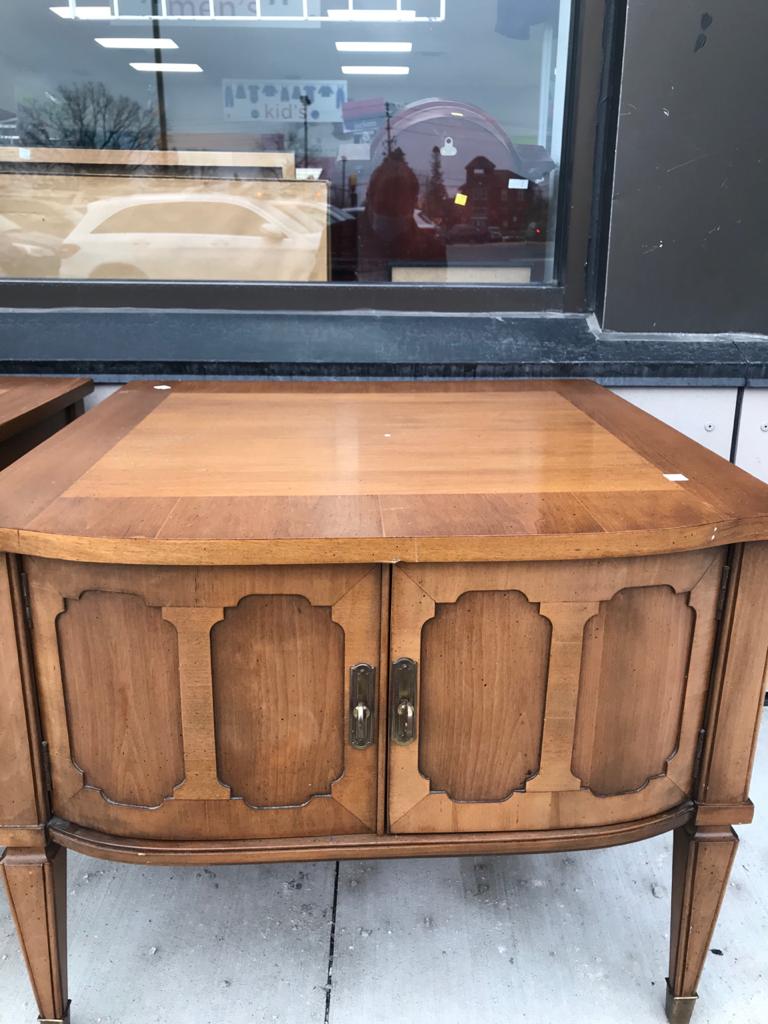
So naturally, I decided to paint them. But here is the catch.. I had no chalk paint at home! My friend Hana from Hanas happy home gave me some that she had but once I brought it home I realized that it was not enough for both of these nightstands. So i decided to get funky! I had a ton of sample paint lying around from various projects so I decided to mix equal parts chalkpaint and equal parts wall paint. I anticipated that the properties of chalk paint would transfer over to the wallpaint, making it adhere to the unsanded surface of the furniture. At least that is what I hoped.. because as much as I love painting furniture I despise sanding pieces of furniture down to repaint because well.. Its laborious and time consuming and just like I don’t have time to brown onions for desi food... I am not spending time sanding down furniture 😉

What paint did I use for these for the homemade chalk paint to upcycle these nightstands?

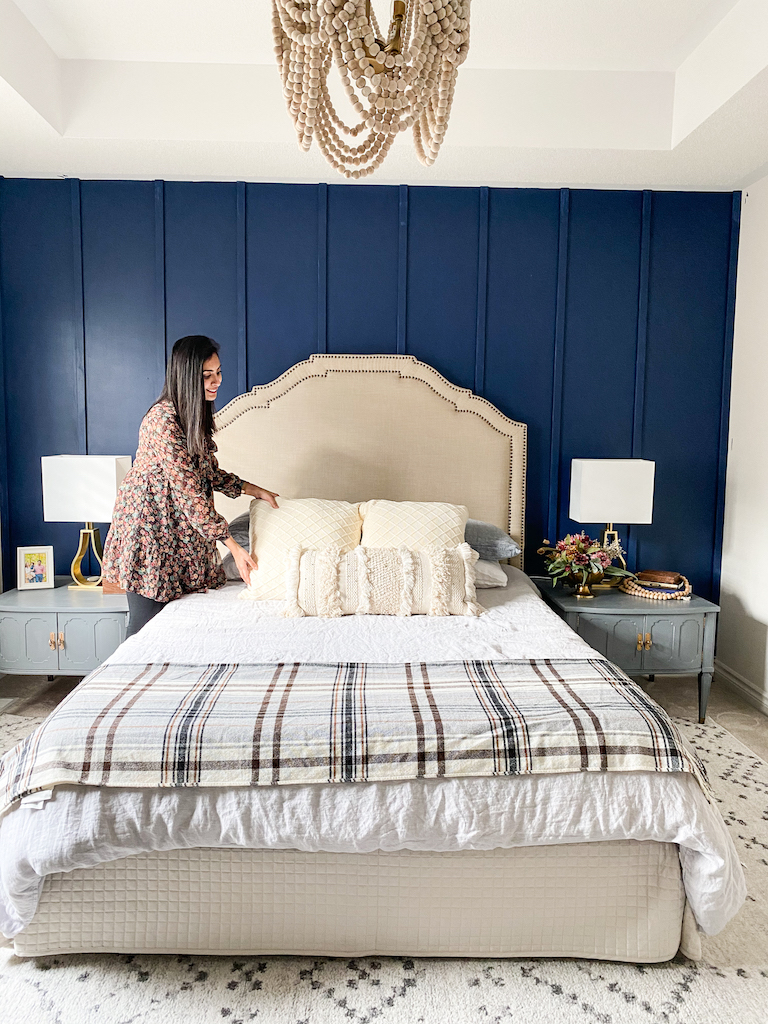
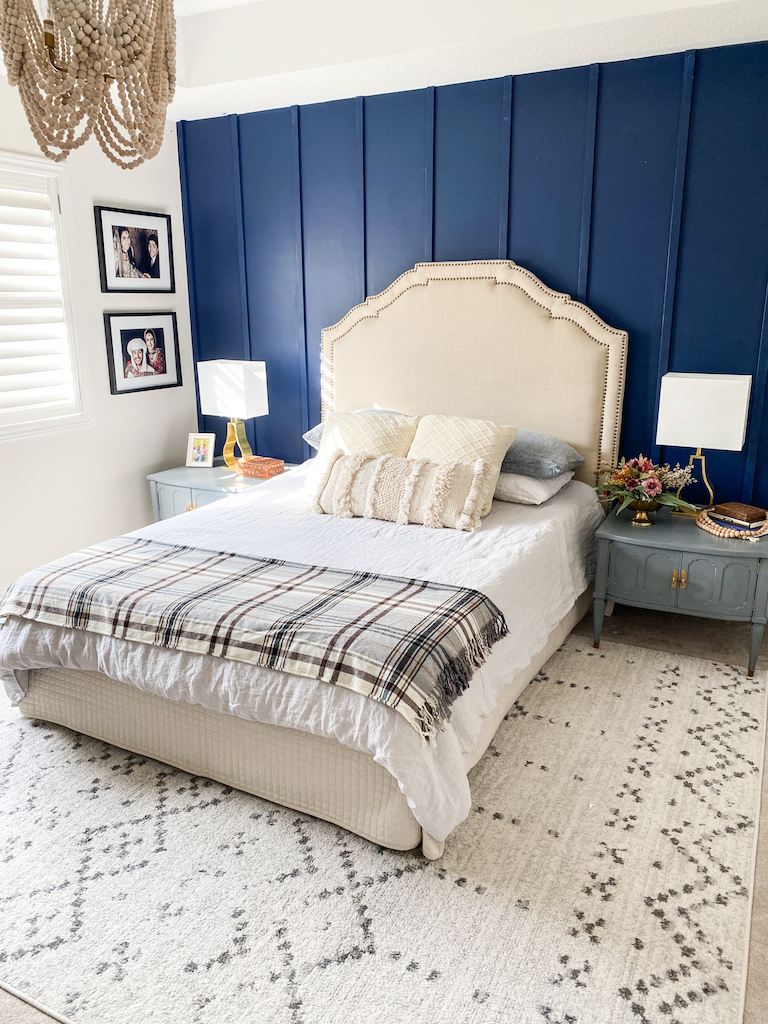
I used a 236 ml pot of Rustoleum Chalked Paint in Charcoal mixed with equal parts wallpaint by Sherwin Williams in the colour Sea Salt. I got this beautiful muted gray colour that complements the tones I have in the room here.
The actual process of painting with this homemade chalk paint was very similar to any other chalk paint. I did two thin coats of the paint and it covered the tables well and dried quickly just like regular chalk paint does. So this little experiment suggests that you can certainly mix regular paint and chalkpaint to give you a unique colour with most of the properties of chalk paint.
What is different is the finish – with traditional chalk paint, the finish is rough and chalky. With this concoction, the night stand finish is much smoother even before I sealed it with the Rustoleum clear matte sealant. So that is a huge win I think, since most people dislike the finish of chalk paint.
What about the brass pulls and leg caps on these upcycled nightstands?
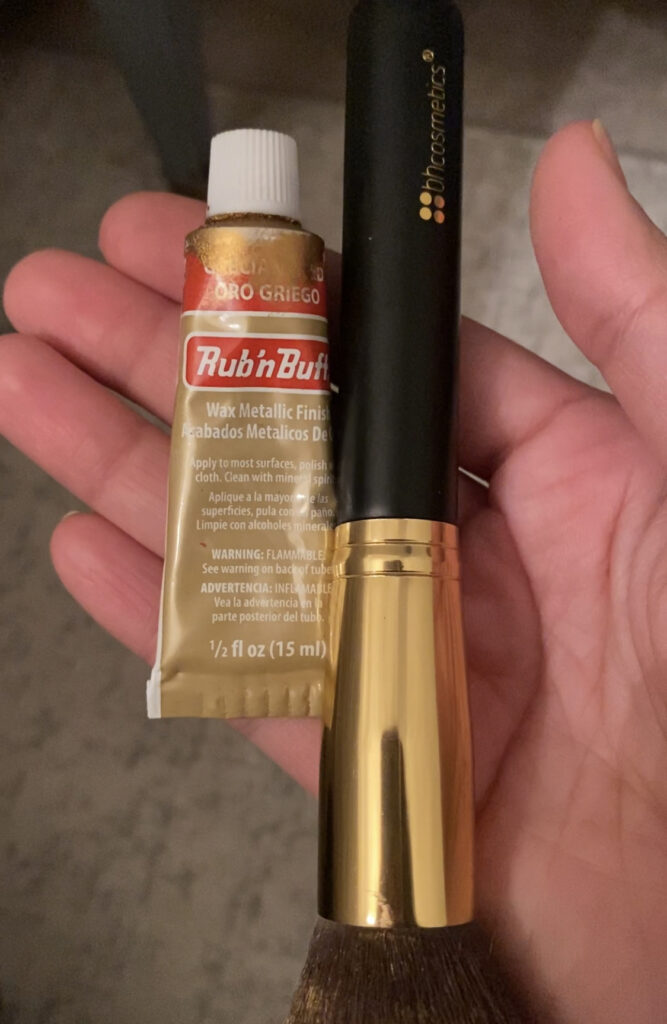
I loved these side tables or whatever you want to call them because of the unique brass details in the pulls and the leg caps. I used handy Rub’n’Buff In the colour grecian gold with a small brush to bring these details back to life! Here is a little hack – I did paint the pulls the same grey as the tables and then went over that with the Rub ‘n Buff because having a base layer of paint helps the gold pop a bit more. I think the brass/gold detail ties in beautifully with the tufting on my bed, lamps, and the ceiling light fixture.

Get all the details on the blog!

What was the total cost of these nightstands?
If I were to add the cost of paint, which sells for $15 for the paint and the sealant, the total cost of this project comes to under $100! I only paid for the tables in this case and had the paint and other supplies at home.
I think this is an awesome project for $50 that came together in a quick afternoon!
PIN THIS POST FOR LATER


[…] Previous Post: « Midcentury Modern Upcycled Nightstands with Homemade Chalk Paint […]