
This DIY large framed wall art is perfect for any space and so on trend right now. Large framed wall art is all the hype right now in the design and decor world – however, it is not very budget friendly! A lot of the large art pieces are abstract with modern colours, contrast and texture. They also cost an arm and a leg most times and can retail for over $300 easily! I have been looking for a large framed wall art for the dining room but am not willing to spend a ton of money on something that I may get bored of – because let’s be honest, I will get bored of it in a year most likely.
PIN THIS PROJECT TO TRY LATER


So lets DIY a large framed wall art piece shall we! It can’t be that hard and I have seen several others do it as well!
Here are the supplies I needed – I had none of these at home, so I will give you an accurate cost breakdown if you were to purchase these solely for this project!
Supplies needed for this project
- Painters Drop Cloth – $34
- 1 x 2 wood cut to the length and width of art you want to create. My paintings length is 5 ft while width is 3.5 ft. I have 4 pieces that are cut to width (two are a middle supporting piece) and 2 pieces cut to length. You can ask the hardware store to cut them to size for you so need for a miter saw. You can also cut them to size using a hand saw. I purchased 4 pieces for a cost of $7.20 each and total cost of 28.8
- Plaster of Paris – $26.49
- Plastic Putty Knife to spread plaster of paris – $2.96
- Paint Brush or Foam Roller – is $8.49
- Paint – I used sample paint I had leftover, which is usually $10 a pot. I am using two colours, so I will add $20 to my final cost
- Drill Machine
- Screws + Impact Driver
- Staple Gun + Staples
Total Cost so far without tools – $120.74
How to DIY a Large Framed Wall Art on a budget
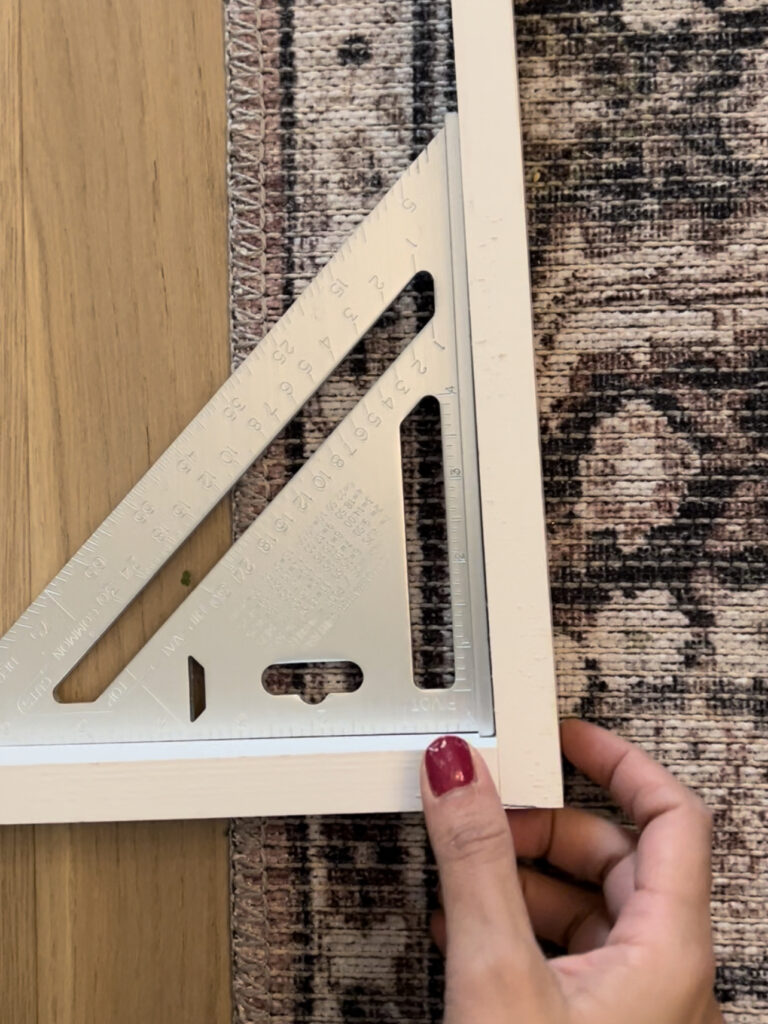
Start off by laying your cut pieces of wood to make the frame. Add your third width length piece in the middle to add support.
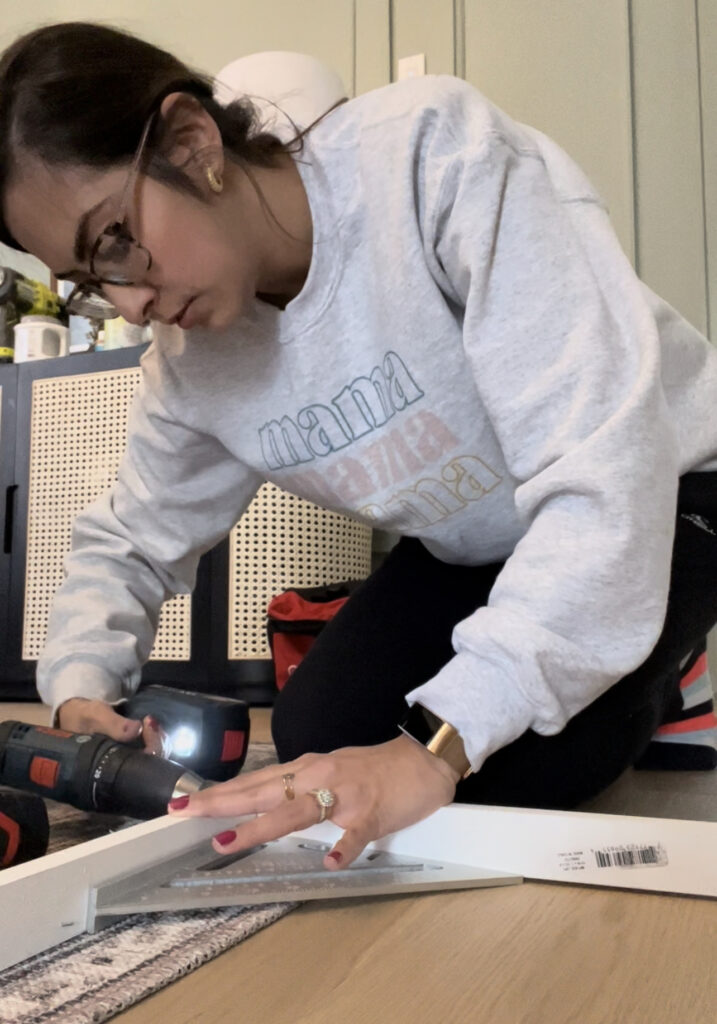
Pre drill pilot holes for where you want the screws to go. Use a level or speed square to ensure the pieces are level and at 90 degrees.
Next, use your impact driver to drill in screws to hold the pieces together.
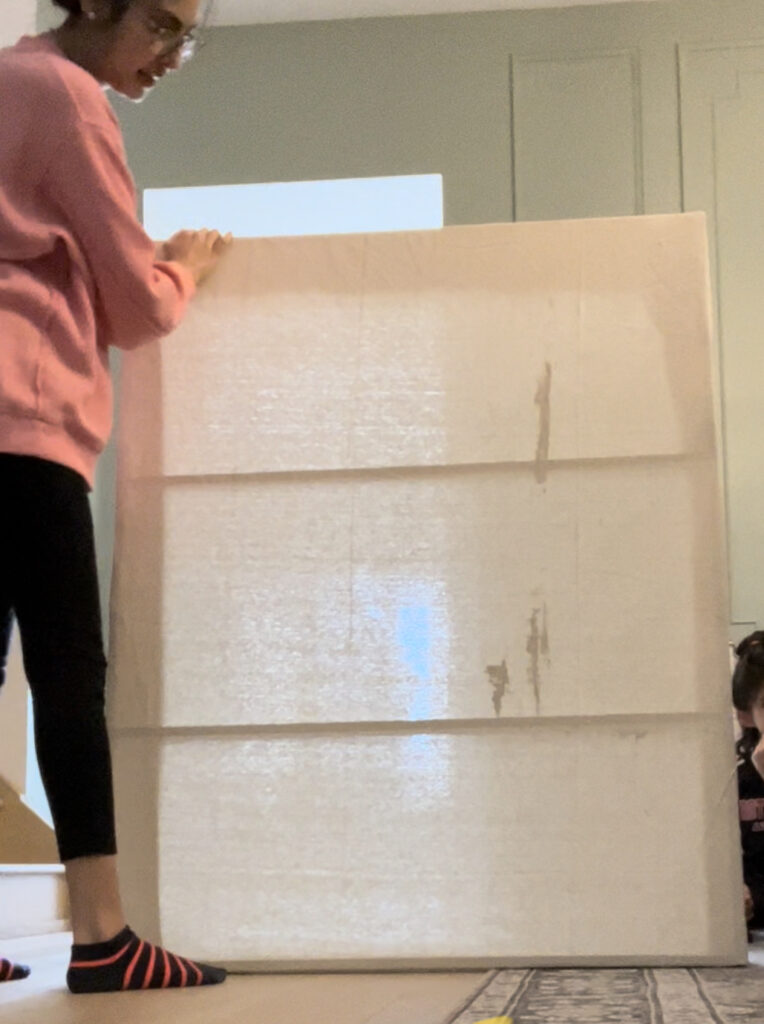
Next, lay the nailed frame overtop your canvas drop cloth and trim the drop cloth to size leaving a 6-8 inch overhang.
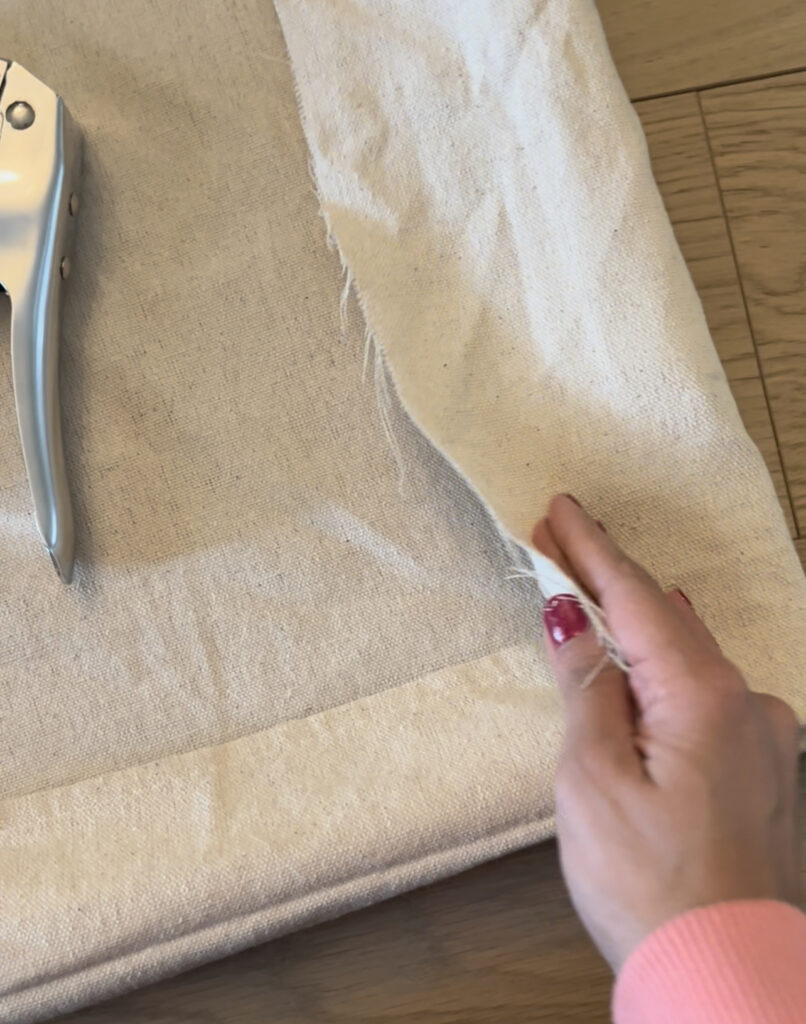
Using your staple gun, fold over the dropcloth and staple into the frame. Work carefully on opposite sides first ensuring you are pulling the drop cloth to be taut over the frame to prevent a “saggy” wall art.
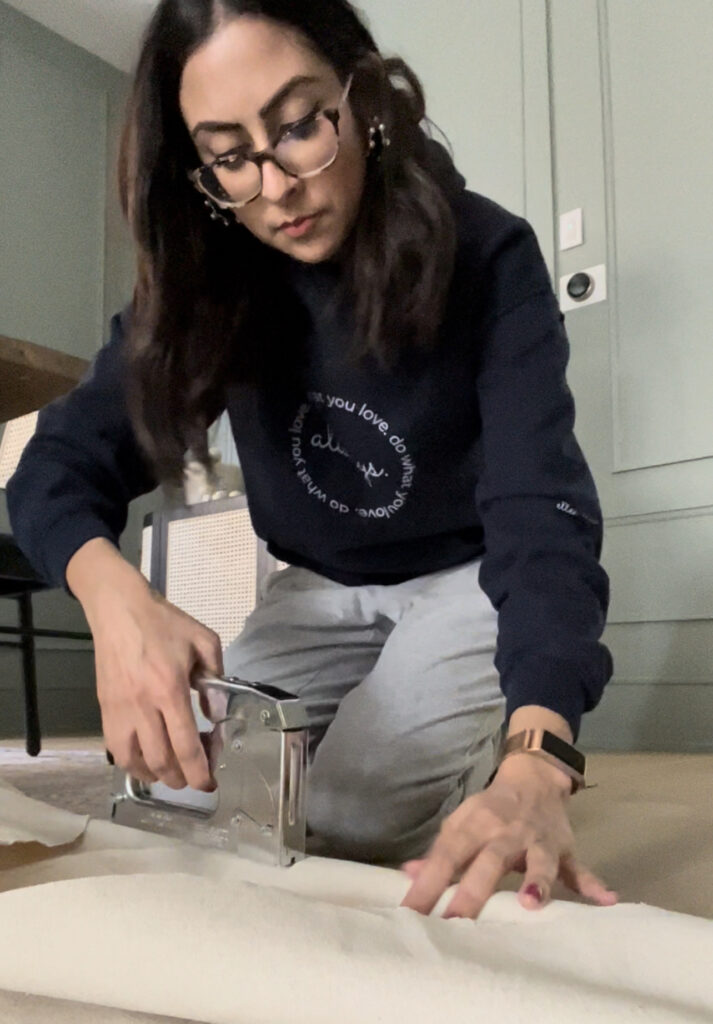
Once you have stapled two opposing sides, work on the last two remaining sides. Carefully fold the corners like gift wrap and staple the corners to create a canvas for the wall art.
Using a scissors, trim any excess canvas off to ensure a clean look at the back of the wall art
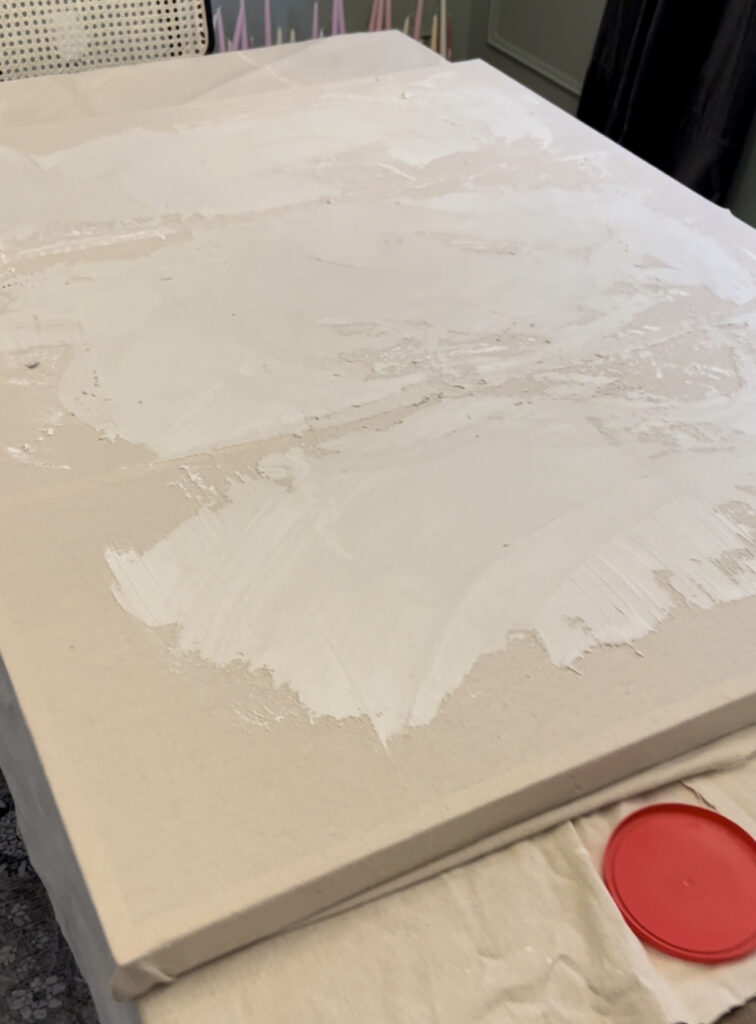
Next, lay down your canvas on a flat surface. This step is messy so make sure you use the remaining drop cloth as a protective surface.
Mix plaster of paris according to package instructions and using the putty knife, apply a thin layer of plaster to the whole canvas. This step creates texture on the canvas. Plaster of paris dries quickly so ensure to work quickly without distractions.
Once the plaster has fully dried (approximately 20-30 minutes later), apply a layer of neutral paint like white or cream on top of your canvas..
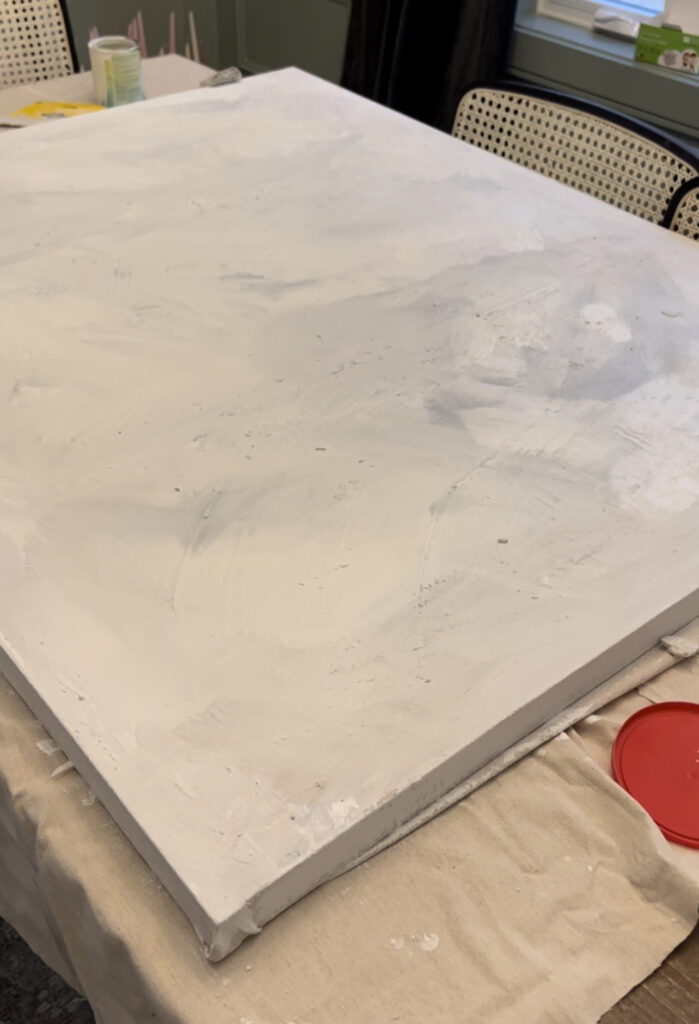
Work using a brush or foam roller and make sure to paint the folded over edges of the canvas as well for a clean look. This is where we can get creative! I lay a layer of plaster of paris, followed by white paint, then a second layer of plaster of paris to build texture, grey paint, and so forth. I painted the bottom third of my canvas black and added gold detail using a finer brush and rub’n’buff in Grecian Gold. I think my painting turned out pretty cute!! I love how it ties in all the colours in the dining room and is also custom sized for the moulding work I did (full tutorial here).
Would you try this budget friendly DIY project? Let me know in the comments!
PIN THIS POST FOR LATER


Thank You for sharing all the details Areeba. This turned out so well.
thank you!! I am glad you found it helpful!
Hi there,
I am interested in guest posting on your website.
Please let me know if you’re accepting guest posts and what’s the price for each post.
If you run any other websites in any niche, feel free to share the list.
I am looking forward to working with you!
Thanks & Regards,
Diane