
[bws_pinterest_pin_it type="any"]
Goooood morning friends! Hope you had a relaxing and restful weekend and you are ready to kick this week in its you-know-what!! Okay.. lets be real for a quick sec.. the weekend for us was crazy! On Saturday we spent the day at Christie's Antique and Vintage Fair followed by errands and more errands. On Sunday, it was my father-in-laws birthday and we were hosting some friends so prepping food etc all took the energy out of me! And on top of it all, you know the usual laundry, lunches, meals blah blah blah!
Anyway, I wanted to share this super quick and easy DIY with you that took me maybe 2 hours give or take! And it is so impactful and brings the perfect farmhouse charm to our dining room! Also this was totally inspired by my friend Sarah's faux shiplap trick which you can read HERE .I put my own spin on it with a frame 😉
What you need
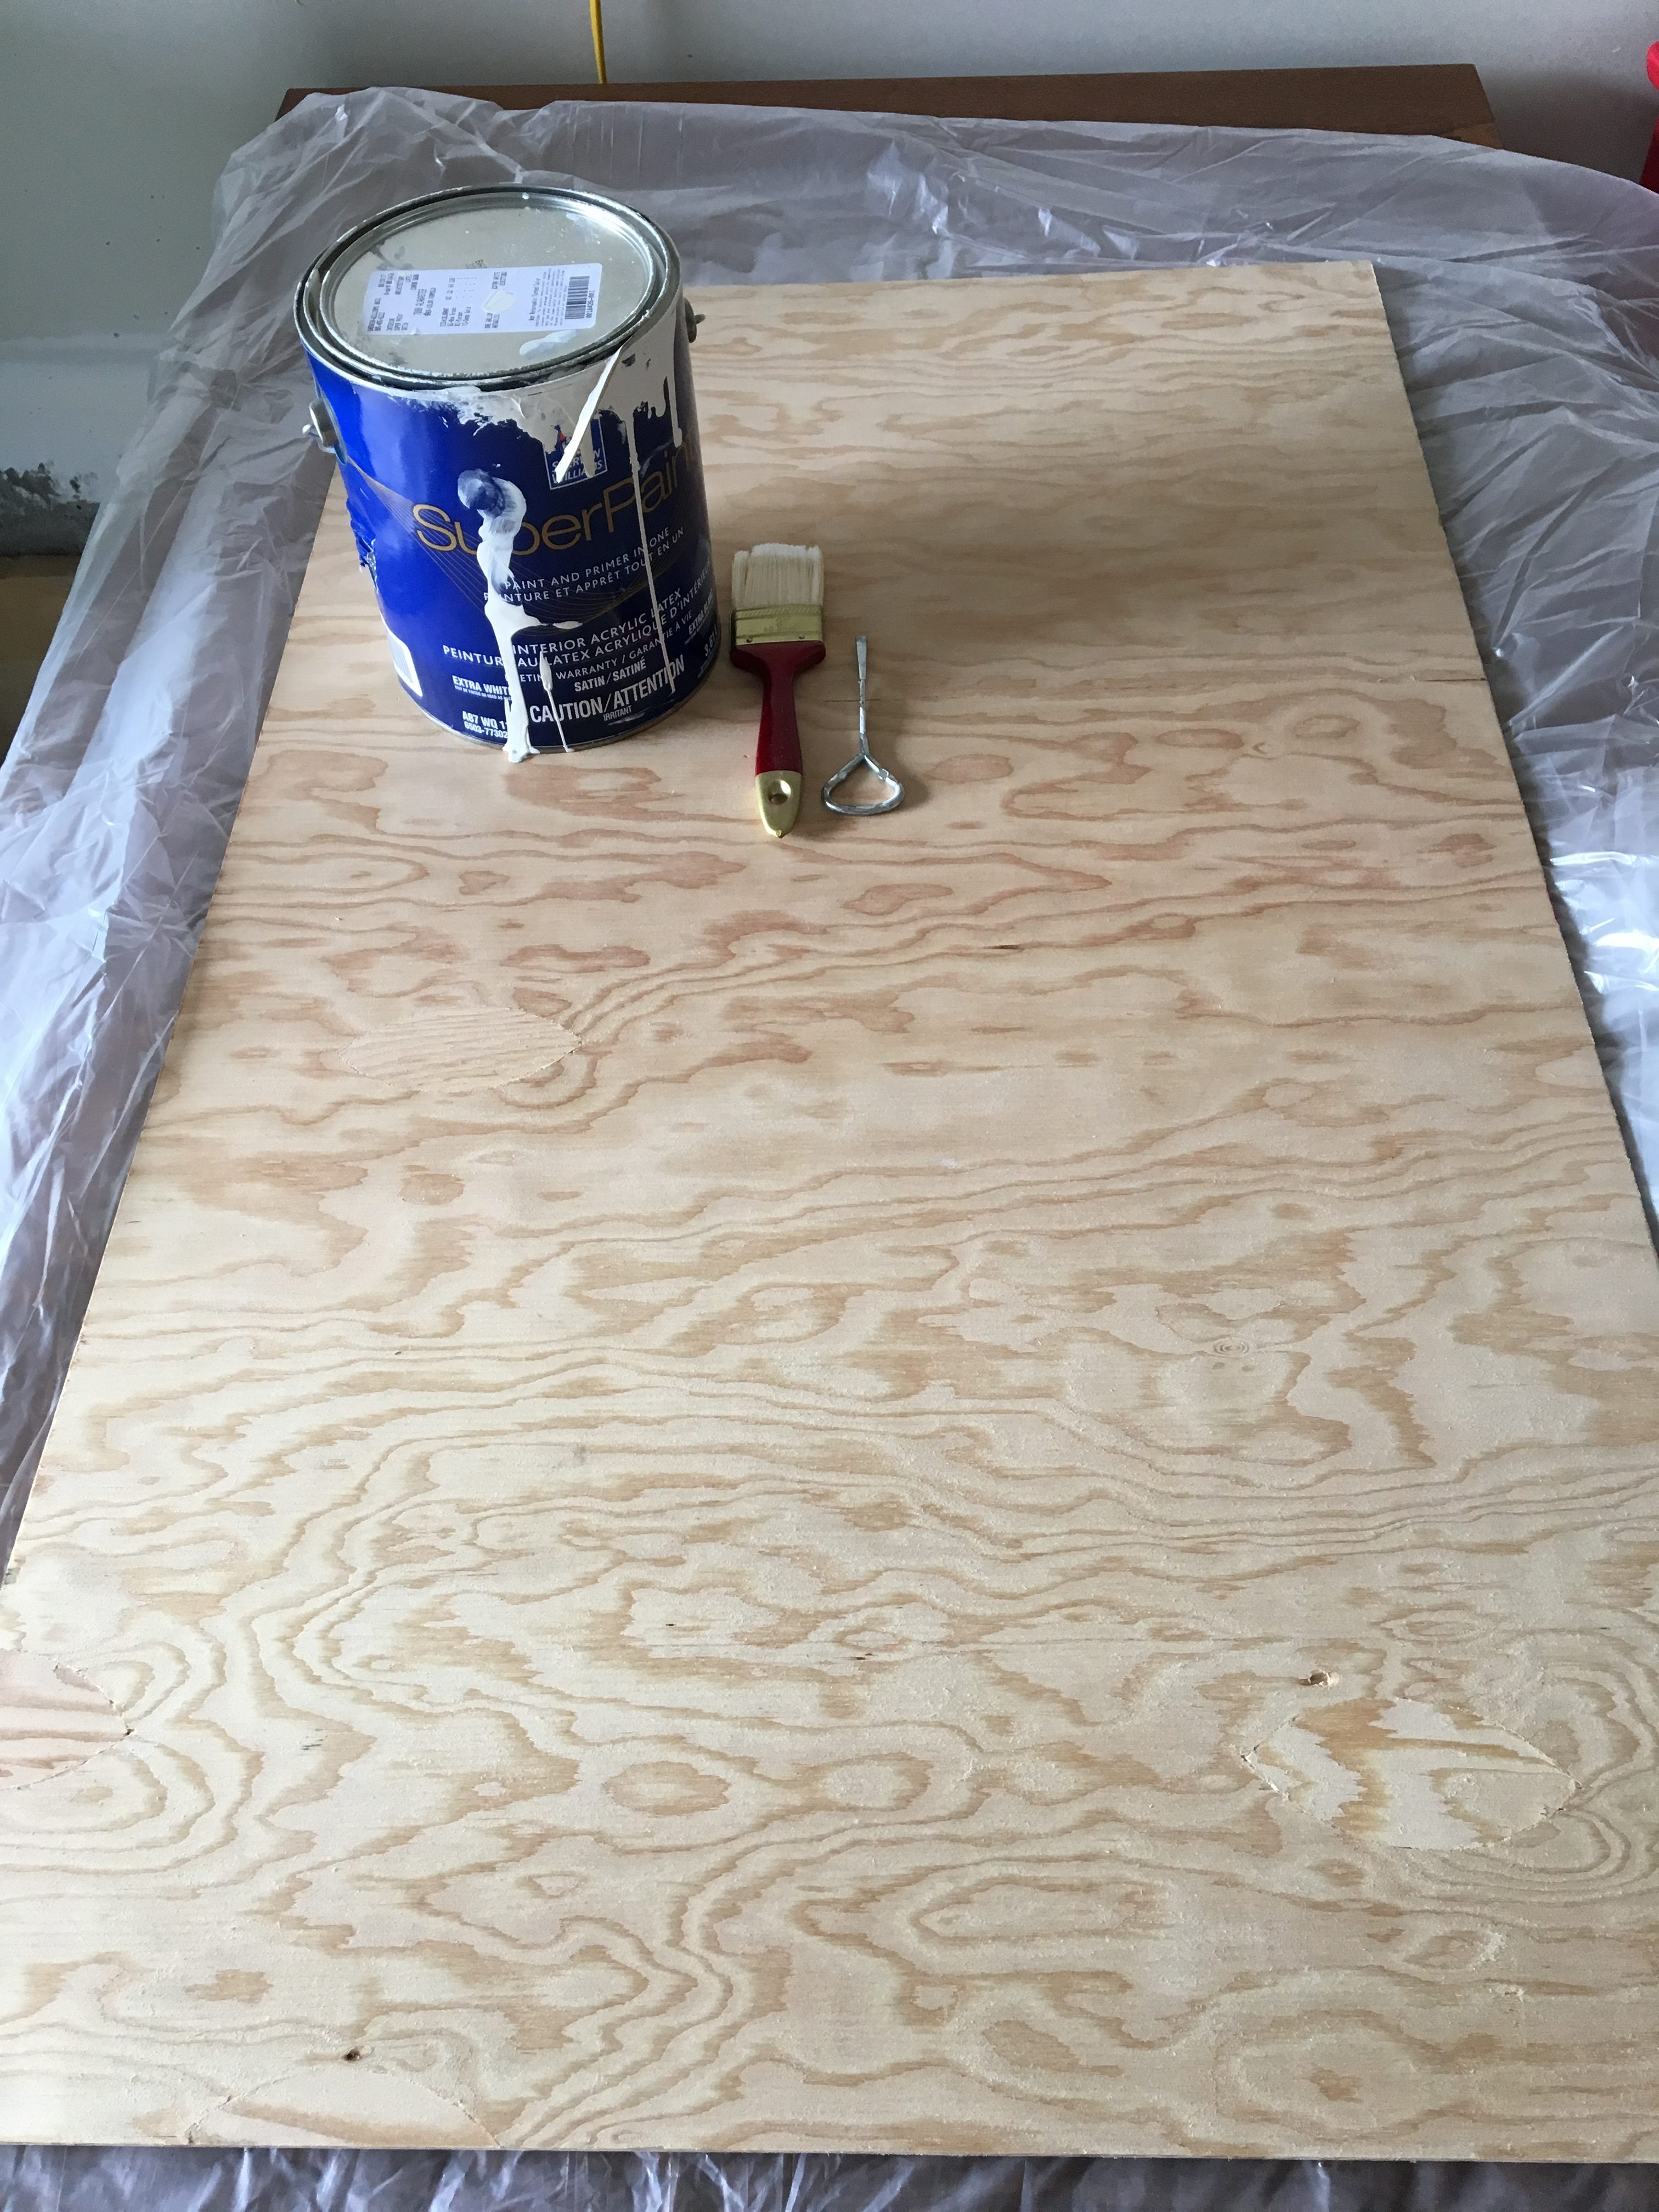
Underlayment Plywood cut to size - We had some left over from our shiplap project (Check that out HERE that I cut to size (the dimensions I used were 24 inches by 34 inches)
Paint - We used leftover paint (Sherwin Williams Alabaster)
A long level
A pencil
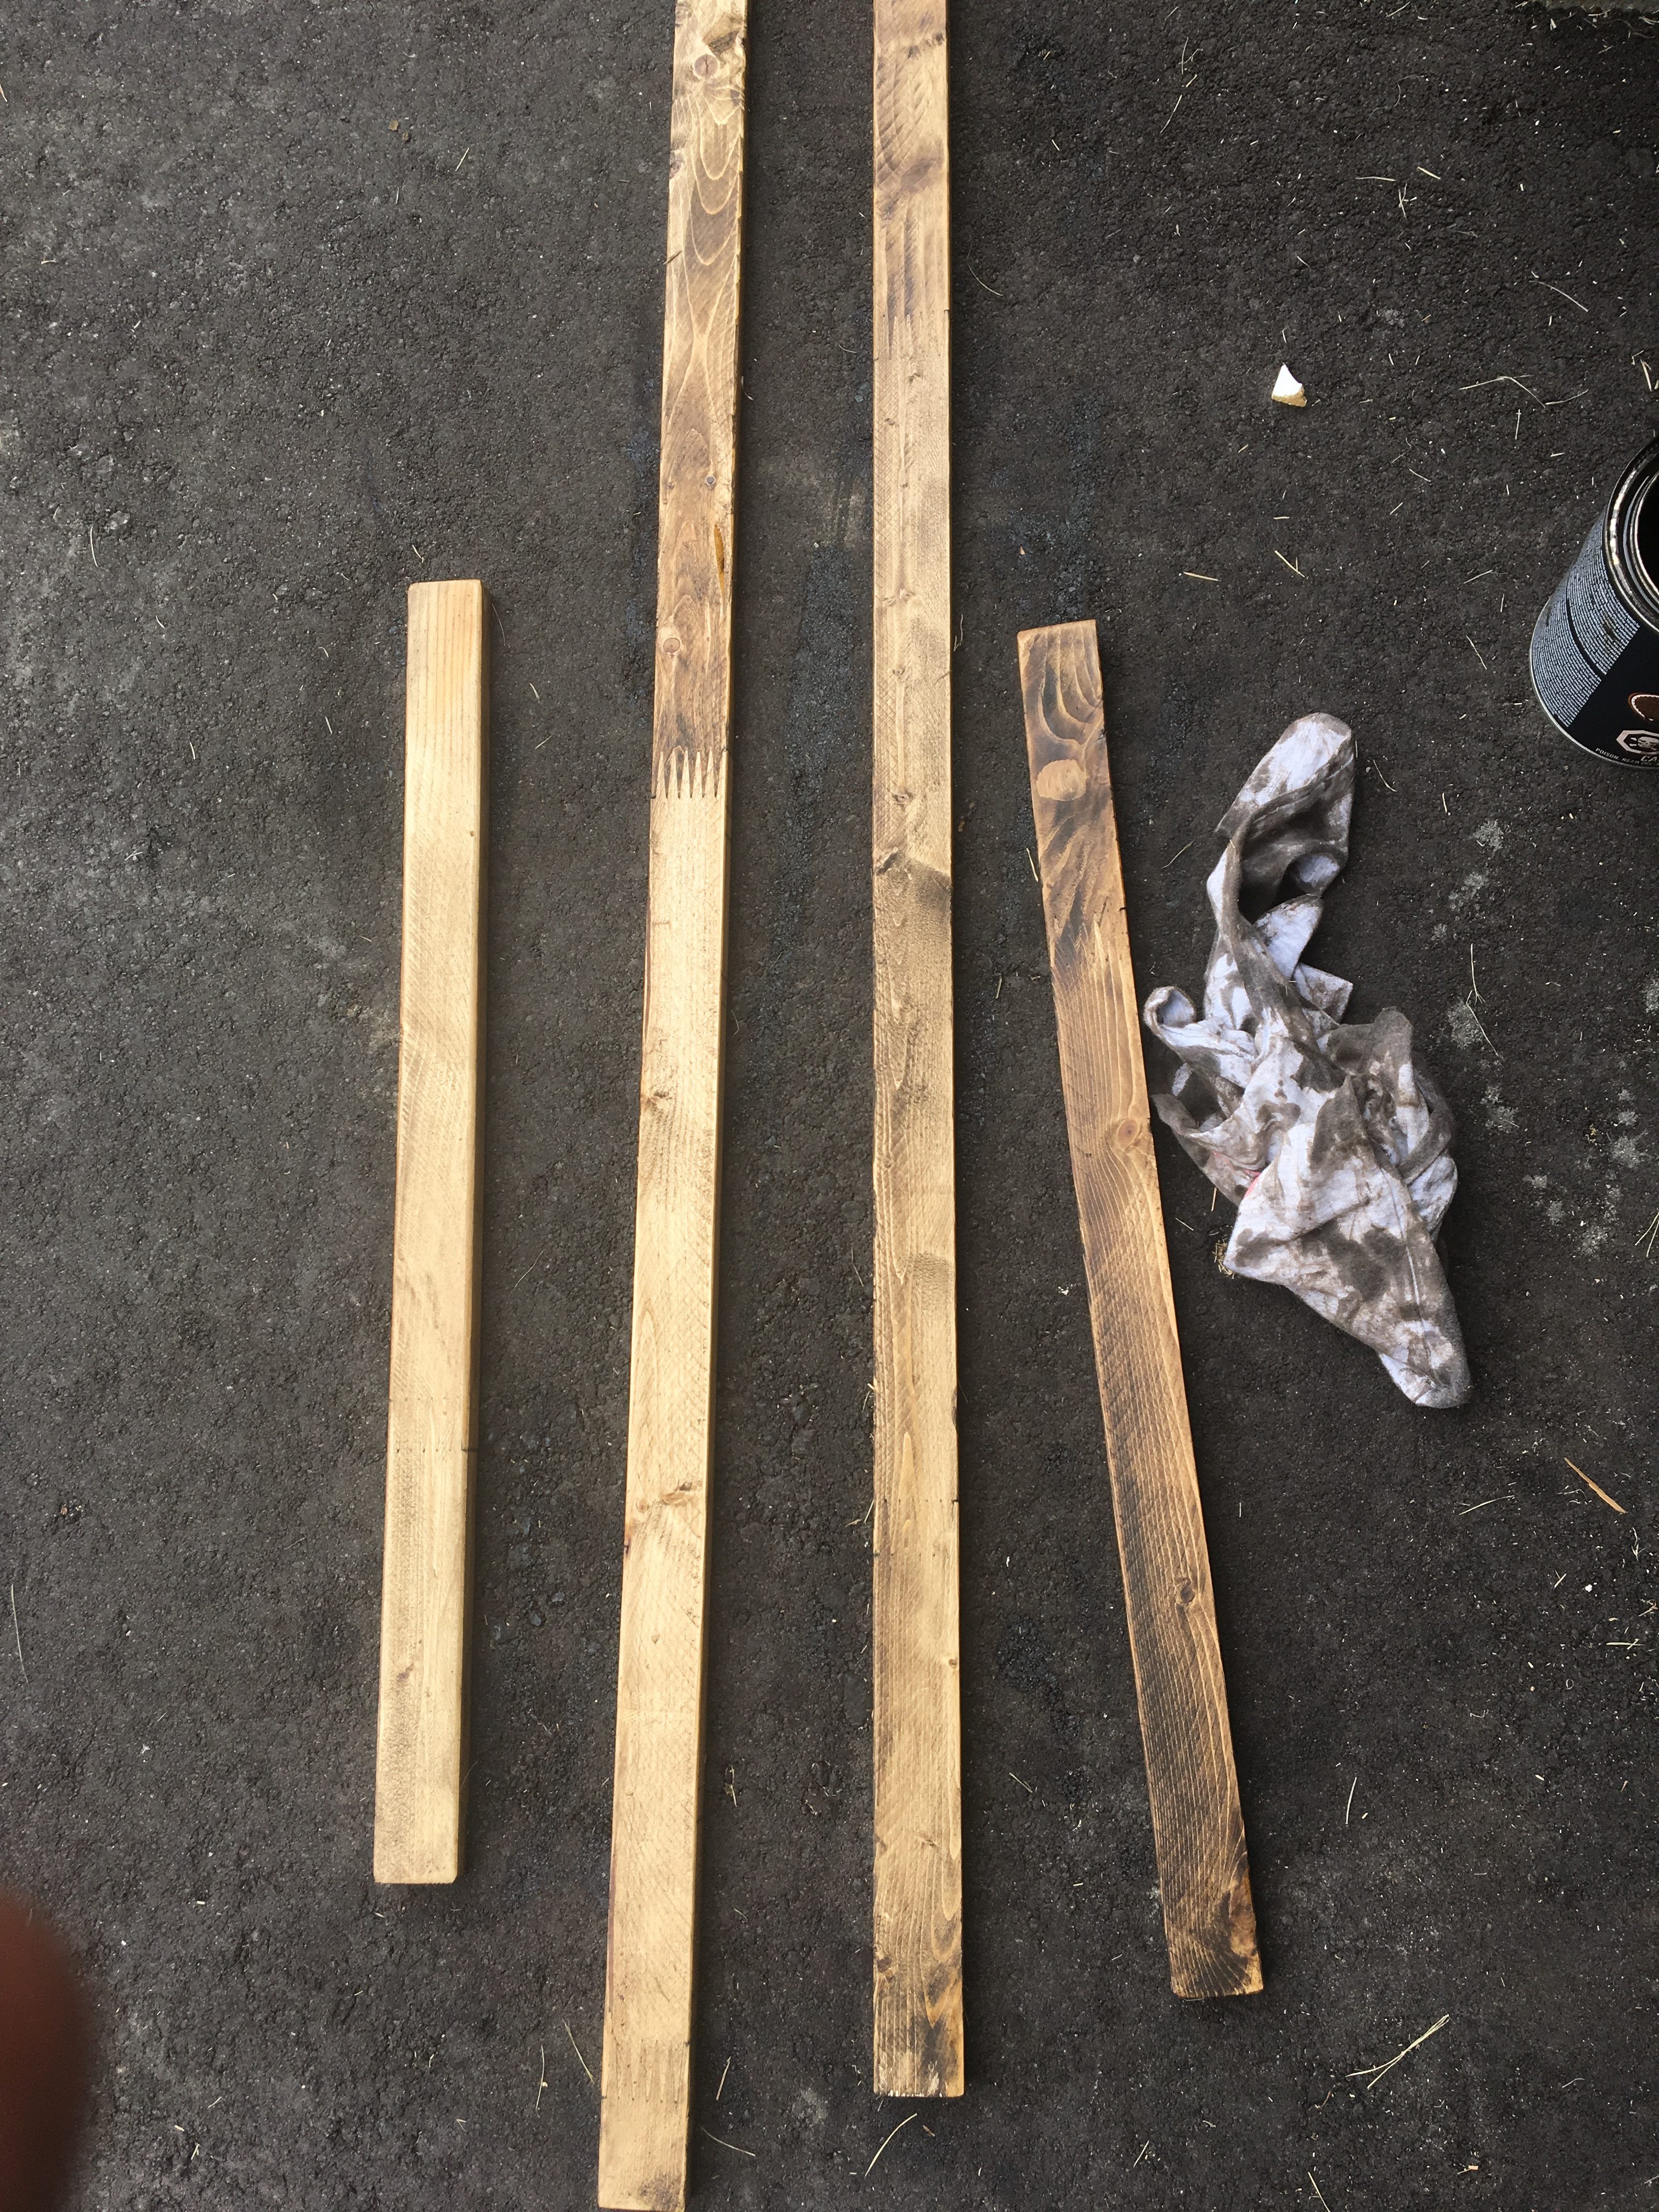
Wood to Frame the "Shiplap" with - I used 1 inch by 2 inch pieces cut to size (2 pieces that were 24 inches long for the width of the frame, and 2 pieces that were 30 inches long for the length of the frame)
Your Favourite Stain - I used Varathane Premium Stain in Chocolate
A Brad Nailer - We used an 18 Gauge Brad Nailer by Dewalt**
18 guage 1.25 inch nails for your nailer**
** If you don't own a brad nailer or the associated nails, you can simple use a hammer and 1.25 inch finishing nails
What you need to do
First paint your plywood on the smooth sand that comes pre sanded
Next follow Sarah's instructions on her blog to create a shiplap look - essentially you are marking where your lines for shiplap will go and using a level and pencil to draw them! No nailing or cutting required. Sarah explains it best on her blog so head on over there and check that out HERE

Stain your frame pieces and let them dry over night
Once the stain pieces are dry, simply nail them into place to create a frame!
Voila!! You have a beautiful piece of framed "shiplap" without the actual shiplap! I had purchased this metallic word "Gather" from hobby lobby on my last trip there and spray painted it a matte black and stuck it on using double sided tape 😉 Now I have a perfect piece for the spot above the buffet in our dining room!
[bws_pinterest_pin_it type="any"]

I hope you enjoyed this easy DIY!
All sources for items are below (affiliate links) for your ease! Some items linked are closest match to what I have purchased in store. I hope you enjoyed this post! Also, leave me a comment or come say hello on Instagram, Pinterest, and Facebook.
Hugs,
Areeba
***Thank you to Dewalt Canada for sponsoring this post!***

[…] […]