
Hellooo and welcome!
I will state this right up front – this is NOT a DIY tutorial! I followed the tutorials by Christina at The DIY Mommy and also referred to Julie and Jodie’s blog at The Design Twins. So, please refer to them for specifics! This blog post is just my catalogue’ing of the experience and the project that I took on. I have more videos and details in my Instagram Story Highlights for you!
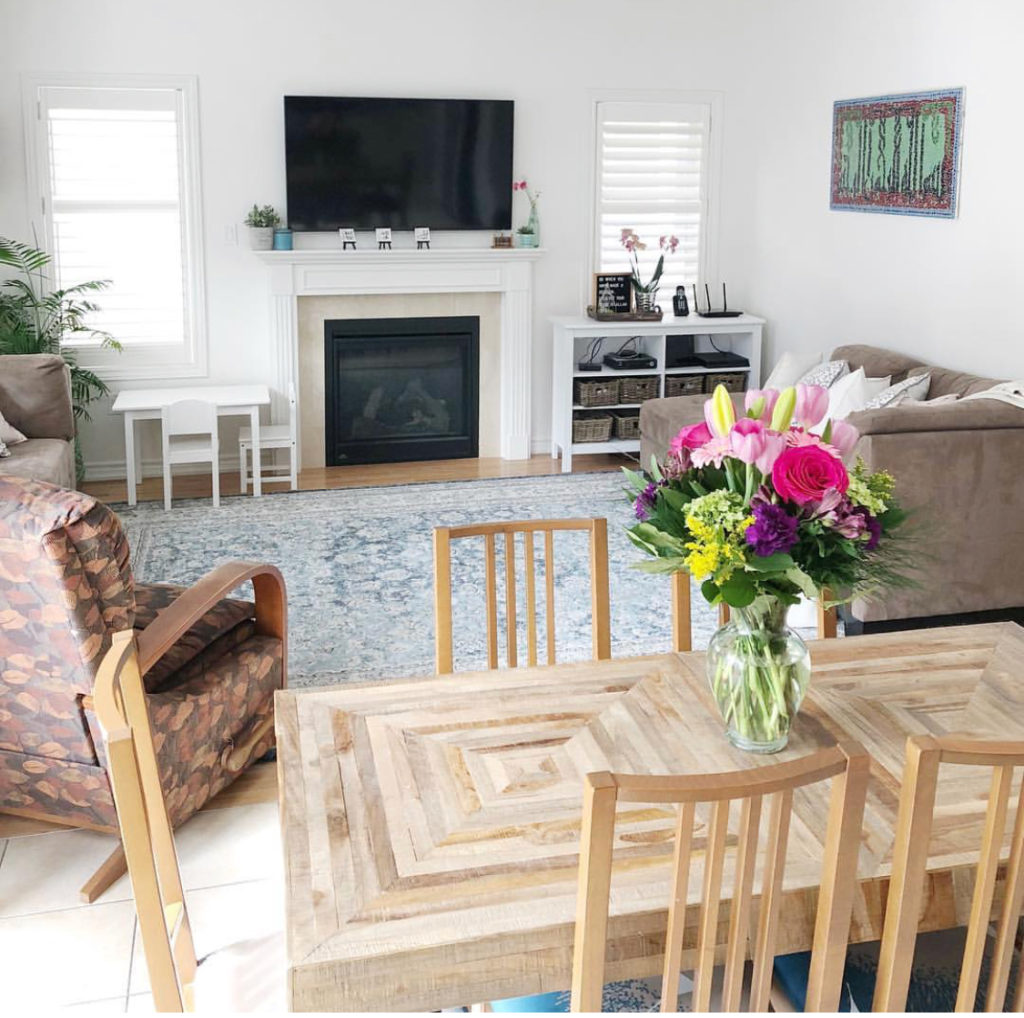
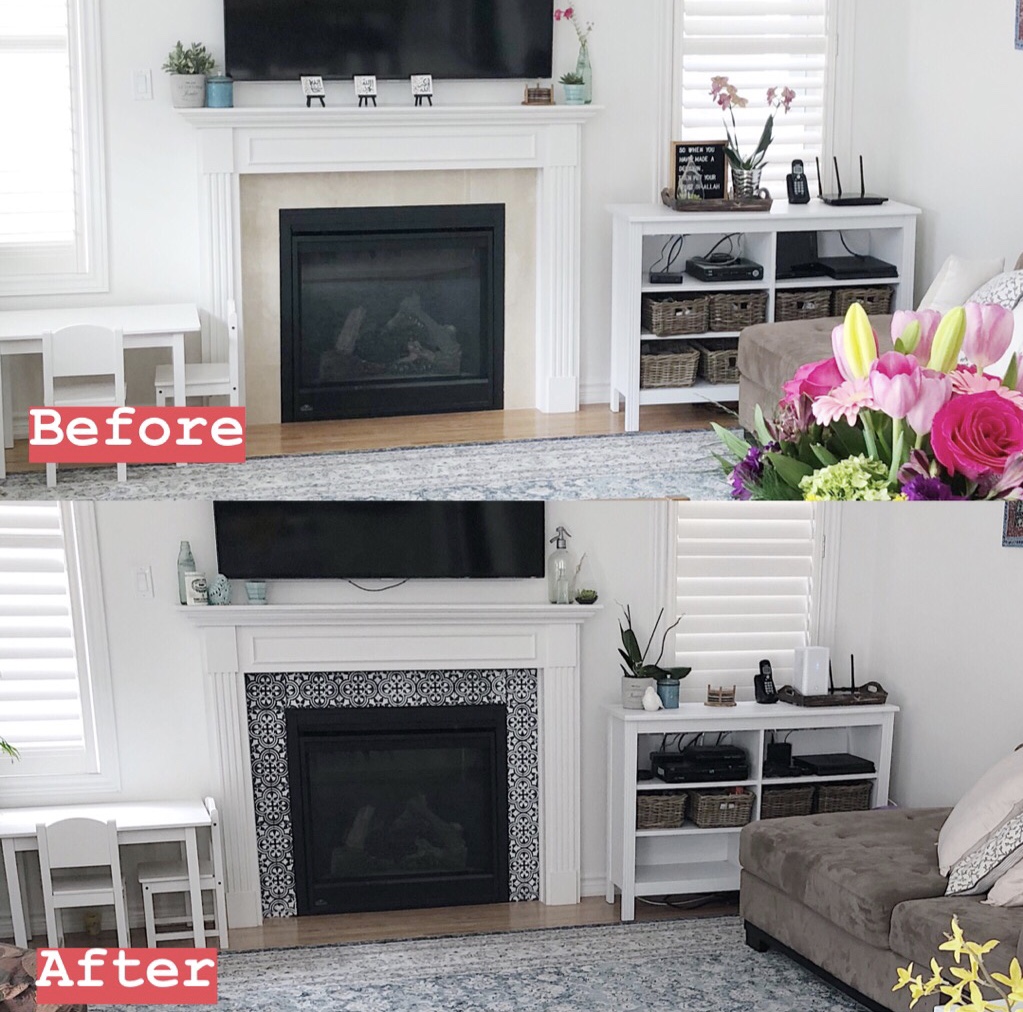
Here is a BEFORE shot of my fireplace!
I am writing this post in the hopes of writing down some of the things that I used and learned through this entire process and catalogue it for my own purposes.
Materials
First, I used the August Tile Stencil in 6 by 6 inches by Cutting Edge Stencils ($10 USD – ~$13 canadian dollars)
Next, for the tiles base paint I used All-in-one-furniture-paint by Country Chic Paint in the colour Hurricane. You can easily use an equivalent gray by Rustoleum etc. I had this left over from a previous project, so this didn’t cost me anything. For a fireplace, you can buy a small sample size as with chalk paint, a little goes a long way!
For the actual stencil, I used Chalk Paint by Rustoleum in the colour Linen White.I bought this in the small sample size (8 oz) and it was $14.96 at Home Depot.
Next I purchased a combo pack of a high density foam roller and tray (it was labelled as a 4 piece trim set) and it was $7.97.
Things I already had at home were painters tape, paint brushes for touch ups and the gray base chalk paint. These will add a bit to your budget, but not more than $30.
I also bought a small tin of water-based polyurethane to seal the paint after I had finished stencilling, and this cost $14.97
Overall Cost
So overall, the total cost of the project for me with buying most of the materials was $50.90 ! Again, if you bought everything from scratch and have no painting supplies, you can budget in another $50 at the maximum. Even for $100, the look that you achieve at the end is of cement tiles that cost hundreds of dollars in material and even more in installation!
Next, I literally watched Christina’s youtube video (linked in her blog post, above) and read through Julie and Jodie’s blogs with detail and started the project!
The one thing that I would recommend is either buy TWO stencils so you can alternate stencils. I didn’t do that for some reason… so if you don’t do that, wash your stencil after 3-4 stencils as the paint buildup will cause your design to come out less prominent or thinner with every time you paint it over.
And then just go to town! I shared the painting process on my Instagram Stories and its saved in the highlights for you! But I highly recommend watching Christina’s video on her blog post (linked above) and checking out The Design Twins Blog (also linked above).
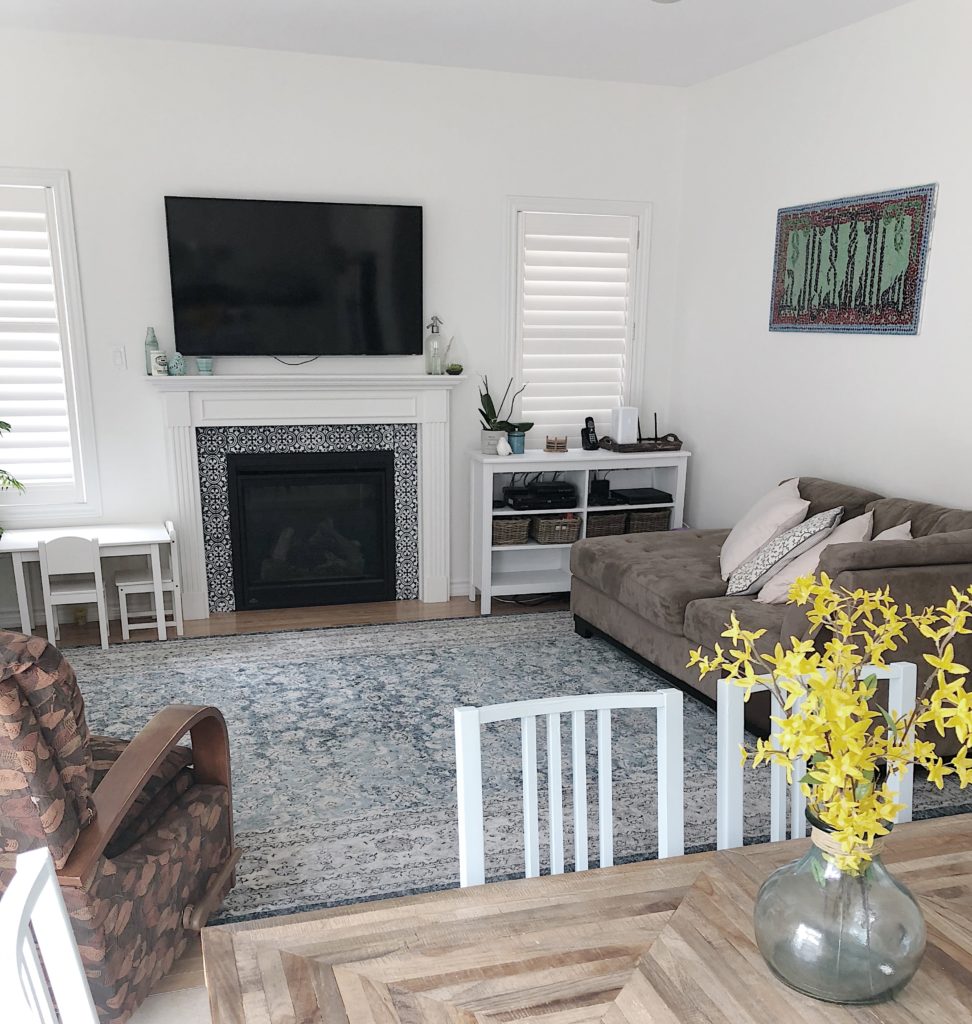
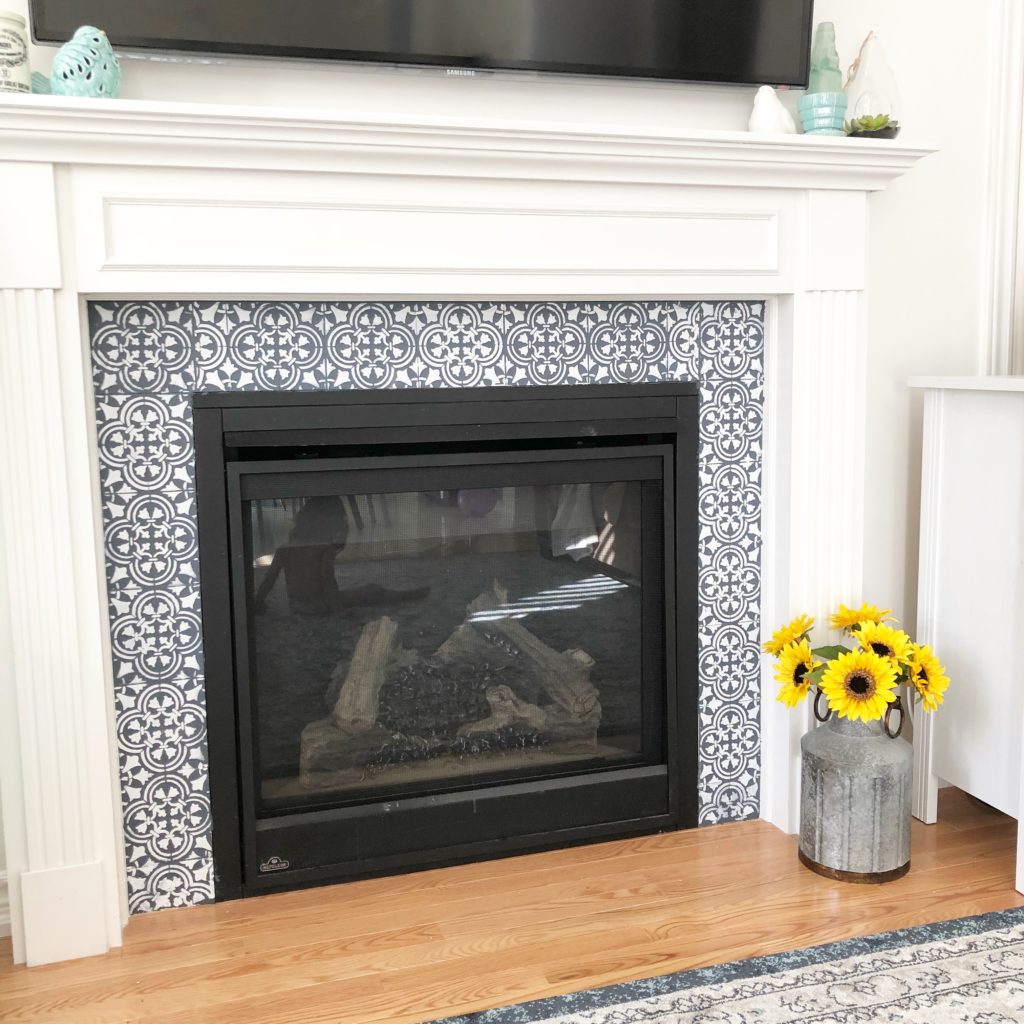
Here is the after of what the painted fireplace looks like!
And who doesn’t love a full Before and After right?!
If you are looking for a more detailed DIY, I highly recommend checking our Christina at The DIY Mommy and Julie and Jodie at The Design Twins!
Hugs!
Areeba
PIN THIS POST FOR LATER


Leave a Reply