
Hi guys!!
I am so excited to partner up with some talented bloggers to big you a massive blog hop featuring some amazing DIY’s! If you are coming here from Kendra at Joy in our Home, welcome! Weren’t her wreath’s just the cutest? I definitely have to try those out.
I hope you are enjoying this little series we have put together and will come say hello on Instagram, Facebook and Pinterest. You can also subscribe to my blog above!
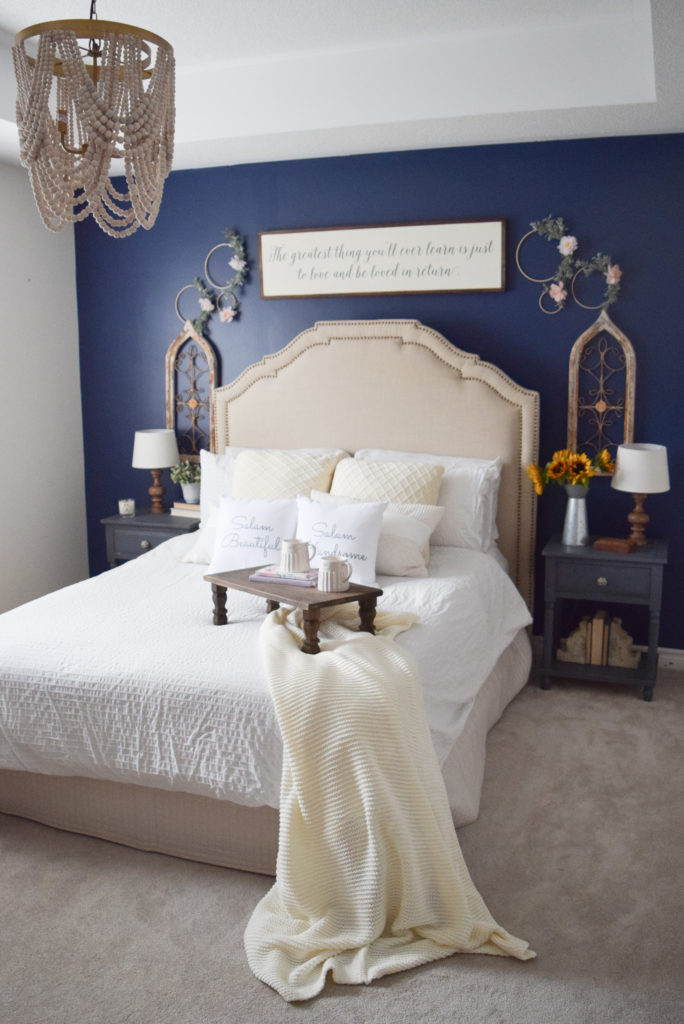
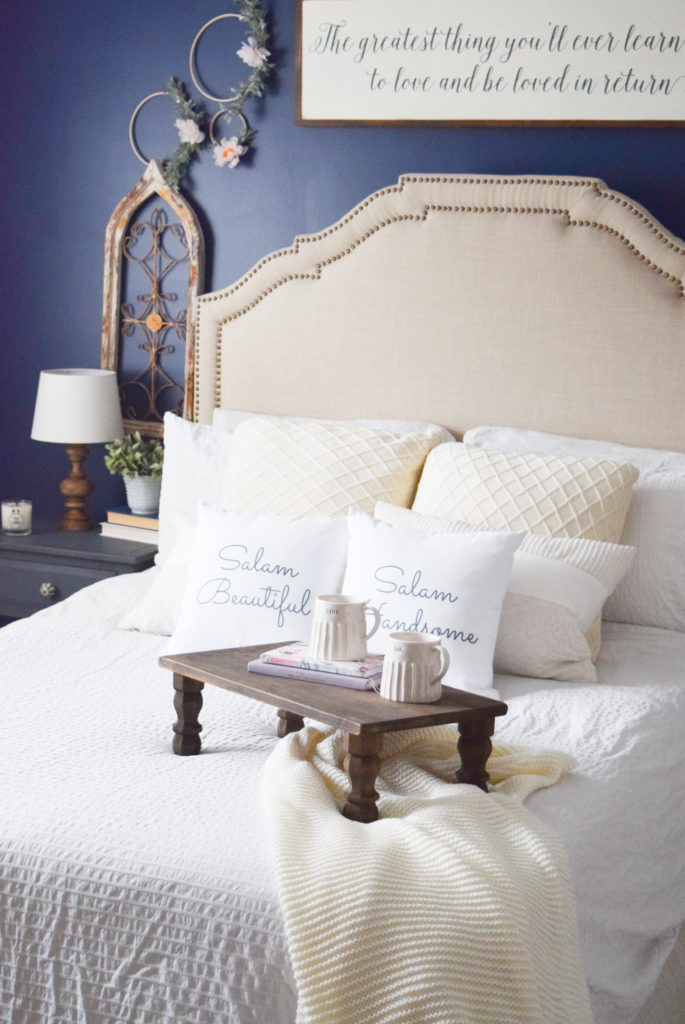
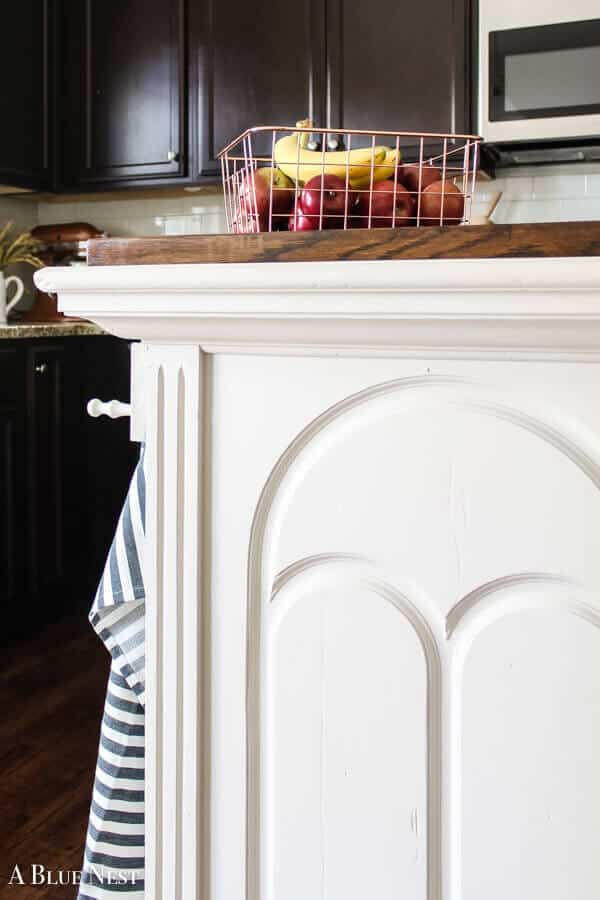
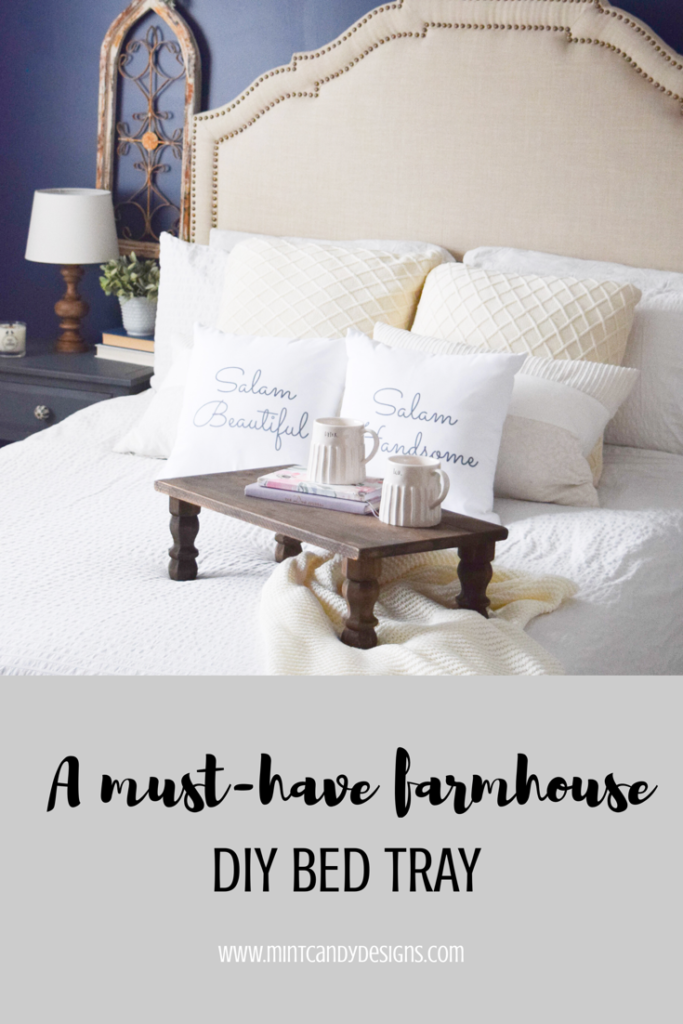
So without further ado, I am sharing a super easy DIY on how to make this farmhouse style bed tray! I’m sure you have seen on on etsy or on pinterest and if you are like me, you can’t afford the cray shipping costs of buying an item like this and being sent to Canada. So, I found my own solution with a quick visit to Home Depot.
Materials
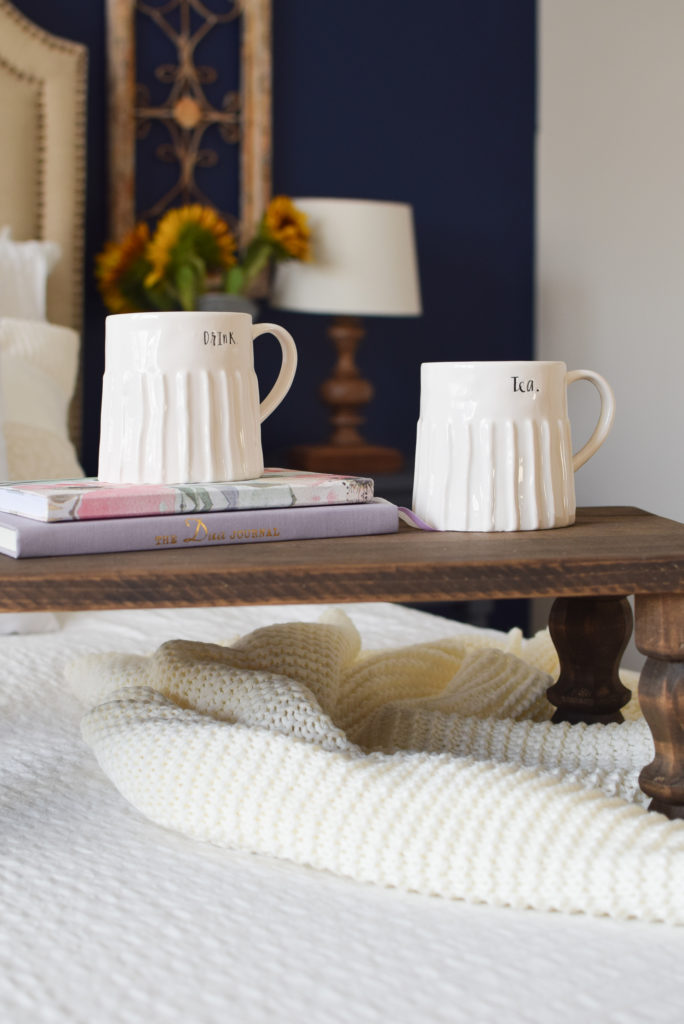
Good quality wood – I used Pine and I asked the store clerks at Home Depot to cut it to size for me. Theres usually a cutting fee, but my home depot never charges me – so win win! My dimensions were 12 inches wide and 24 inches long. I wanted a larger sized tray to set my laptop and a mug of coffee on, if I am working in bed.
A Sander
Stain of choice – I use Varathane Ultimate Wood Stain in Chocolate
Table Legs – So this was actually super easy, because Home Depot sells pre-made table legs. I got these ones, but there are several options available for you to purchase. Another option is to make your own if you are super handy.. which is not me!
Drill
Tape Measure
Pencil
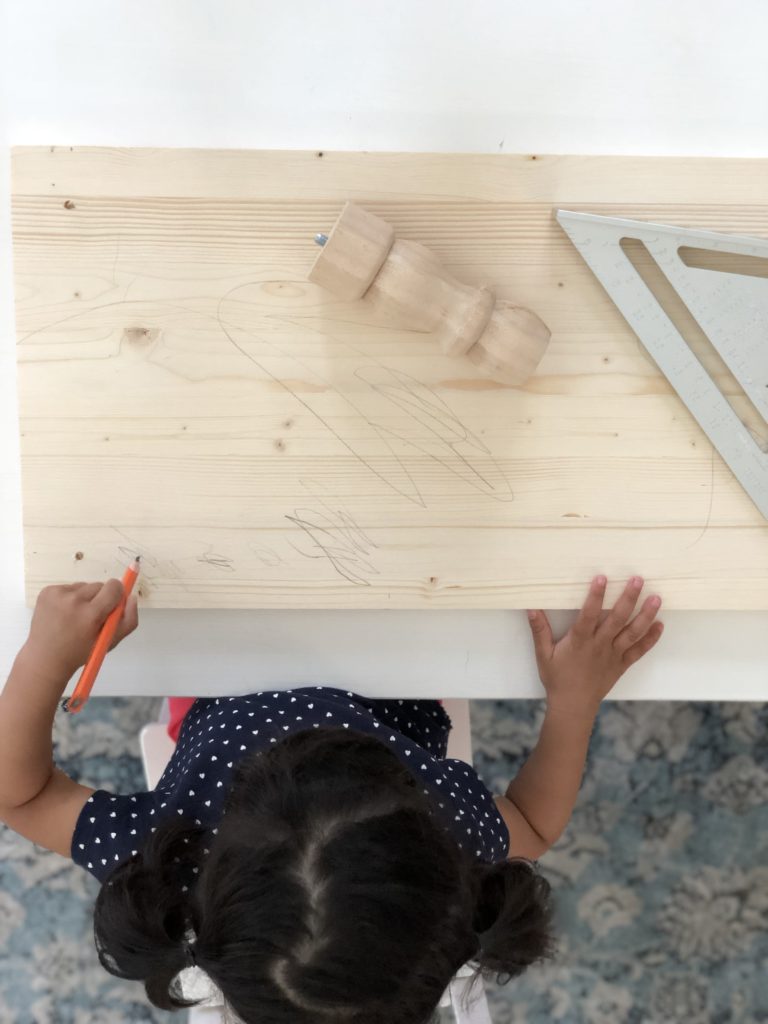
Cute toddler for assistance [OPTIONAL 😉 ]
What to do
First, sand down your piece of wood that will the tabletop. You want a smooth finish and rounded edges. This is the most time consuming step to make sure you get an even finish. I used my Black and Decker sander with a fine grit sand paper insert.
Next, measure out on your piece of wood, where the holes for your table legs will go. There is no complicated math but you want to make sure its roughly the same on each corner of your tabletop.
Then you want to use a drill machine to drill holes and screw in the table legs. The table legs come with screws so really all you need to do is drill holes and manually screw in the legs. Easy peasy! If one of your holes ends up being too large, you can use a strong glue to help secure your table leg too. This happened to one of the table legs so I simply filled in the hole with some glue and then set the leg.
Last, get busy staining! You may want to do multiple coats of stain and a water-based sealant at the end to ensure durability. Make sure you do this in a well ventilated area, preferably outdoors!
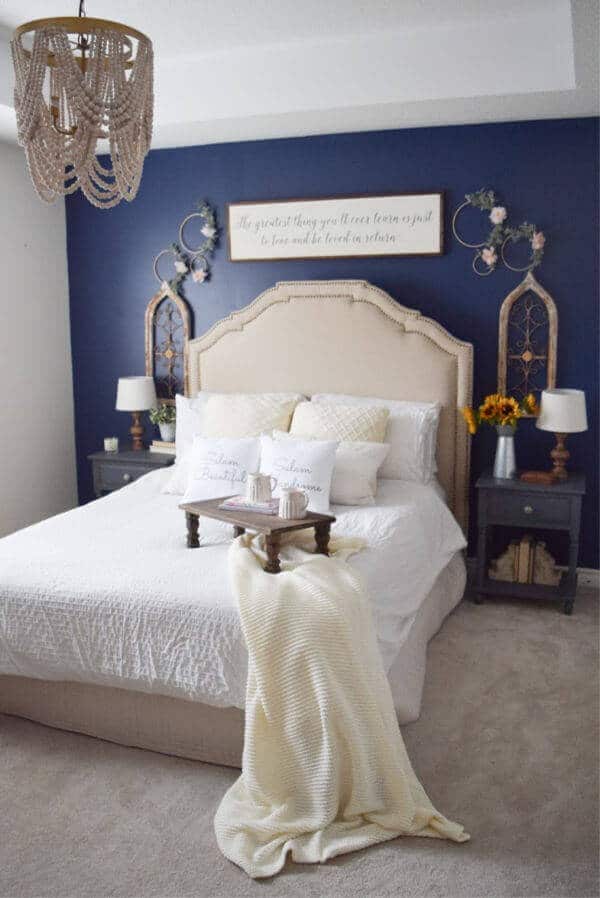
And voila, after drying, this is what the table looks like. Its the perfect addition to any bedroom and makes for a cute item in your home.
In case you are wondering, I am also sharing the whole process in my Instagram Stories at 3 pm EST today – so come say hi!
I hope you enjoyed this blog hop! Now head on over to my talented friend Jennifer’s blog over at Noting Grace to check our her adorable DIY Fall Hoop Wreaths! Shes a talented one for sure! Also check out all the talented bloggers down below who are sharing amazing DIY’s.
See you next time!

I DIYed That Fall Blog Hop
Jordan from A Blue Nest
Amy from Cuter Tudor

Kendra from Joy in Our
Home
Areeba from Mint
Candy Designs
Jennifer from Noting Grace
Bree from The Homemaking
Momma
Kelly from The Tattered
Pew

Taylor from Uniquely Taylor Made
PIN THIS POST FOR LATER

Areeba, its so pretty!!Such a great idea, love it!! 🙂
Areeba I love this tray! It definitely is a must have and so easy. I’m excited to see more of it in your stories on IG!
I love this idea and totally need one! I almost bought one last week but it was $50, so I am definitely going to DIY this one! Love it Areeba!
Areeba! I love this bed tray! What a fun idea!
Love the bed tray!! Its such a great DIY and versatile piece!!
Such an amazing diy, Areeba! I’ve often wanted to build a tray! Thx so much for the tutorial!
Kendra | http://www.joyinourhome.com
Amazing job, Areeba! I just love seeing that pic of your sweet girl drawing away. We just saved a piece of wood that we found covered in scribbled trains from years ago.
I love this DIY – I have always wanted to make one myself. I will definitely be trying this one!