
Hows it going friends? How has your week been so far? Well... its just about to get better because I am sharing a super easy and fun DIY wreath that will take you a maybe one episode of your favourite TV show (for me, it is "This is Us" - have you seen it?!?!)

What you need
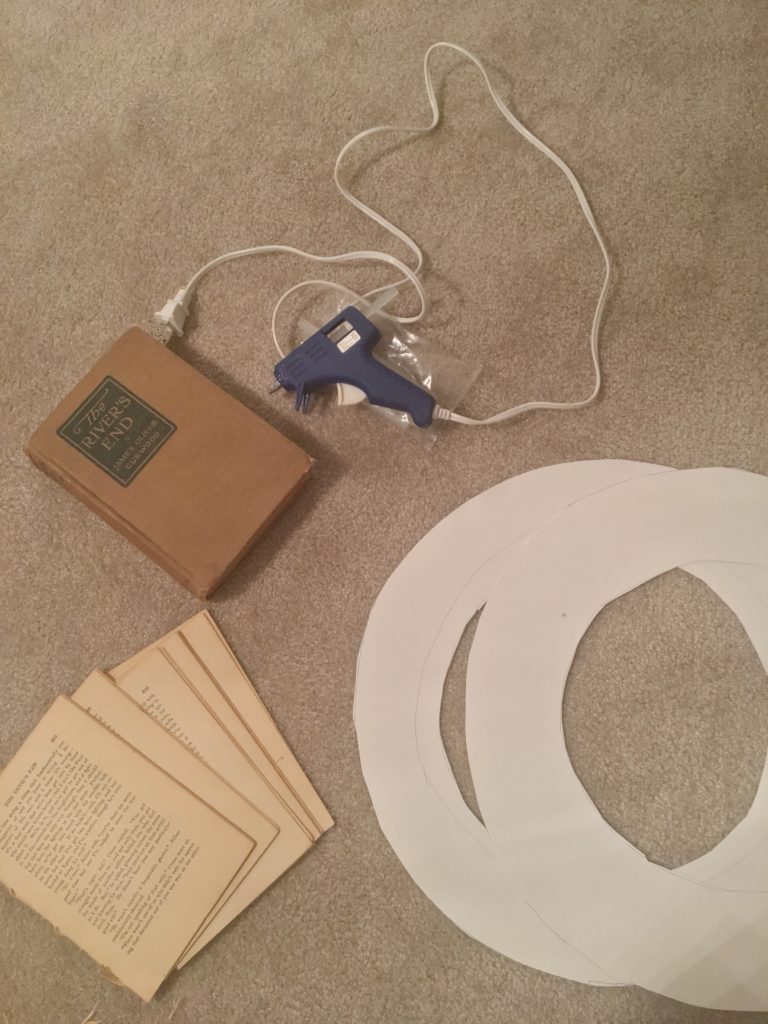
So, for this tutorial you need one or two old books - Head on over to your local thrift store and buy them for a few dollars!You can buy the cheapest ones, as we will be ripping out the pages anyway!
You will also need Bristol Board from your local craft store or dollar store. I picked up this white bristol board from the dollar store (2 for $1!)
Glue Gun with glue refills (I went through a whole pack of the glue refills)
Scissors
Box Cutter
Pen or Pencil
How to make the book wreath
Use the lid of a pot or a round charger to trace out a circle on your bristol board.. If you are fancy (or have kids who own these supplies) you can also use a compass to draw out a circle. I used a 12 inch charger I have from Ikea. Cut out the circle and freehand draw another circle inside the larger circle to create a ring. You can keep this ring as thick as you want - I kept mine to be 1.5-2 inches thick. Then use your box cutter to cut the inner circle out - I used a scissors.. didn't have a box cutter on hand, hence the ugly cutting.. hehe.
Next, rip out pages from your old books!
Freehand draw a leaf shape on a page - You can vary the sizes and shapes. I went with a simple leaf shape.. because lets be real, I am no artist and this is as artsy as my leaf drawing gets.
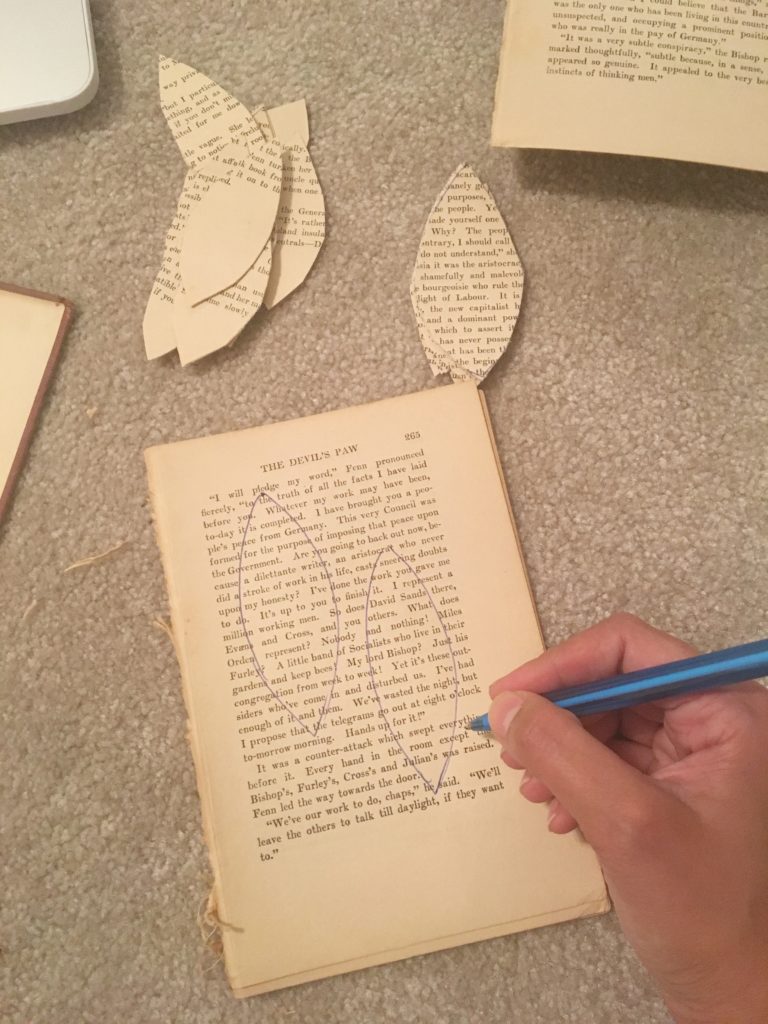
I then stacked 5-6 pages together and put my page with the leaf shape on top and cut them all out at the same time.
Once you have about 20-25 leaves, start glue-ing them onto the cardboard ring. Make sure you glue them going in on direction. Also don't glue the whole leaf - put glue on the bottom part of the leaf (the section that would be closest to the imaginary stem) and glue there - that way you will be able to "fluff up" your leaves and add texture.
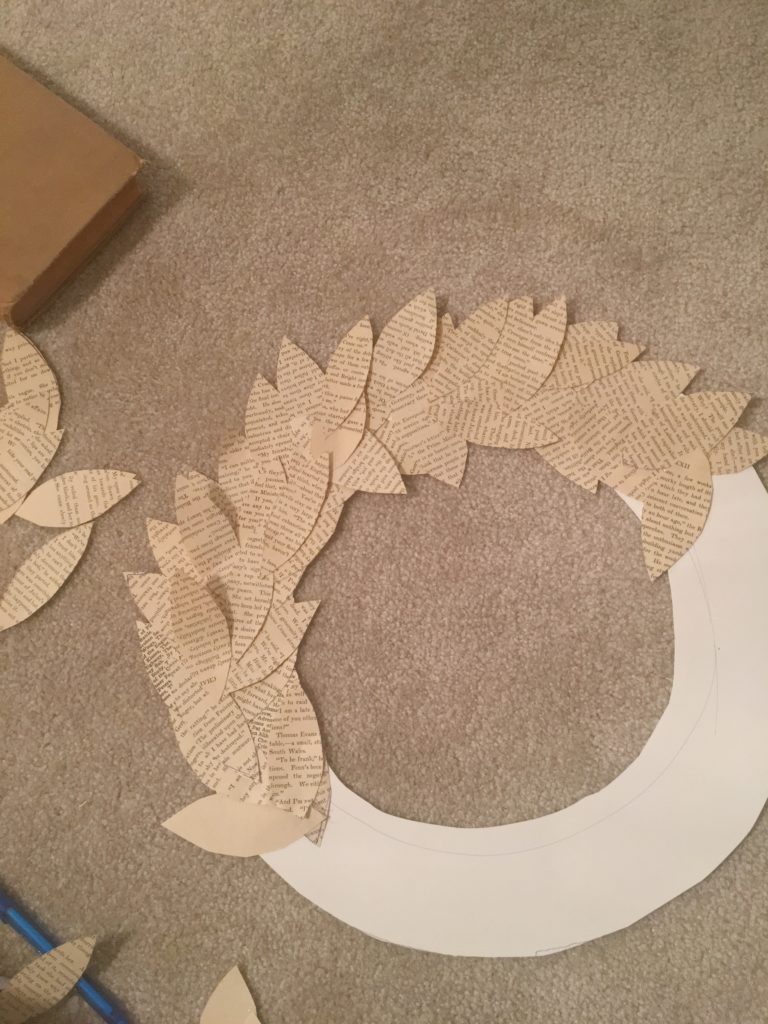
Once you have your first layer on, you can start layering your leaves until you have achieved the fullness you want - I did 2-3 layers and bent the leaves to "fluff" them up as I went along.
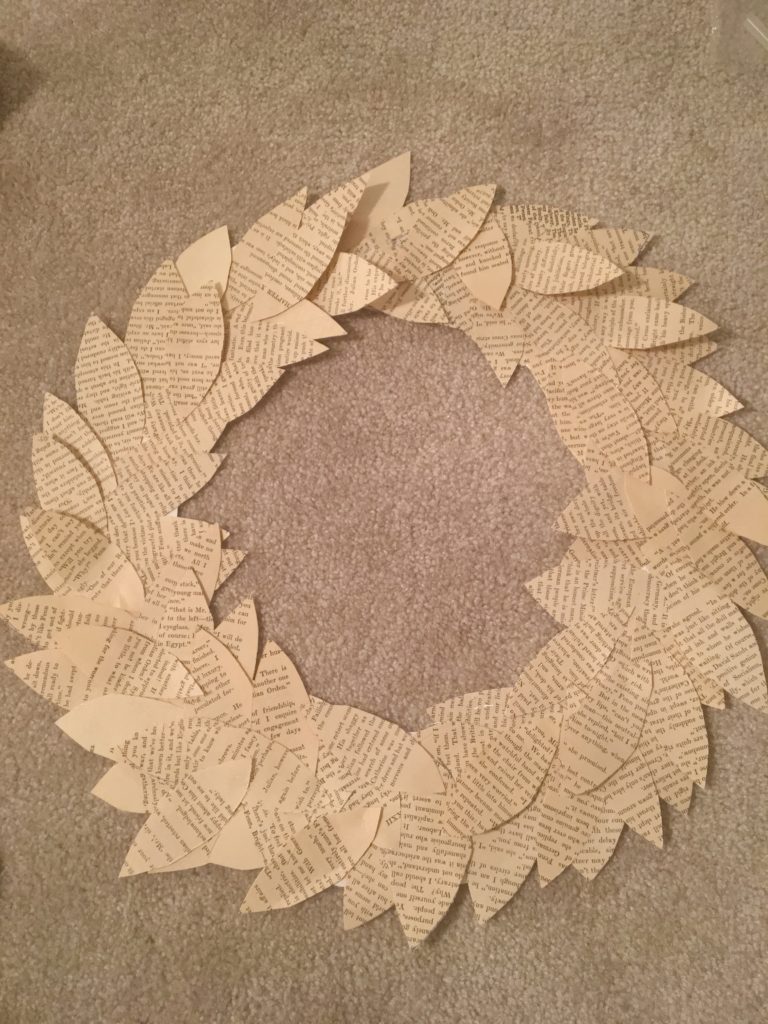
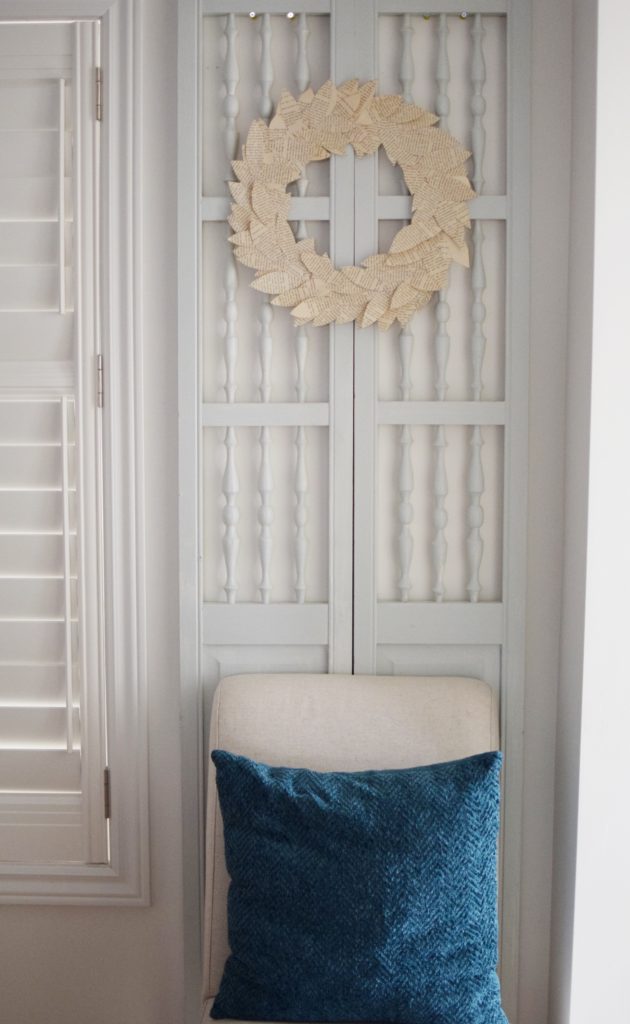
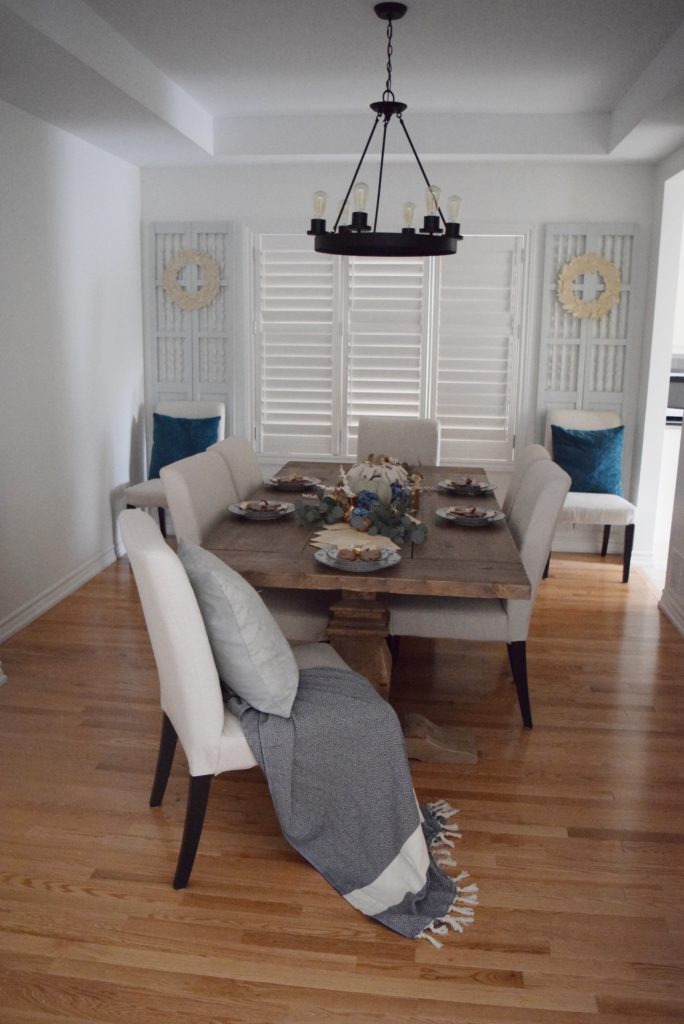
And thats it.. easy right? I hung them in my dining room on these bifold shutters I salvaged and repainted in Sherwin Williams Sea Salt. My dining room tablescape was inspired by vintage books [Check that out HERE] so these added the perfect book-themed accent and I had all the supplies at home.. so were pretty much free!
SOURCES


Leave a Reply