
[bws_pinterest_pin_it type=”any”]
Happyy Monday friends! Hope you had a beautiful weekend – for us Canadians, it is a long weekend so we are trying to make the most of it… and by that I mean, finish ALLLLL the things!!
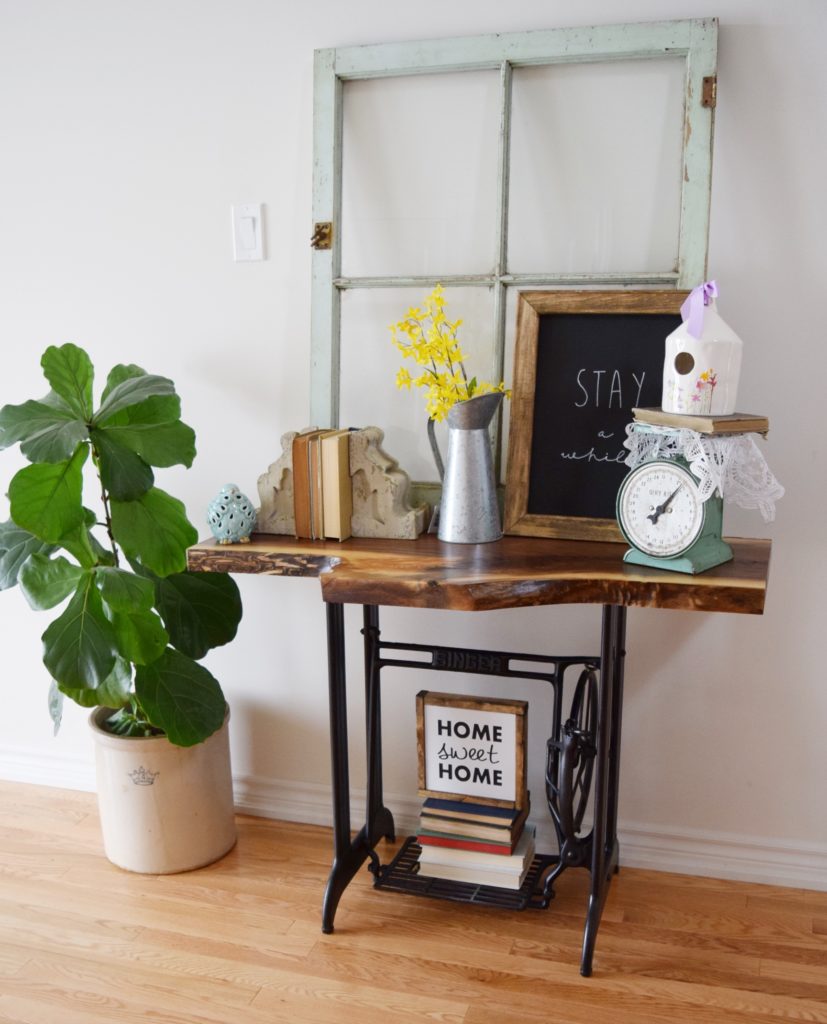
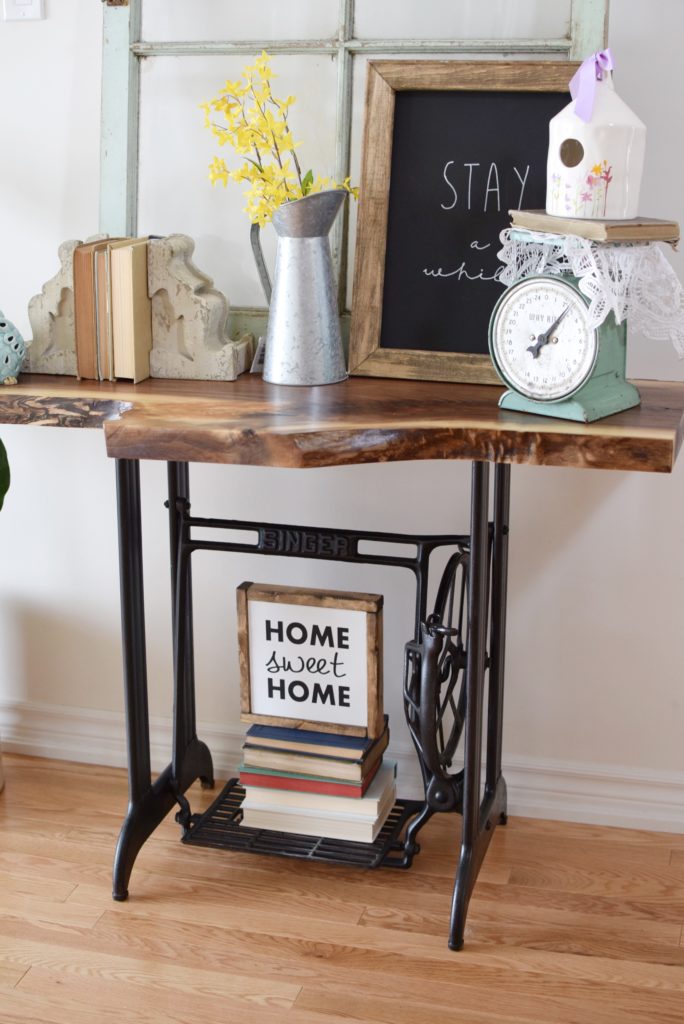
Today I want to share a super fun and exciting project that we completed around here at Mint Candy Designs. Before I go into the DIY, a little back story – my husband and I went to a large antique fair, Christie’s Antique Fair, right here in southern Ontario, last fall. We both did not know what to expect and what we were going to get. If you have ever been to an antique fair, you will know that it is SO overwhelming! There are HUNDREDS of vendors and with all different price points for nearly identical vintage finds. You need to know your antique game to come away with some good deals. Needless to say, we did not know a thing about buying antiques or let alone what they should be priced at! But when we saw this vintage singer sewing machine base for $50, we just had to buy it! I think that was a pretty good deal for it (don’t tell me if it wasn’t haha!) and we knew it would be a console table from the day we brought it home. But like a lot of DIY’s… this DIY went onto the back burner with me going back to school after a 6 month mat leave and 10 bajillion other things that were happening.
So this summer, we resolved that this project would be completed, no matter what! But… we didn’t know where to start. We have never “built” a piece of furniture up until this one and while we have a decent tool box, its quite basic with drills and screw drivers. We knew we needed wood and some fancier tools.. but where to start??
For the console top, my husband (who has his own Pinterest boards hehe) had seen a console table with a live wood edge. A live wood edge is where the wood maintains the curvature and maybe even some bark from the tree that it originated from. So, we set out to search for a wood supplier where we would be able to buy this piece of wood, for a reasonable price. Google led us to Saw Mill on Wheels which is actually a locally owned mill shop making live edge wood slabs. We headed down on a fun road trip in the dead of winter and found the perfect piece of walnut that had a lot of visual appeal in terms of the knots and colour. The folks at Saw Mill on Wheels, are incredible and they cut the wood to size for us and they even finish the wood for you, if you need. We wanted to finish the wood our selves, so we brought it back home and planned out our project. Now only for the winter to end.. because theres no project happening outside at -30 degrees!
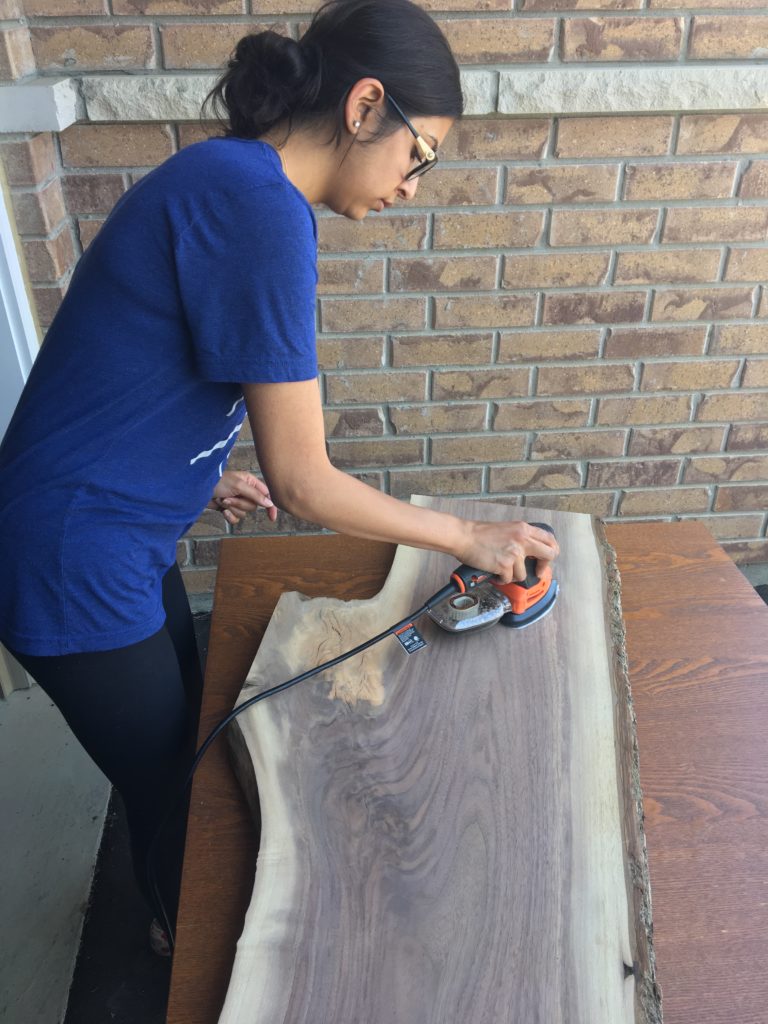
Next, we knew we needed a sander, and a decent one to give whatever piece of wood we purchased, a good quality finish to our prized slab of walnut. Thanks to Black and Decker Canada , this problem was solved in a jiffy! They were so kind to send us a Mouse Detail Sander which was perfect for the detailed sanding required for the wood piece we had.

B&D Mouse Sander
We started with taking off the bark off one side of the wood slab and sanded the wood down using the handy Mouse Detail Sander. Its compact size fit perfectly into my hands while I worked on getting in the tiny grooves where the bark met the wood. Also, it came with two sand paper pads – a coarse and a fine grit. We used the fine grit paper to get into the tiny itty bitty grooves – which was SO EASY with this sander and the control it worked with! I also have horrendous allergies.. but this sander was truly my dream because it has a perfect compartment to collect the sanding dust! So no sneezing for this DIY’er here. The sanding took us 20-30 minutes tops! SO FAST!!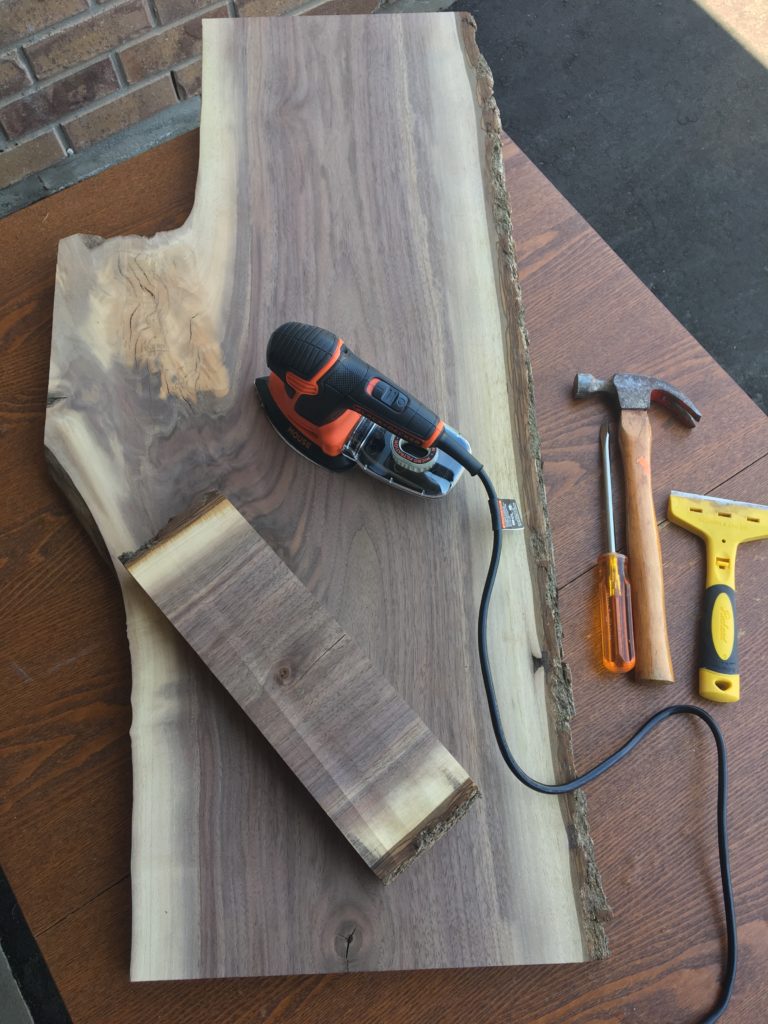
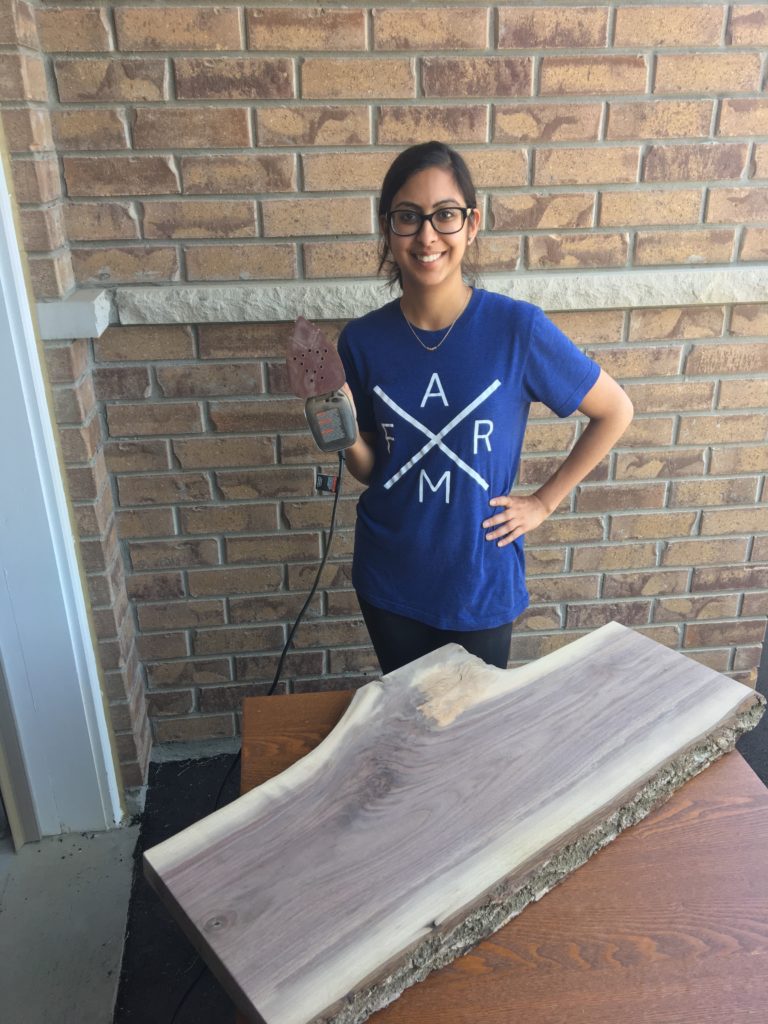
If you are in the market for a handy and affordable Sander with incredibly fast performance, you definitely NEED this Sander in your life!
Next up, we pre drilled holes into the wood where the base would attack to the wood – because it was a piece of SOLID wood, we realized pretty quickly that we would need to drill in the holes the whole way versus just half way like you would for ply wood or lumber you buy at Home Depot. We used Four 10 gauge, 1 inch long pan head screws and washers to secure the wood in place on the singer base.
Next up, we slapped on a couple of thin coats of poly ( I used Min Wax Polyurethane in a clear satin finish) and drilled in the screws and voila, we had our very own pieces of custom furniture, built as A TEAM! Honestly, I can’t even tell you how proud I am of us for finishing this project.. I mean we are pretty handy with getting things done around the house – but building a piece of furniture? I think we just took it a to whole new level, don’t you think?!?! Next up.. SHIPLAP.. maybe? That’s pretty intimidating because it involves using a nail gun. But I think we can handle it guys.. I think we can handle that.
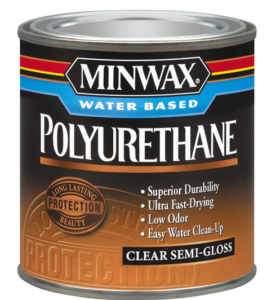
MinWax Poly
And here is the table, all styled in its full glory!
[bws_pinterest_pin_it type=”any”]
[bws_pinterest_pin_it type=”any”]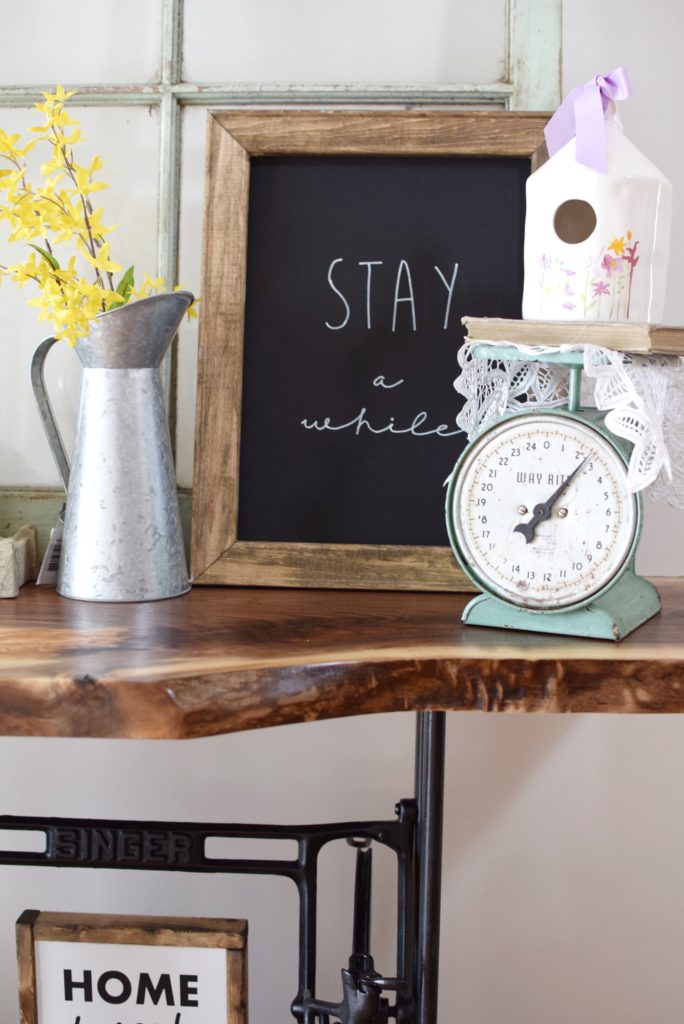
[bws_pinterest_pin_it type=”any”]
This project was so so fun to work on with my husband.. I mean really, every time I say we, I really mean HIM heheh! He is the true star of this project and honestly, he did most of the leg work while I stand around acting bossy. Because, I mean, who doesn’t? 😉 I hope this post inspires you to not be afraid to build your own whatever-it-is-your-heart-desires.. because if I can do it (a girl who can’t operate power tools), so CAN YOU! Let me know in the comments about a fun DIY that you have done which involved building something! I would love to hear from you – and come say Hi on Instagram , Pinterest and even good old Facebook!
Hugs, friends!
Areeba
*** This post was sponsored by Black and Decker Canada and contains affiliate links. All opinions and comments are my own***

[…] base we scored at Christie’s Antique Fair last fall! You can check out the full DIY post HERE. I am simply in LOVE! I mean mostly because we put a lot of sweat and hard work into because let me […]