
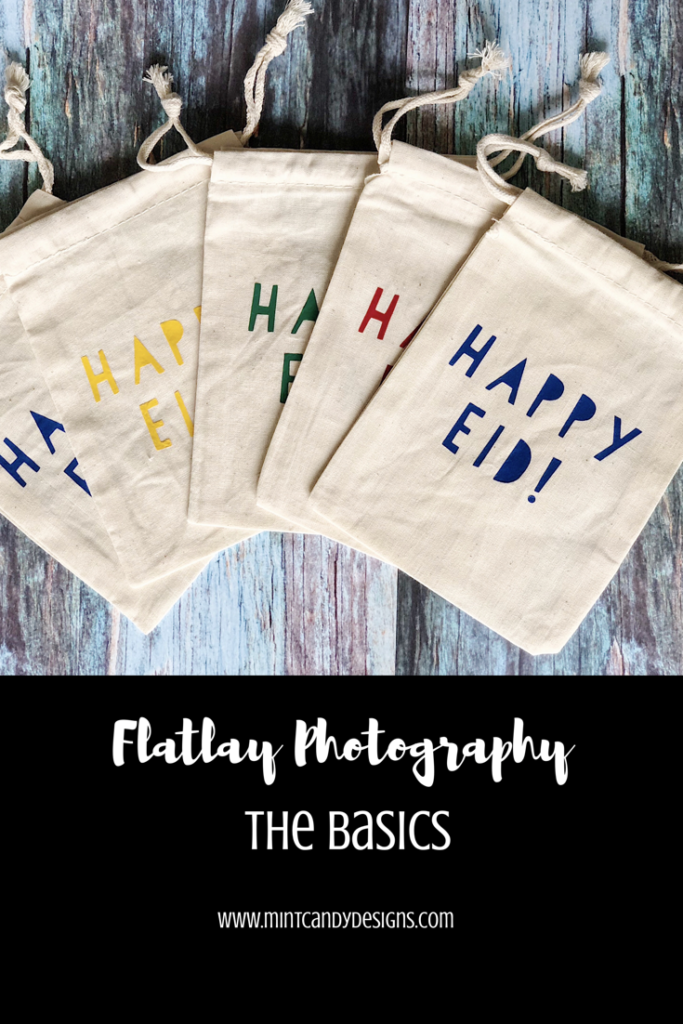
Hello Friends! I hope this finds you well! I am not a professional photographer by any standards, but having an Instagram account, where the main form of content creation is visual, has taught me a thing or two about taking pictures. You don’t need a fancy camera for any of the tips and tricks below, but some of these are actually from my iPhone. Can you tell which ones 😉 I bet you cant! Follow my easy Flat Lay Photo Tips and tricks and learn how to take some beautiful photos using a camera or even an iPhone.
Don’t have time to read? No worries!
PIN THIS POST FOR LATER
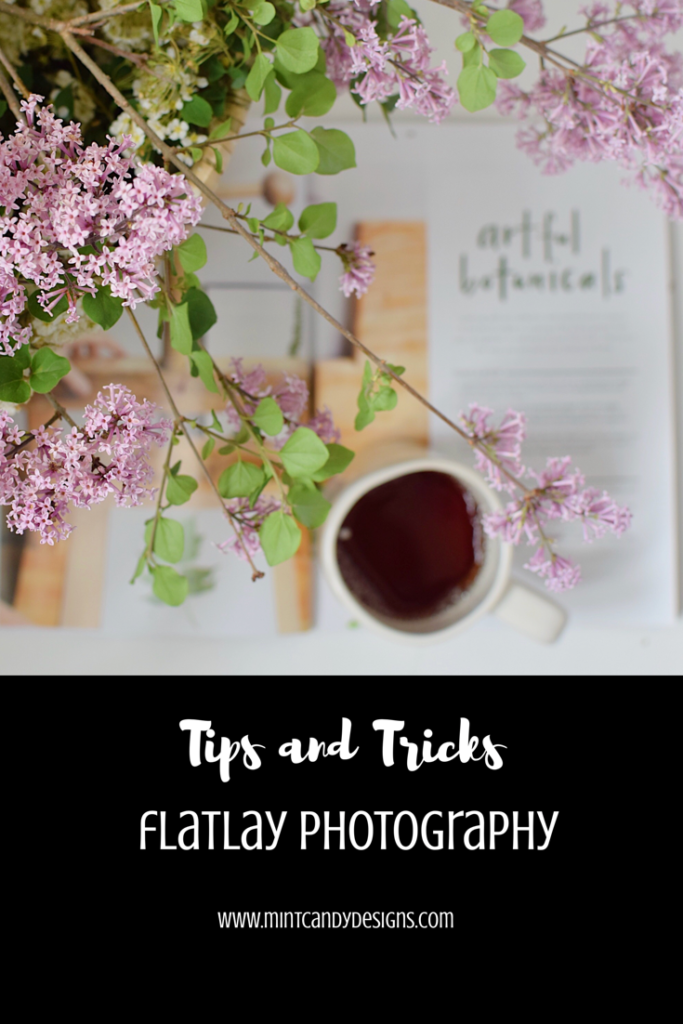
So, I tried my hand at this and if you follow me on Instagram you have already seen some of these posts and I thought I would put together some quick flat lay photo tips for you that I find are handy when you are creating fun photo displays.
The first two key elements of good flat lay photography and generally any other photography are props and good lighting.
Props
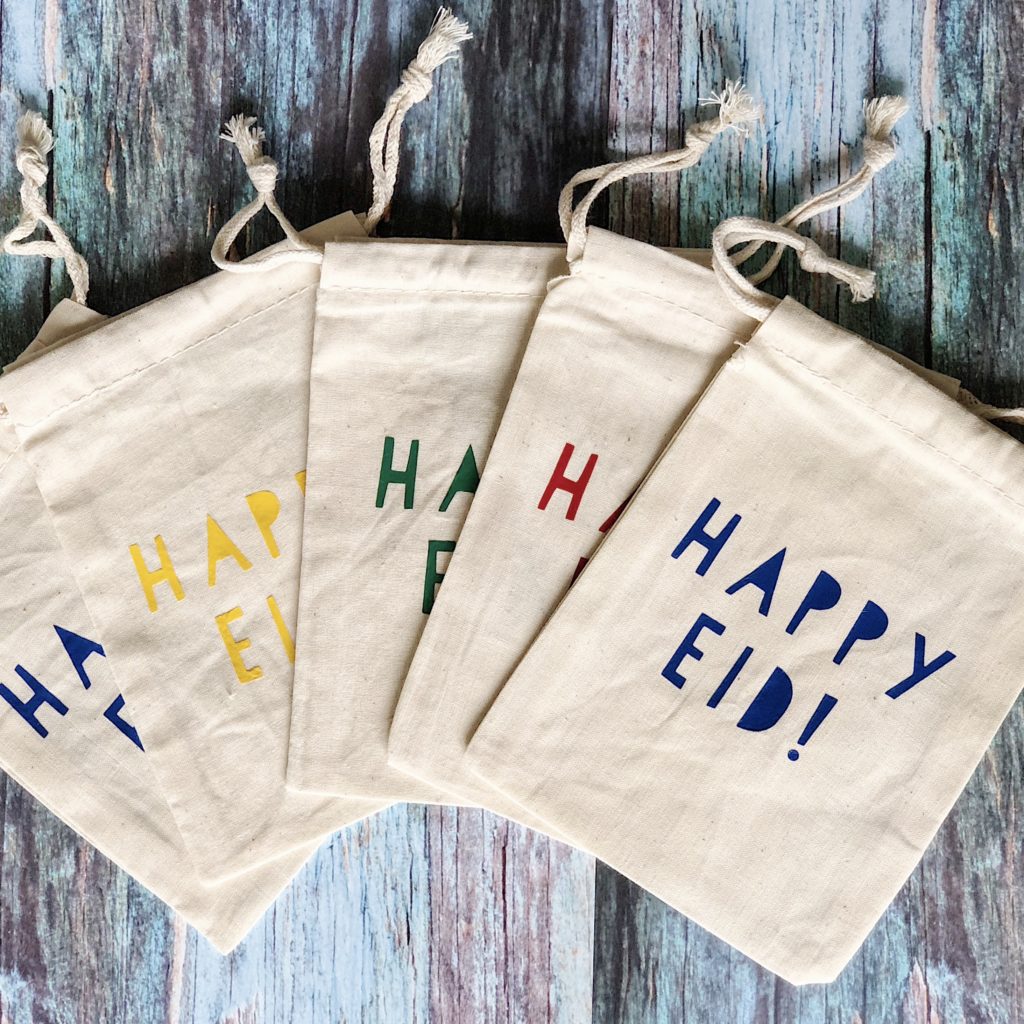
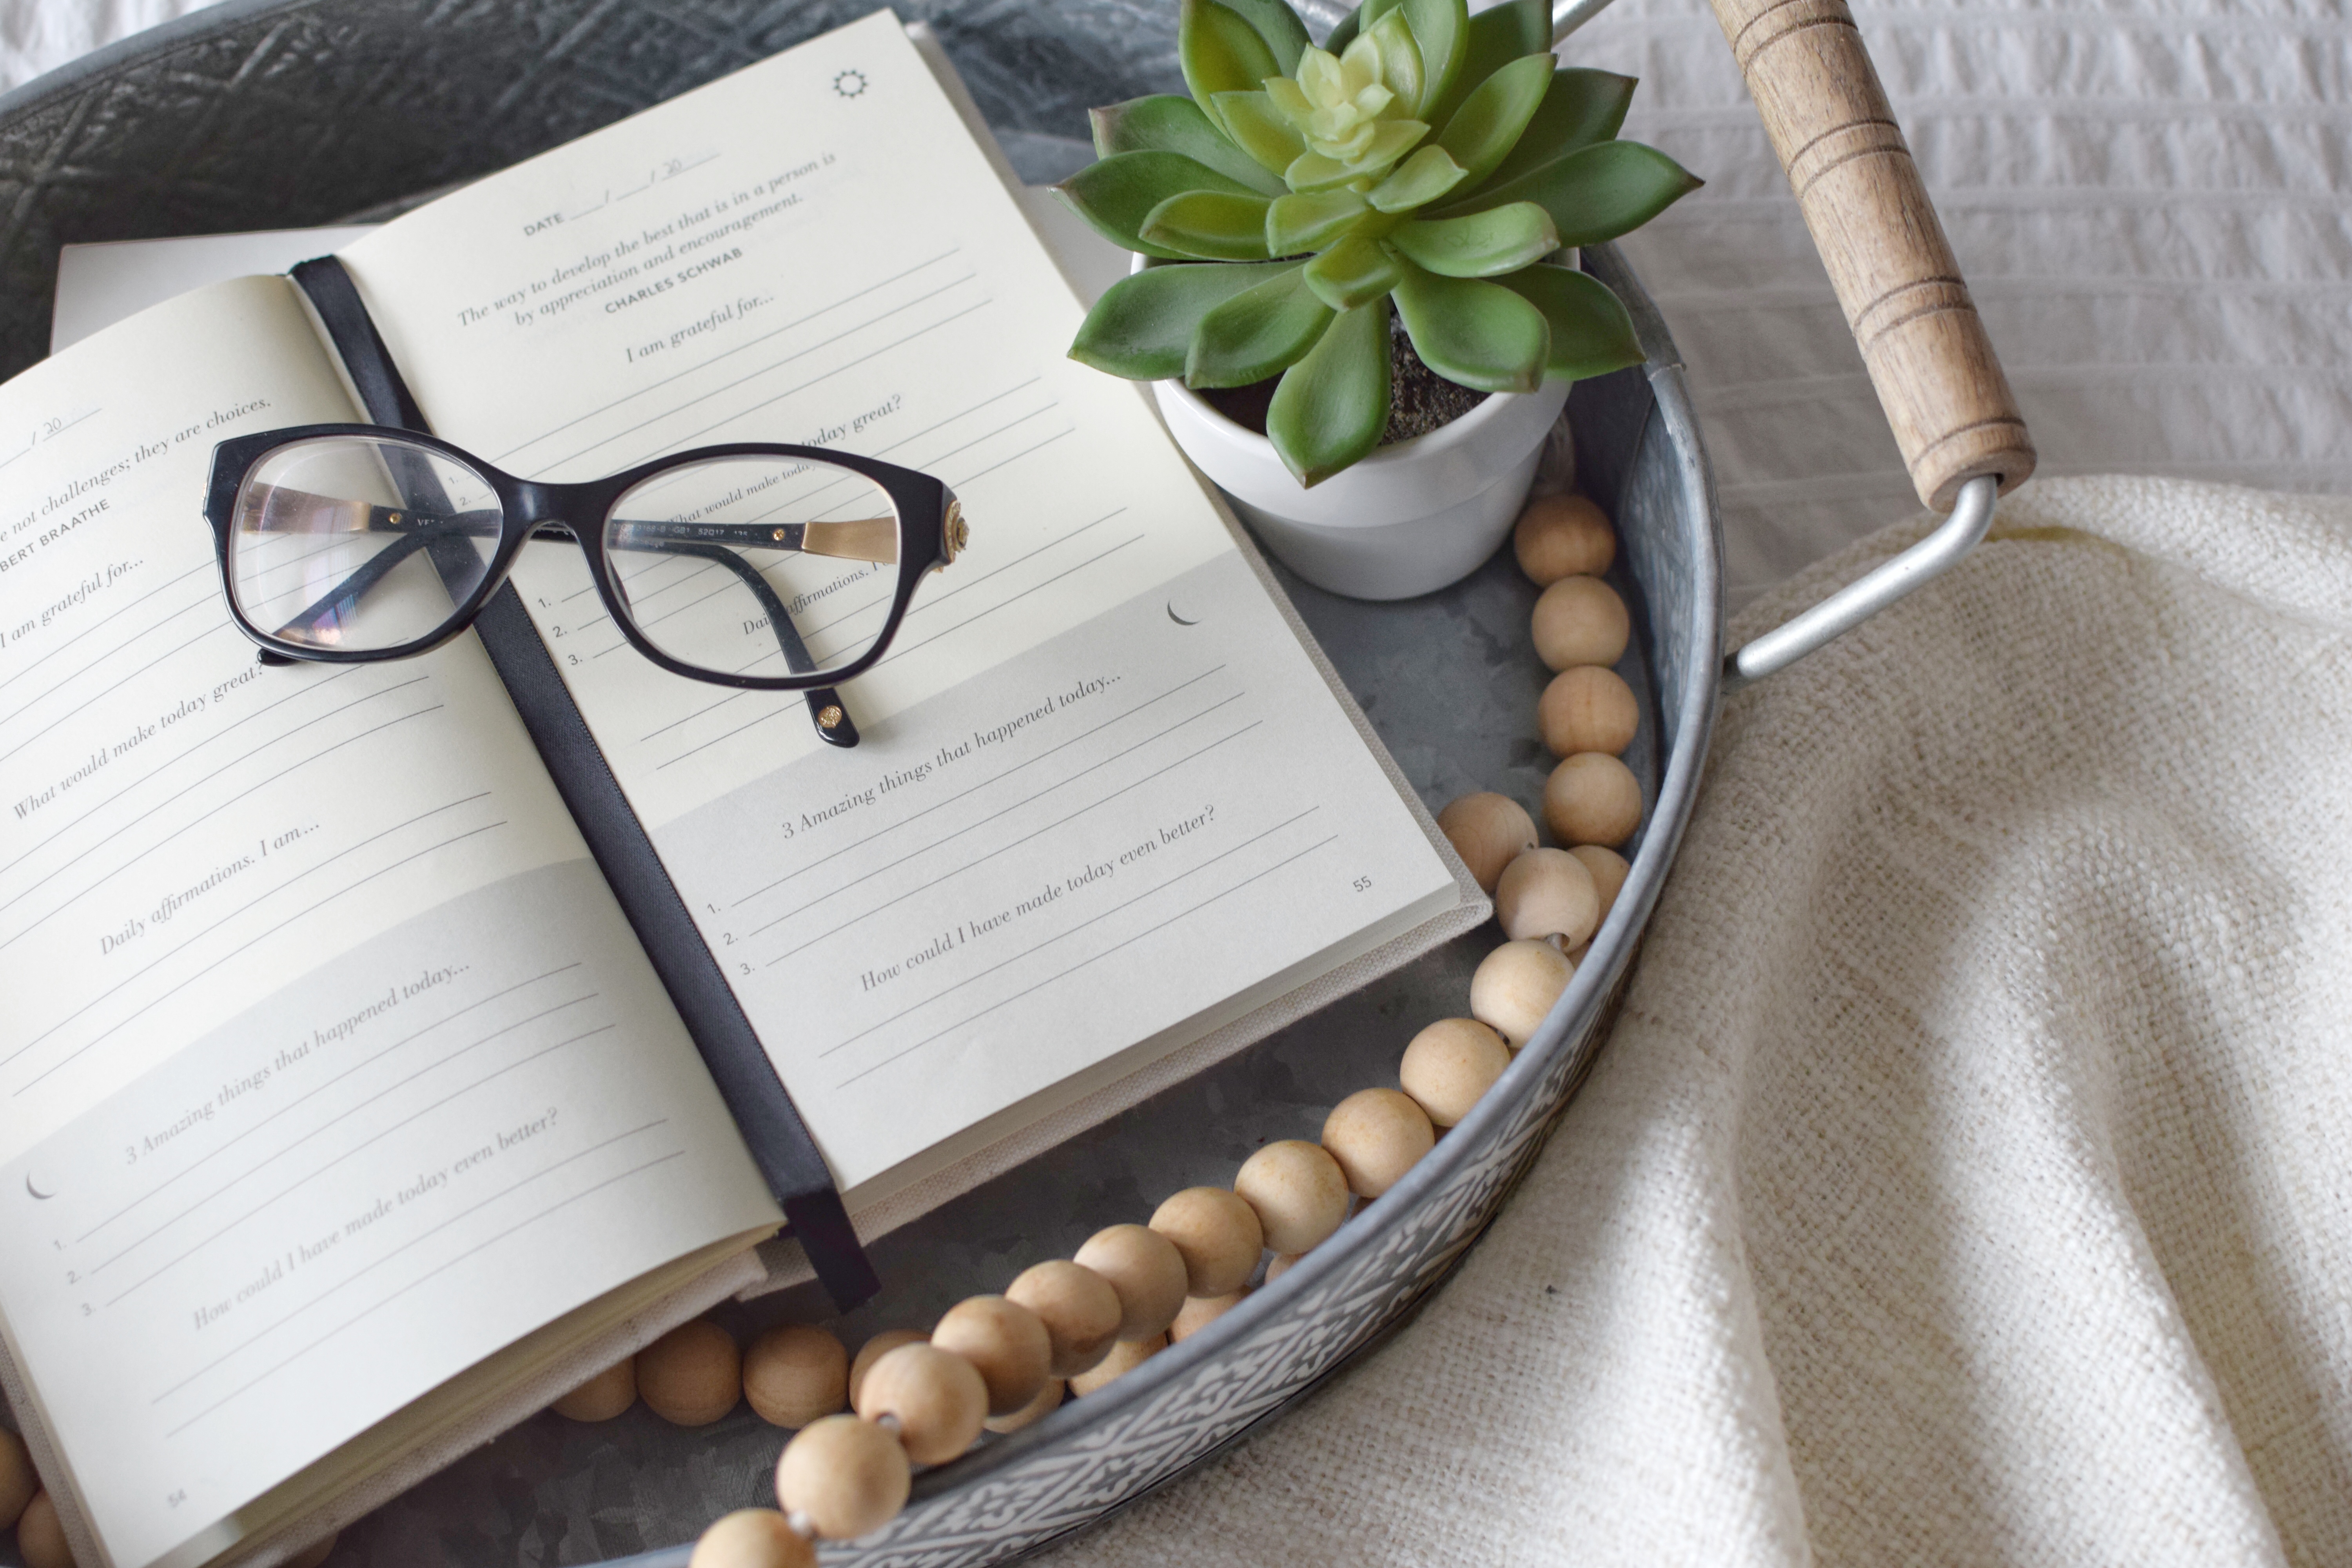
Have your props or items that you want to photograph all ready to be grabbed and replaced. Don’t be afraid to play with different textures, fabrics, greenery, old books, vintage spoons, – basically I pick up whatever I see near me and try it out on my flat lay until I get the look I am hoping to achieve.
Good lighting
I cannot stress this enough.. natural day light can elevate your picture like nothing else. I only take photos when I know there will be good lighting! In our home, it is in the strangest spots, which usually means getting creative with containing my daughter
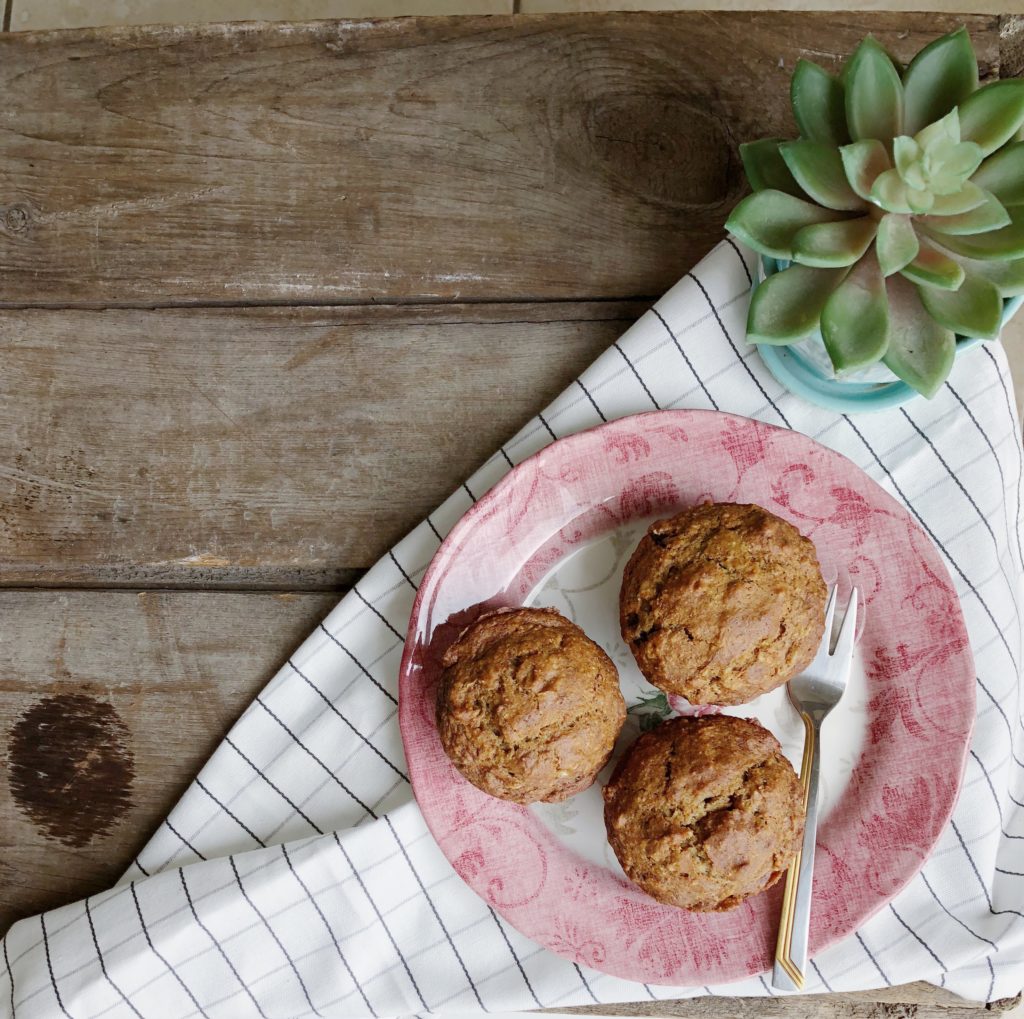
Next you want to define your photo – this includes having a backdrop that you will place objects against, your main focus of interest and defining the space around it.
Backdrops
You want a crisp background for your images where you place all your props – some of my favourites include plain white Bristol board, scrapbook paper for detailed shots like the one below and even chunky throws to get some texture in.
Establish a point of interest
Whether its a mug or a magazine spread, create your set up around this and add your props to draw the eye to the main point of interest.

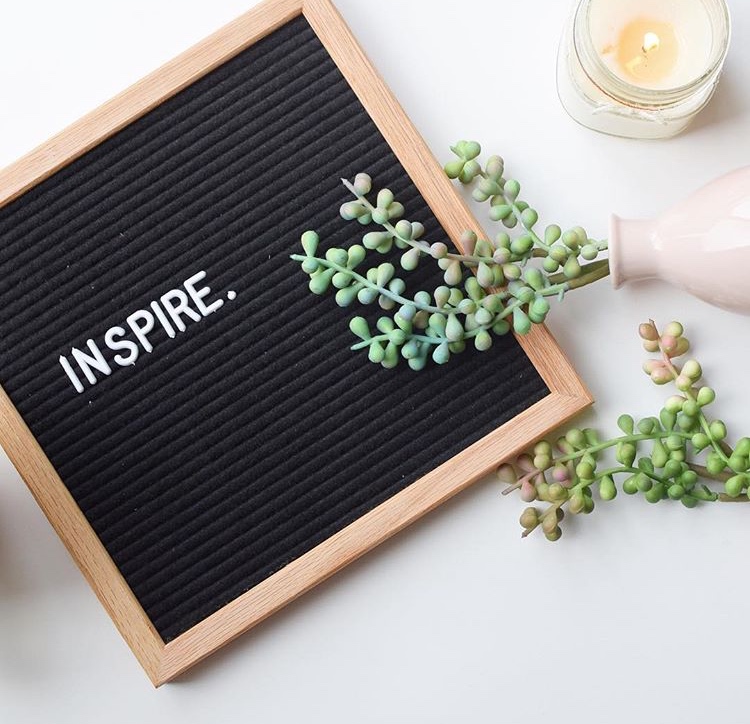
Create negative space
You don’t want an overcrowded photo but rather where the rule of thirds applies. The rule of thirds essentially applies to all photography and composition. Below is NOT the perfect representation of it as I am not a professional, but essentially you want your photo to have three grids/sections. Within this grid, you can have your objects grouped in three in each grid, with some empty and so on. My rule is generally to have 2/3 empty space while 1/3 space with object or even myself in photos.
Create movement
Sometimes the best photo’s are captured when you give the viewer the impression that the items (such as plants, greenery) are “moving” or “swaying” effortlessly in your photo.
Now that you have done all this hard work, you have to go the extra necessary mile. It is time to EDIT!
EDIT your photos! Here are some more flat lay photo tips and useful apps that you can use to edit you photos. There are many fun app’s available for your smart phone where you can edit right before posting. My favourite is Snap Seed and my go to settings are adjusting the brightness, reducing shadows, and increasing the highlights. In fact, you don’t even need an app if you don’t want to – you can make these changes straight from Instagram right before posting by using the “Edit” option. Trust me – it will make ALL the difference!
Here are some fun examples of what I have been able to capture – Keep in mind again that I am not an expert and these are all just taken when I have had time, good lighting and when I have all the props easily at hand. These are also the best photo’s from the 20 or 30 photo’s I took.
Hope this was useful friends! Please let me know if you have any flat lay photo tips that you like to use.
xoxo
Areeba
PIN THIS POST FOR LATER

Great post! I am new to the “big girl camera” as well and scared/unsure how to use it as well. Thank you!
Thanks! I am happy you found it useful 🙂 My best tip is to look for good lighting and shoot the same shot multiple times in the “no flash” mode 🙂