
Hi everyone! Hope you had a lovely weekend! I wanted to share these super fun and easy DIY Chalkboard Signs that I made this past week using some empty frames a friend was literally throwing away.
My friend had some old canvas paintings that she had taken off the frames, and was selling them on Facebook ( $14 for all 8 of them). So, I quickly snagged them from her – you can buy empty frames at your local crafts store (Michael’s, Hobby Lobby etc.) or remove any old paintings you might have lying around. I have a few more in my basement that I am excited to take apart as well! I made this DIY in the basement as it’s incredibly cold in the garage. so excuse the low light quality.
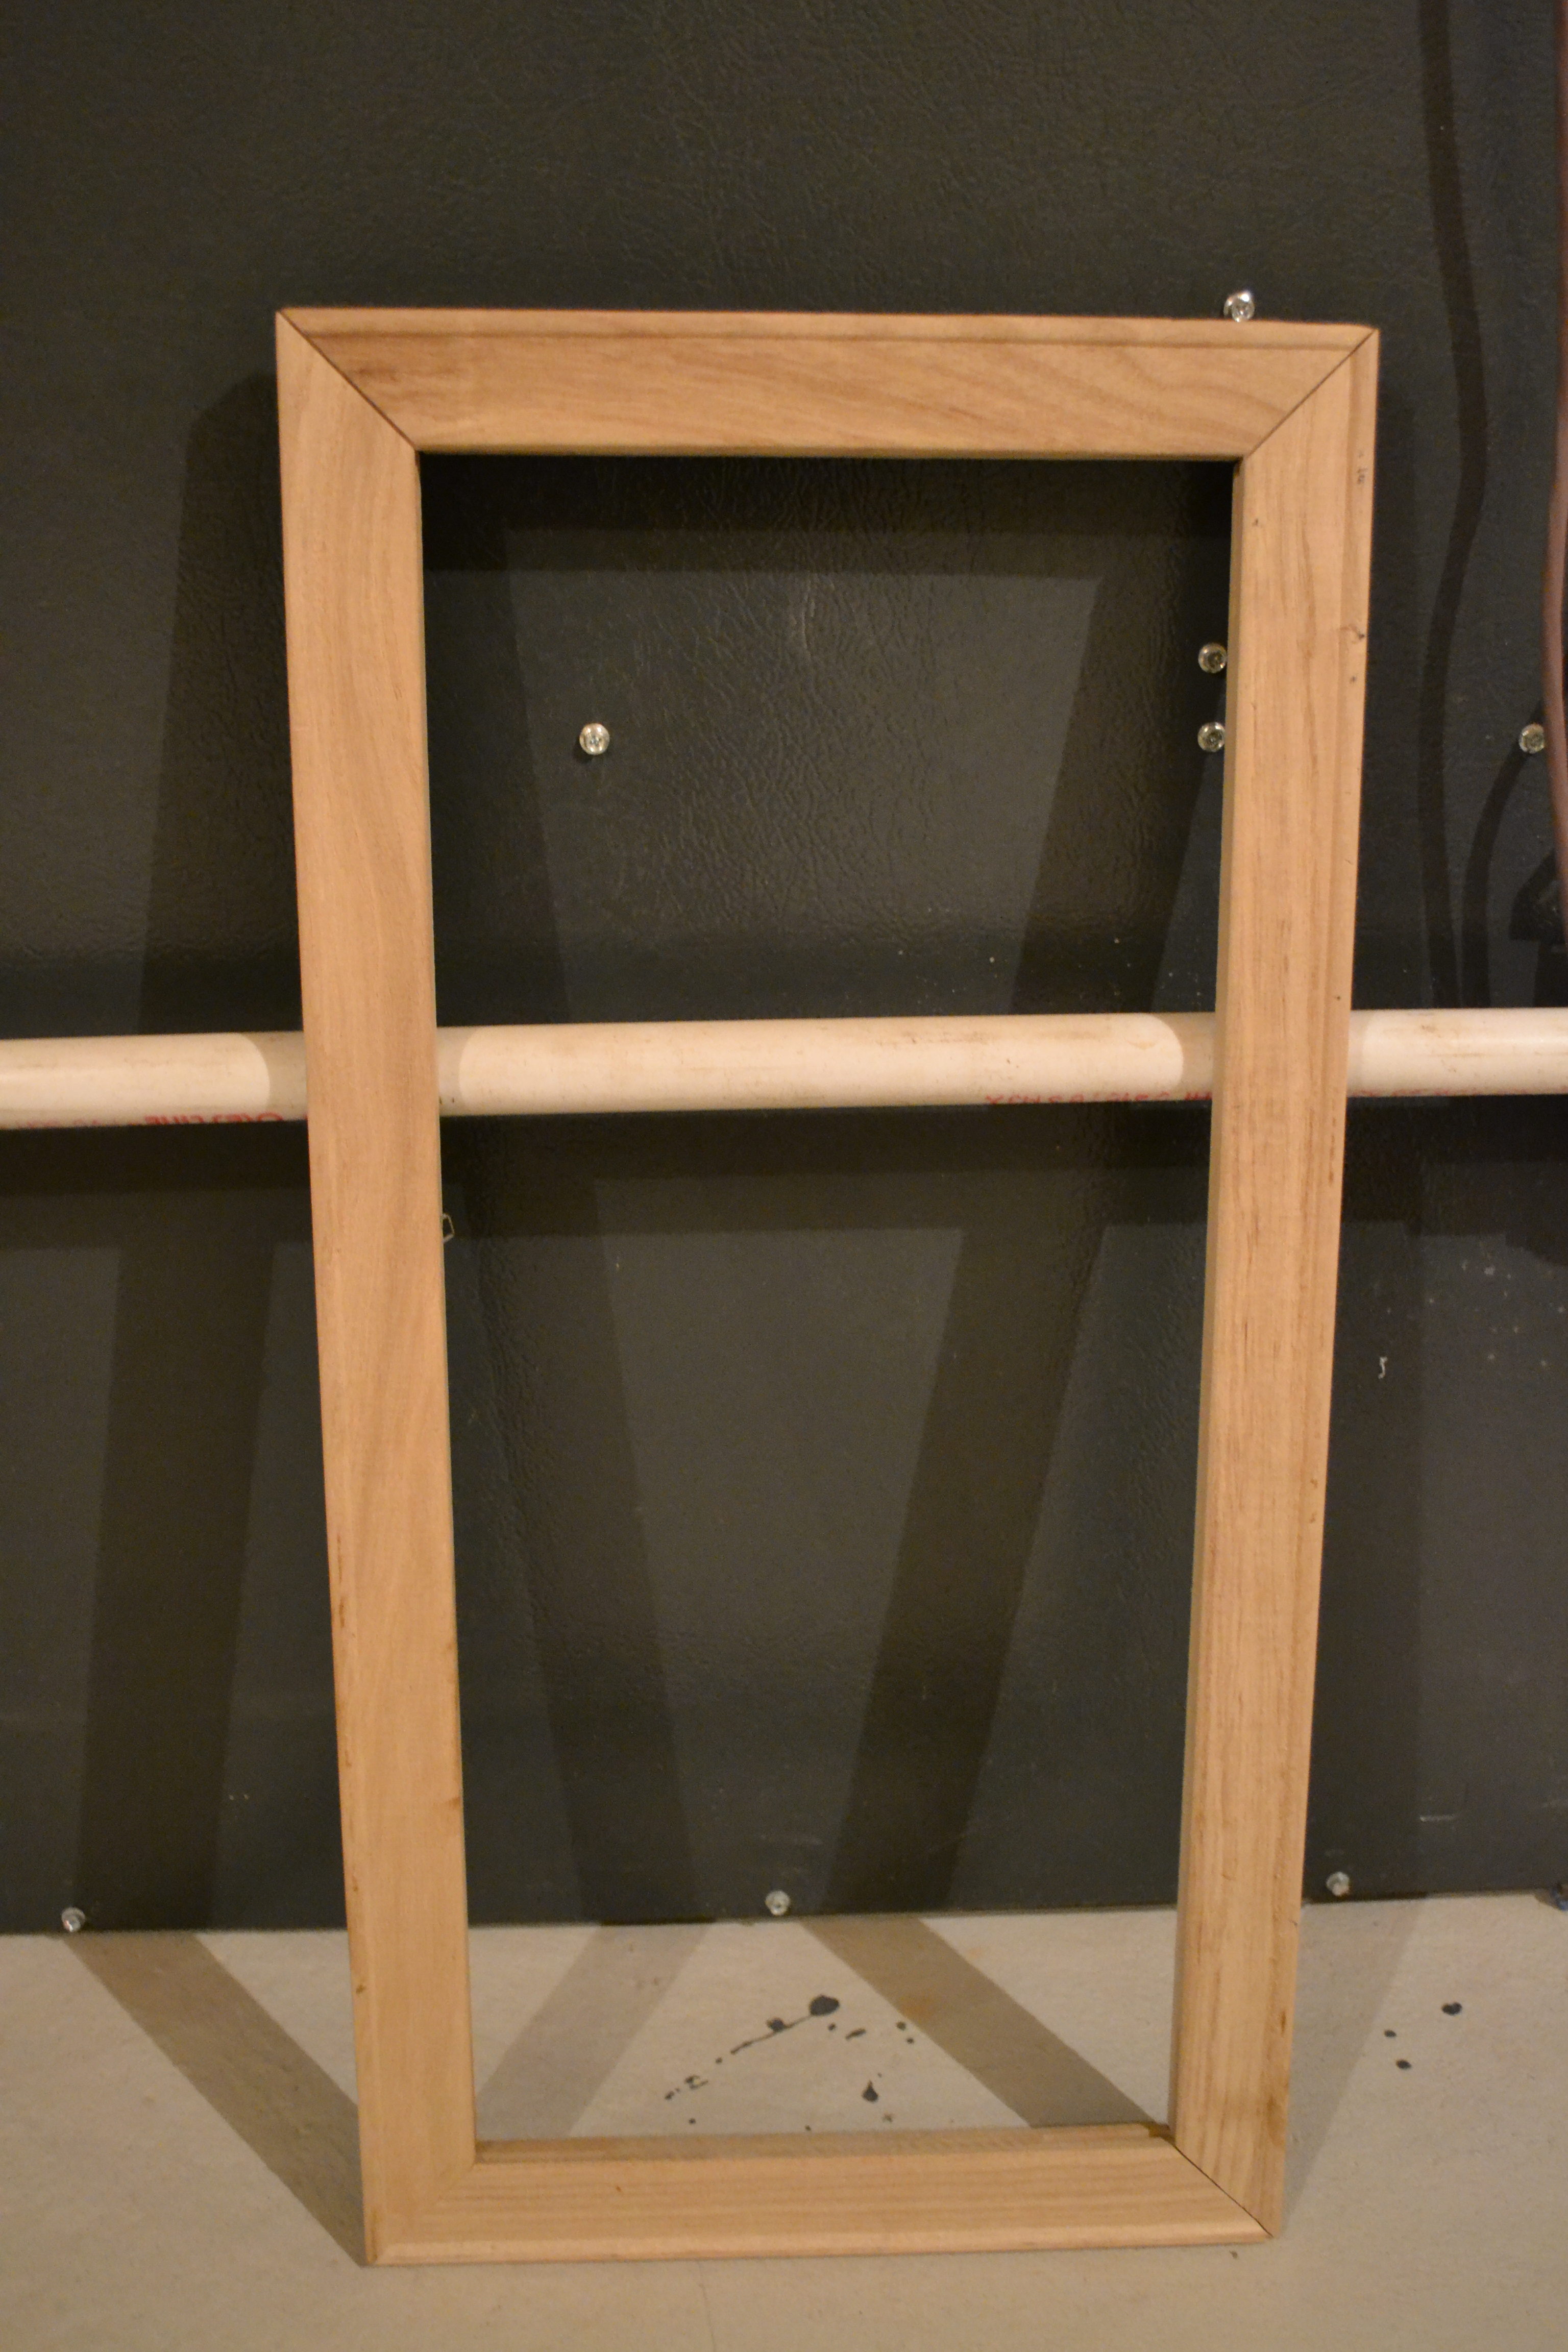
Here is one of the frames as I bought it – I cleaned it up a bit by pulling out some of the leftover staples that held the canvas in place.
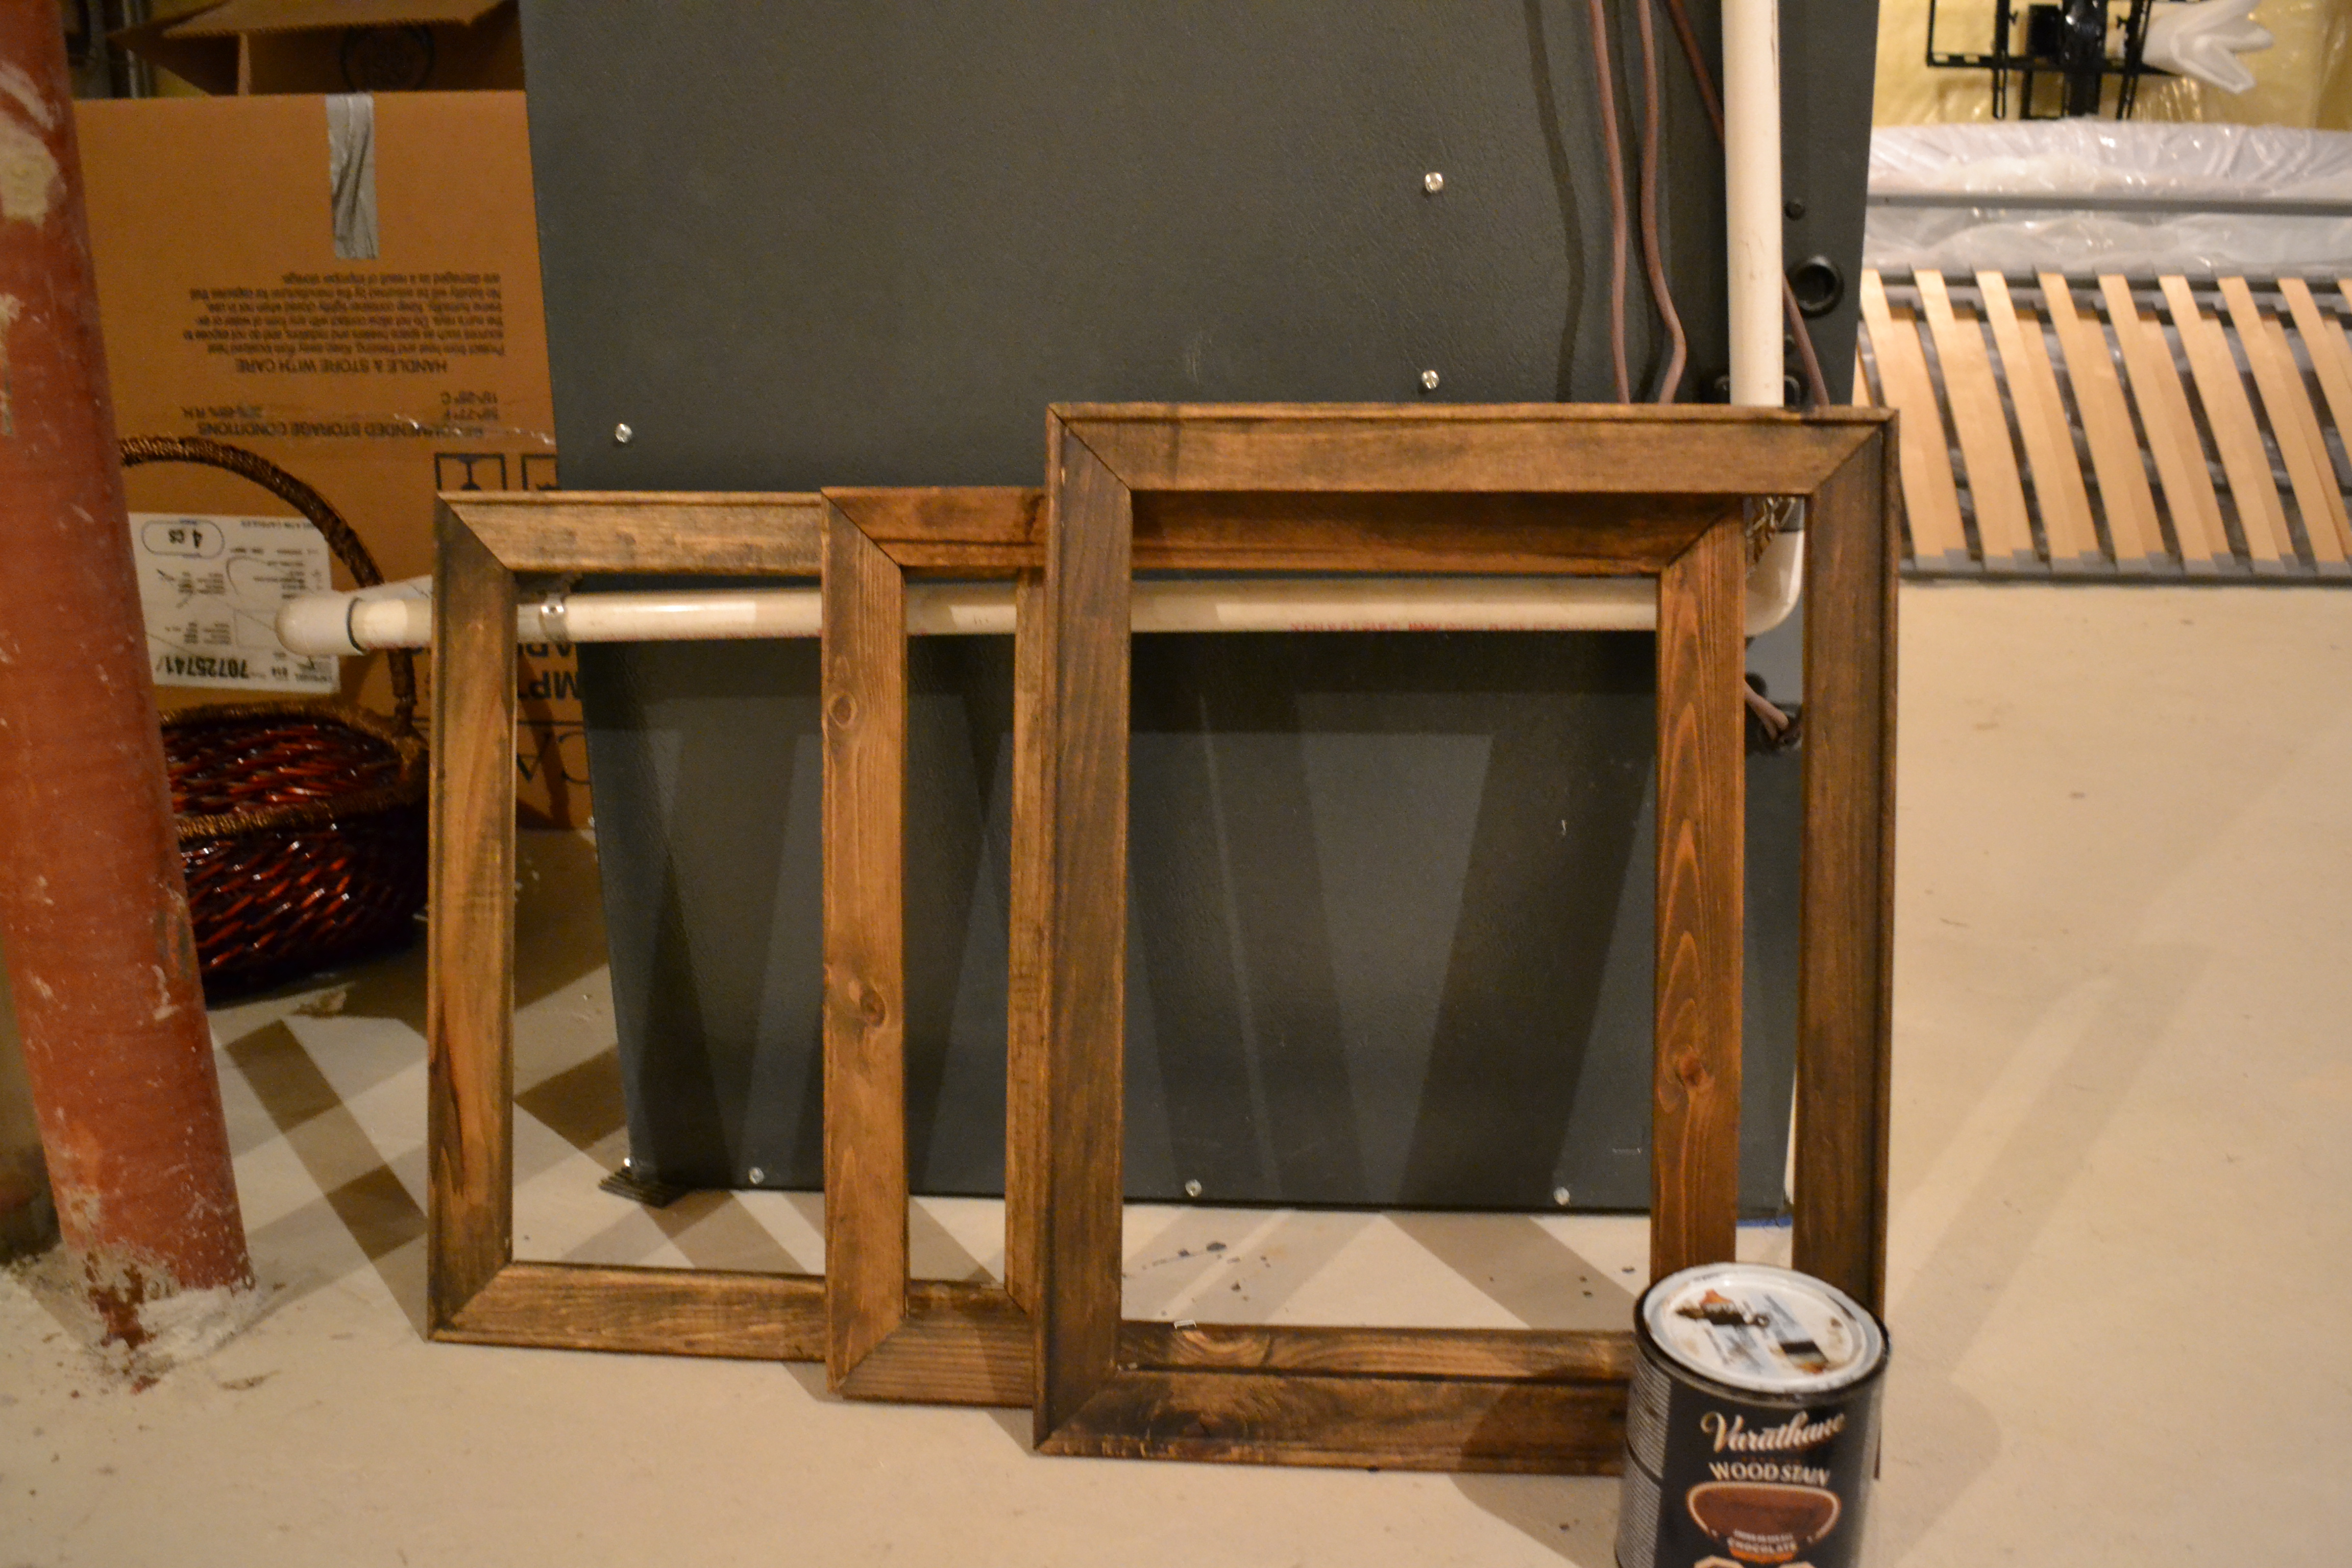
Next I stained the frames (3 in total) using Varathane Premium Stain in Chocolate – I had this lying around from another DIY that I had done in the summer. I love this stain, as it dries fast and the colour can be deepened by layering the stain. It also has that rustic colour that I was going for.
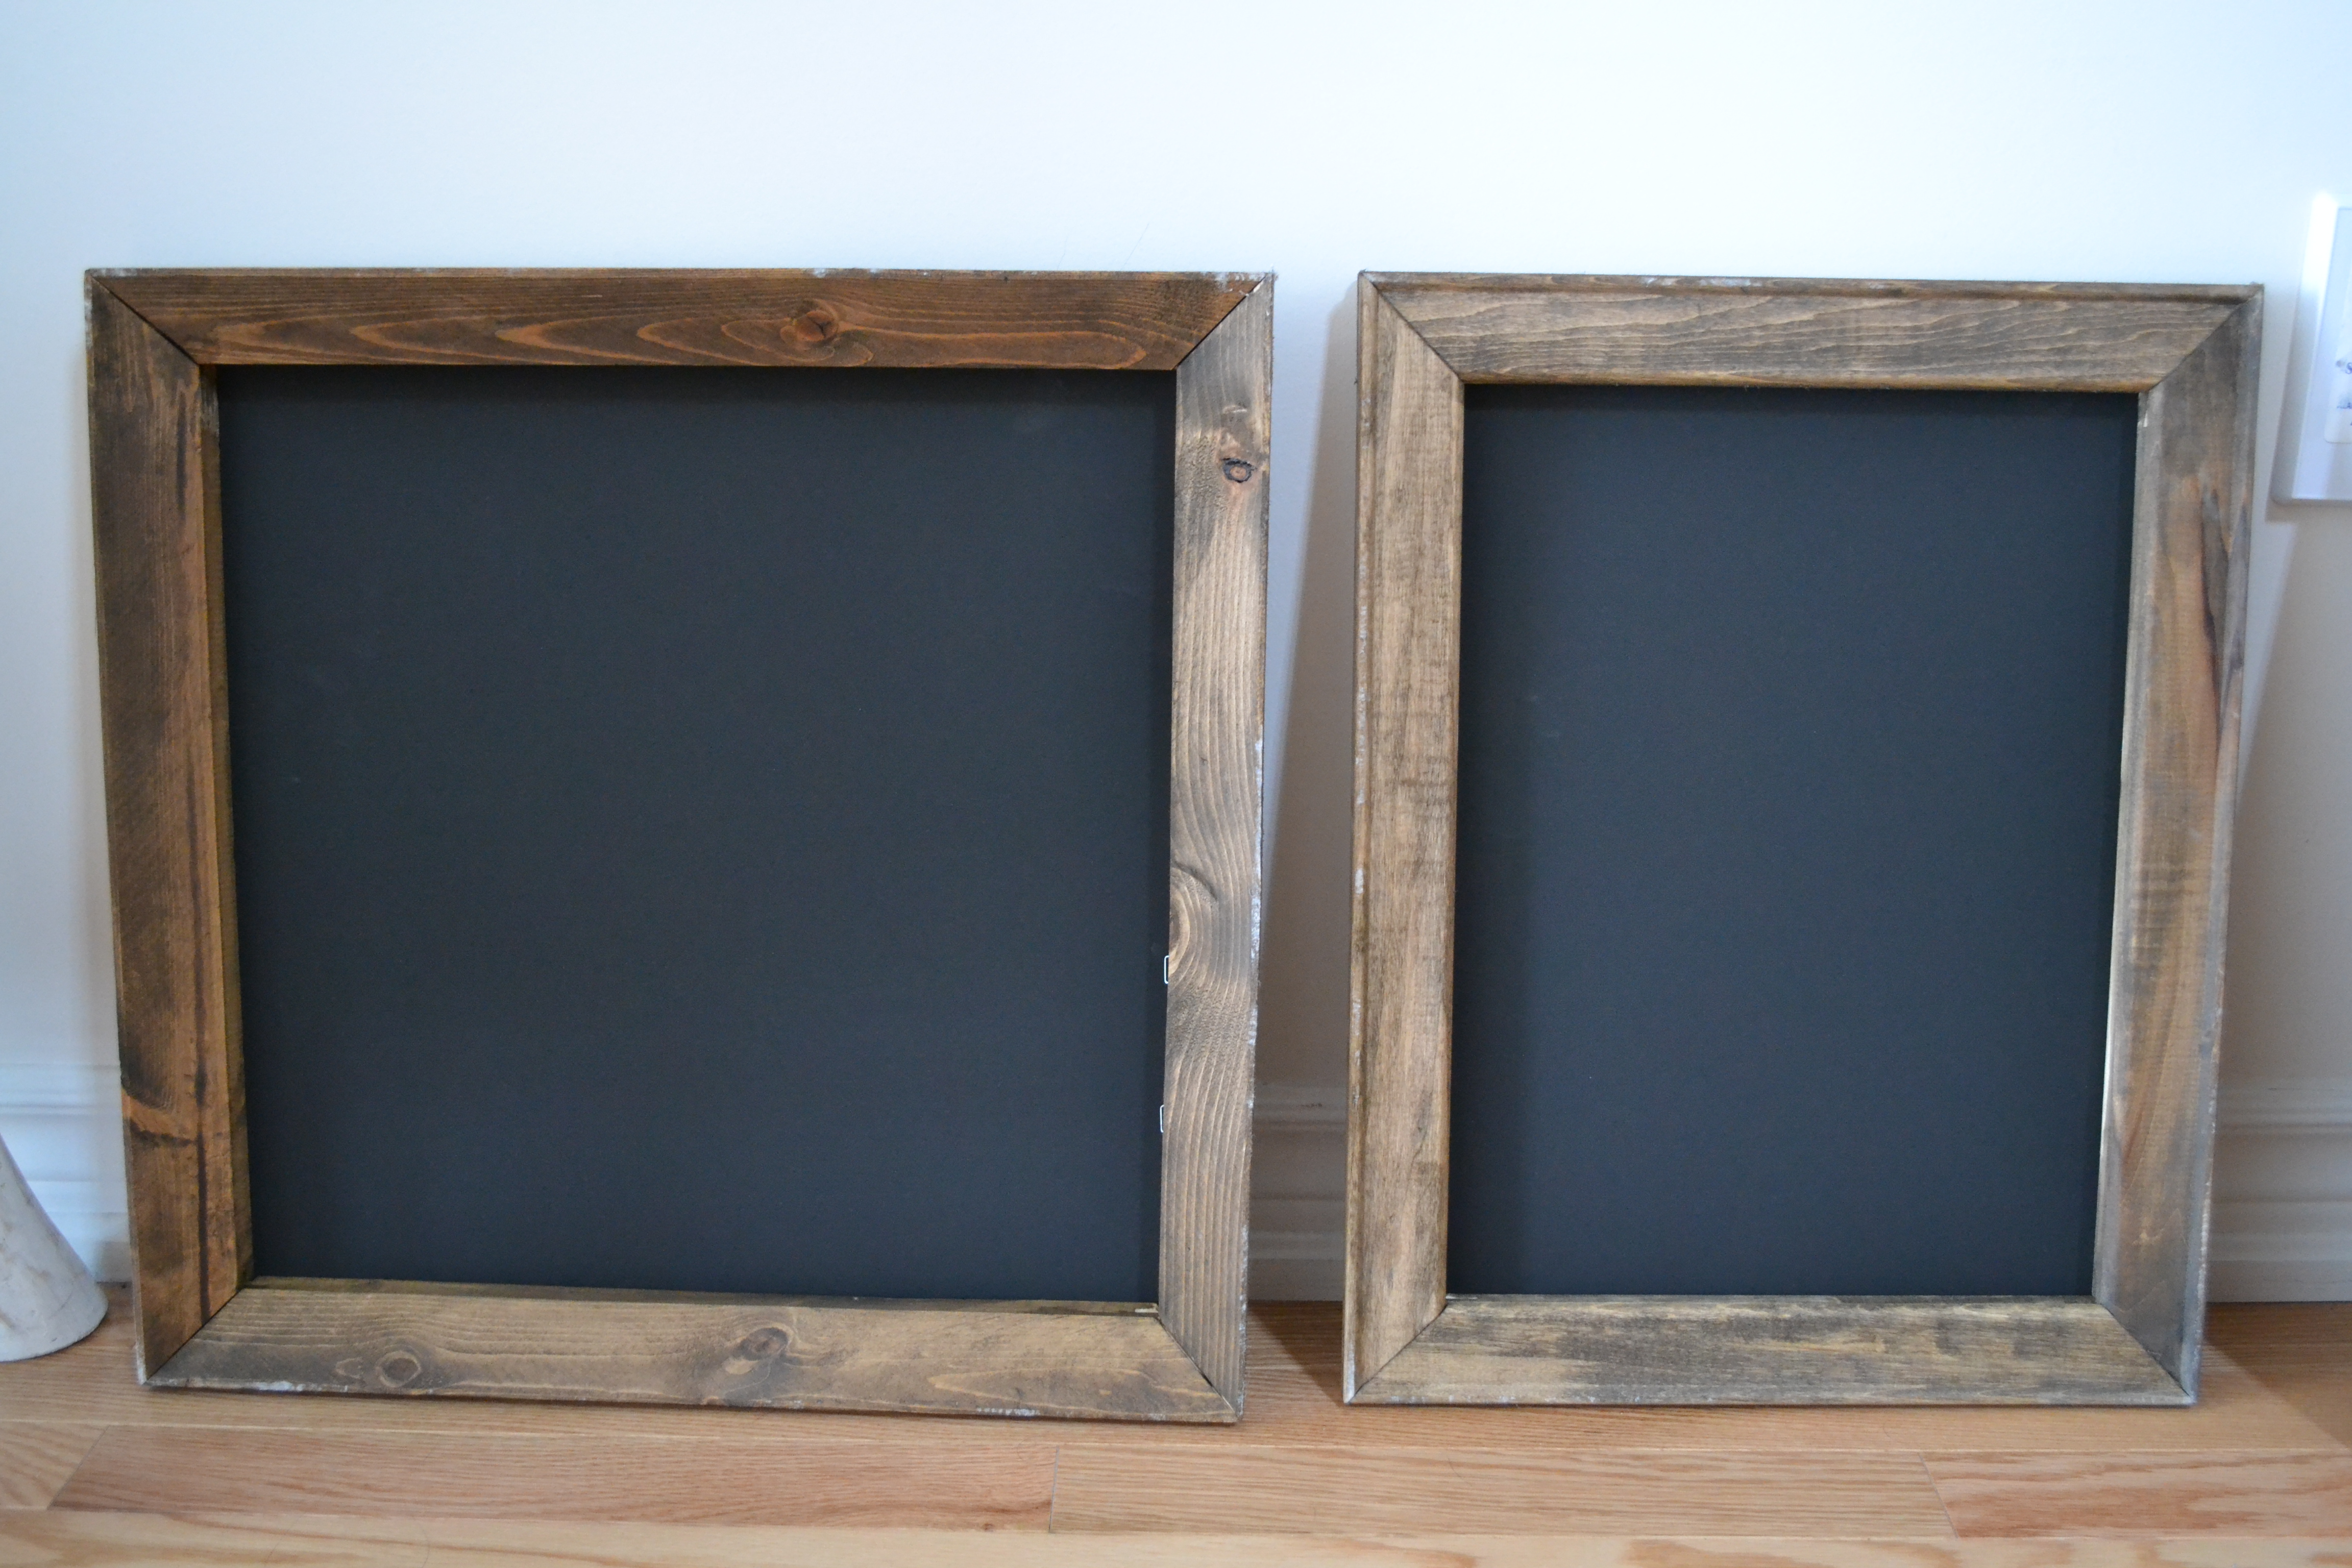
Next, on a different day, I made a trip to home depot, and in the lumber section, I purchased medium density fibre board. A nice gentleman at home depot cut the fibre board into sizes that fit the frames. Generally, I tended to keep the fibre board dimensions, an inch larger than the frame opening to allow for clean finishing. You can see the fibre boards below.. again in the basement, so the lighting wasn’t great.

Next I sprayed them with two coats of Rust-Oleum Chalk board paint. I wasn’t planning on using the finished product as a chalk board, any matte black paint will do. I just had this at hand, so used this.
Once the paint was dry, I nailed the painted fibre boards onto the frame using 3/4 inch finishing nails . These have a flat head, so once nailed in, they are barely visible. Again, I had these at hand from another DIY.
Next, I got busy with what I wanted my DIY Chalkboard Sign to say! Here is the fun part. You don’t need any fancy or expensive stencils or equipment for this. Only your laptop and Microsoft PowerPoint!
So here’s how to do this: open up PowerPoint. Type in whatever quote/saying you want into the slide. Then go to page setup ( on a mac this is under the Home Tab). This will let you format your slide to whatever dimensions you want. So if your frame opening is 14 by 12 inches, enter that in, in centimetres. The point of this step is so that you know how big your font should be when you print out the words on regular 8.5 by 11 paper. I had wanted to make a roman numeral anniversary sign inspired by Misty (check our her blog here!), so I did that with one of the frames.
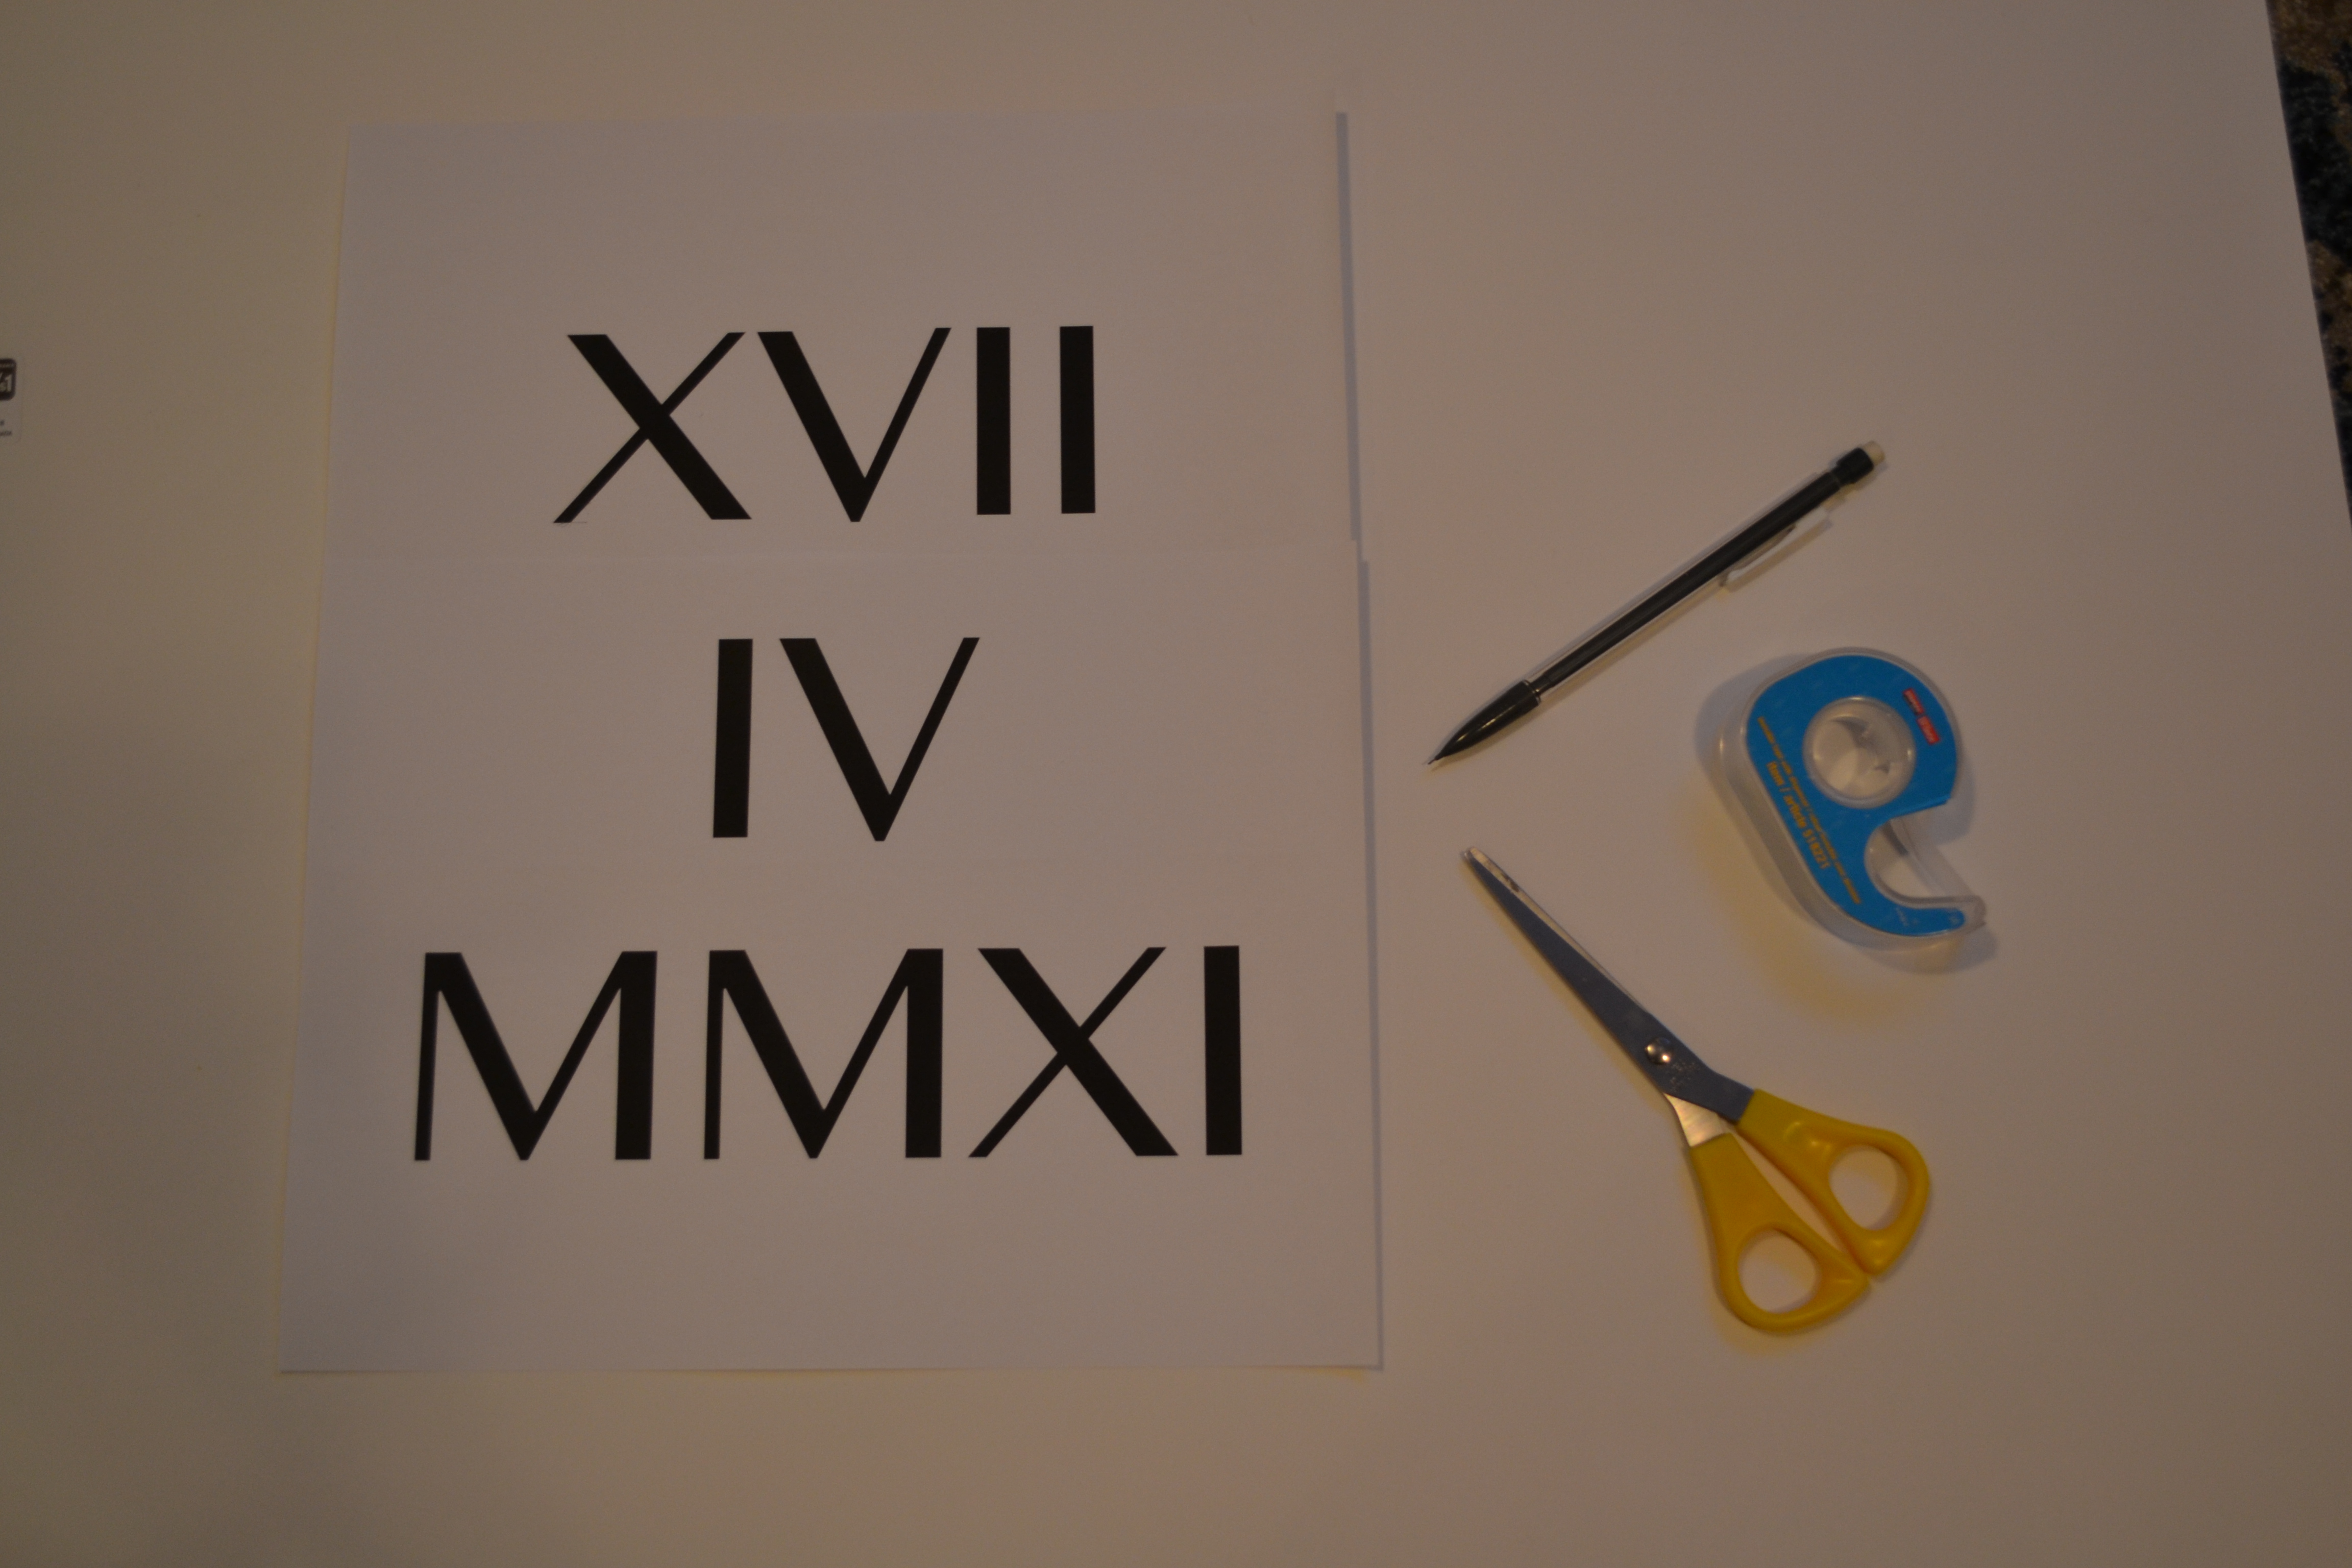
Once this is done, you can go to town with sign making. I downloaded some fun fonts here (autumn chant and moon flower for this project) and typed out my quotes to figure out how big I needed the font size to be. Then, I printed them out on one or two sheets of paper and placed them on my board and held them down with small pieces of tape.
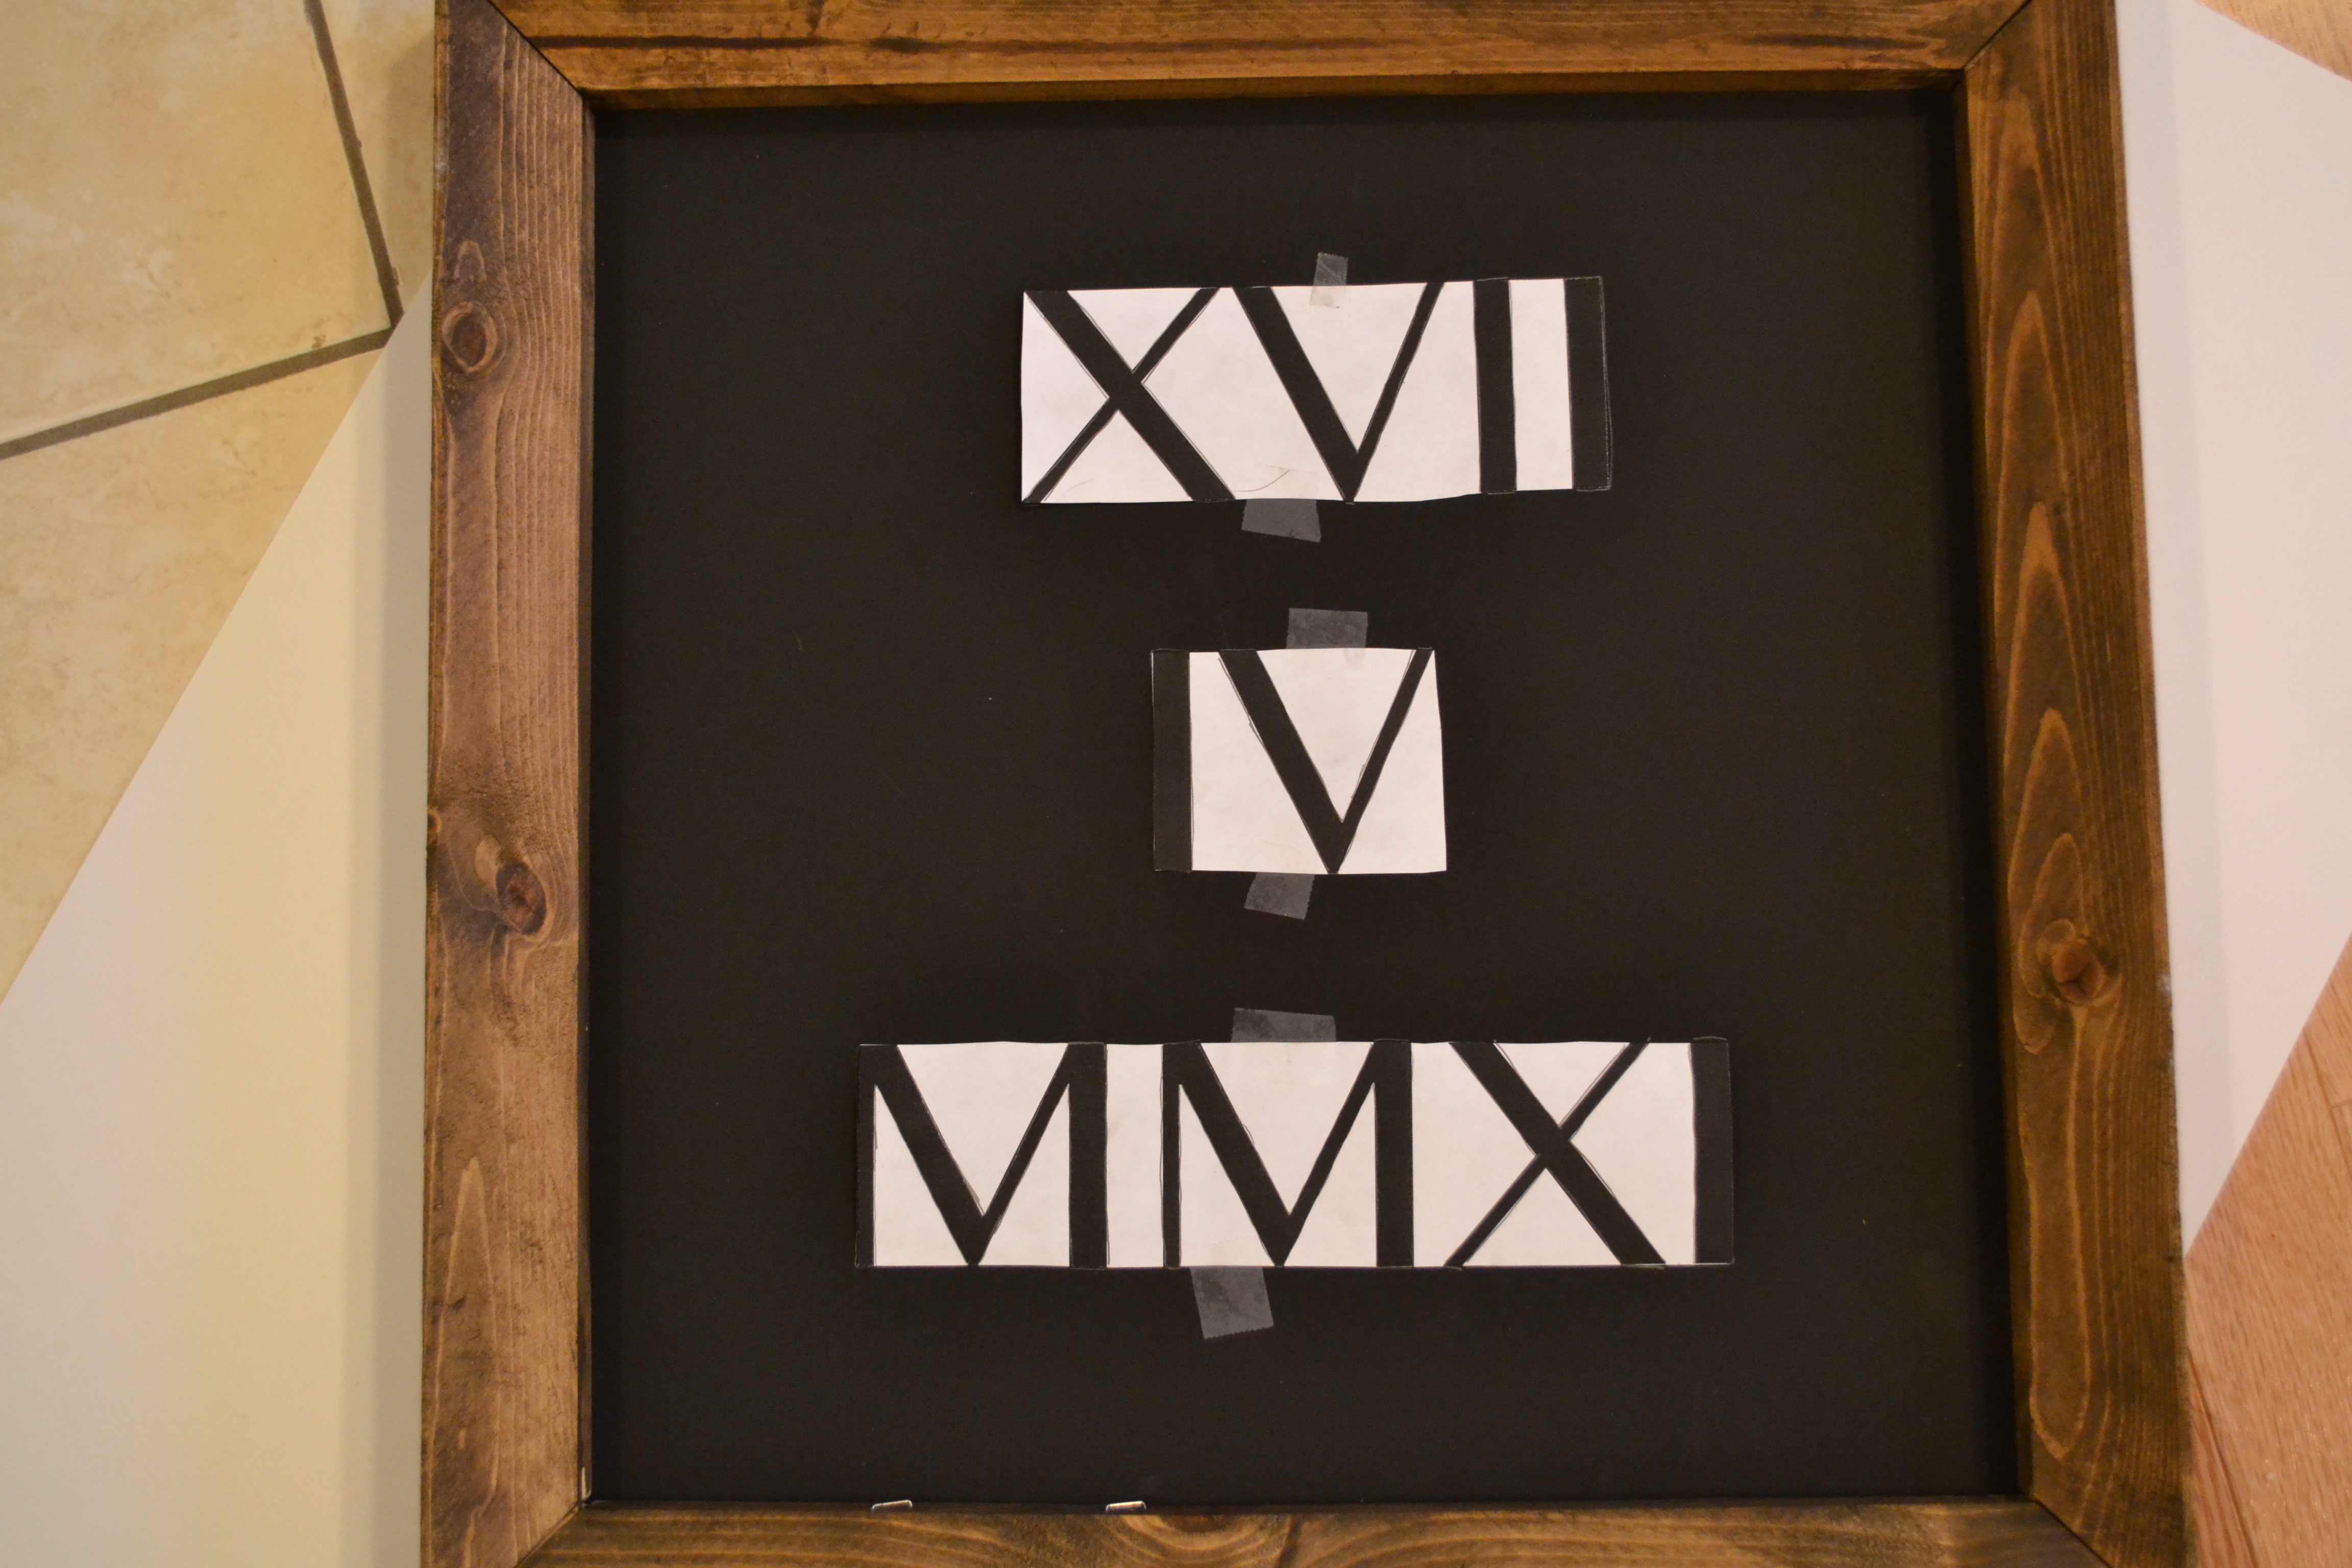
You can do this two ways – either use a blunt pencil to trace over the paper with a firm grip or use transfer paper. I had no transfer paper on hand and I hate waiting, so i went the lazy route and traced with a hard grip over the pages.
Once I had traced it, I lifted the paper a little bit to double-check whether I had transferred over the markings. Because this is a matte black paint, any scratches or indents show up quite prominently so be careful not to scratch the board in places you don’t want to be marked.
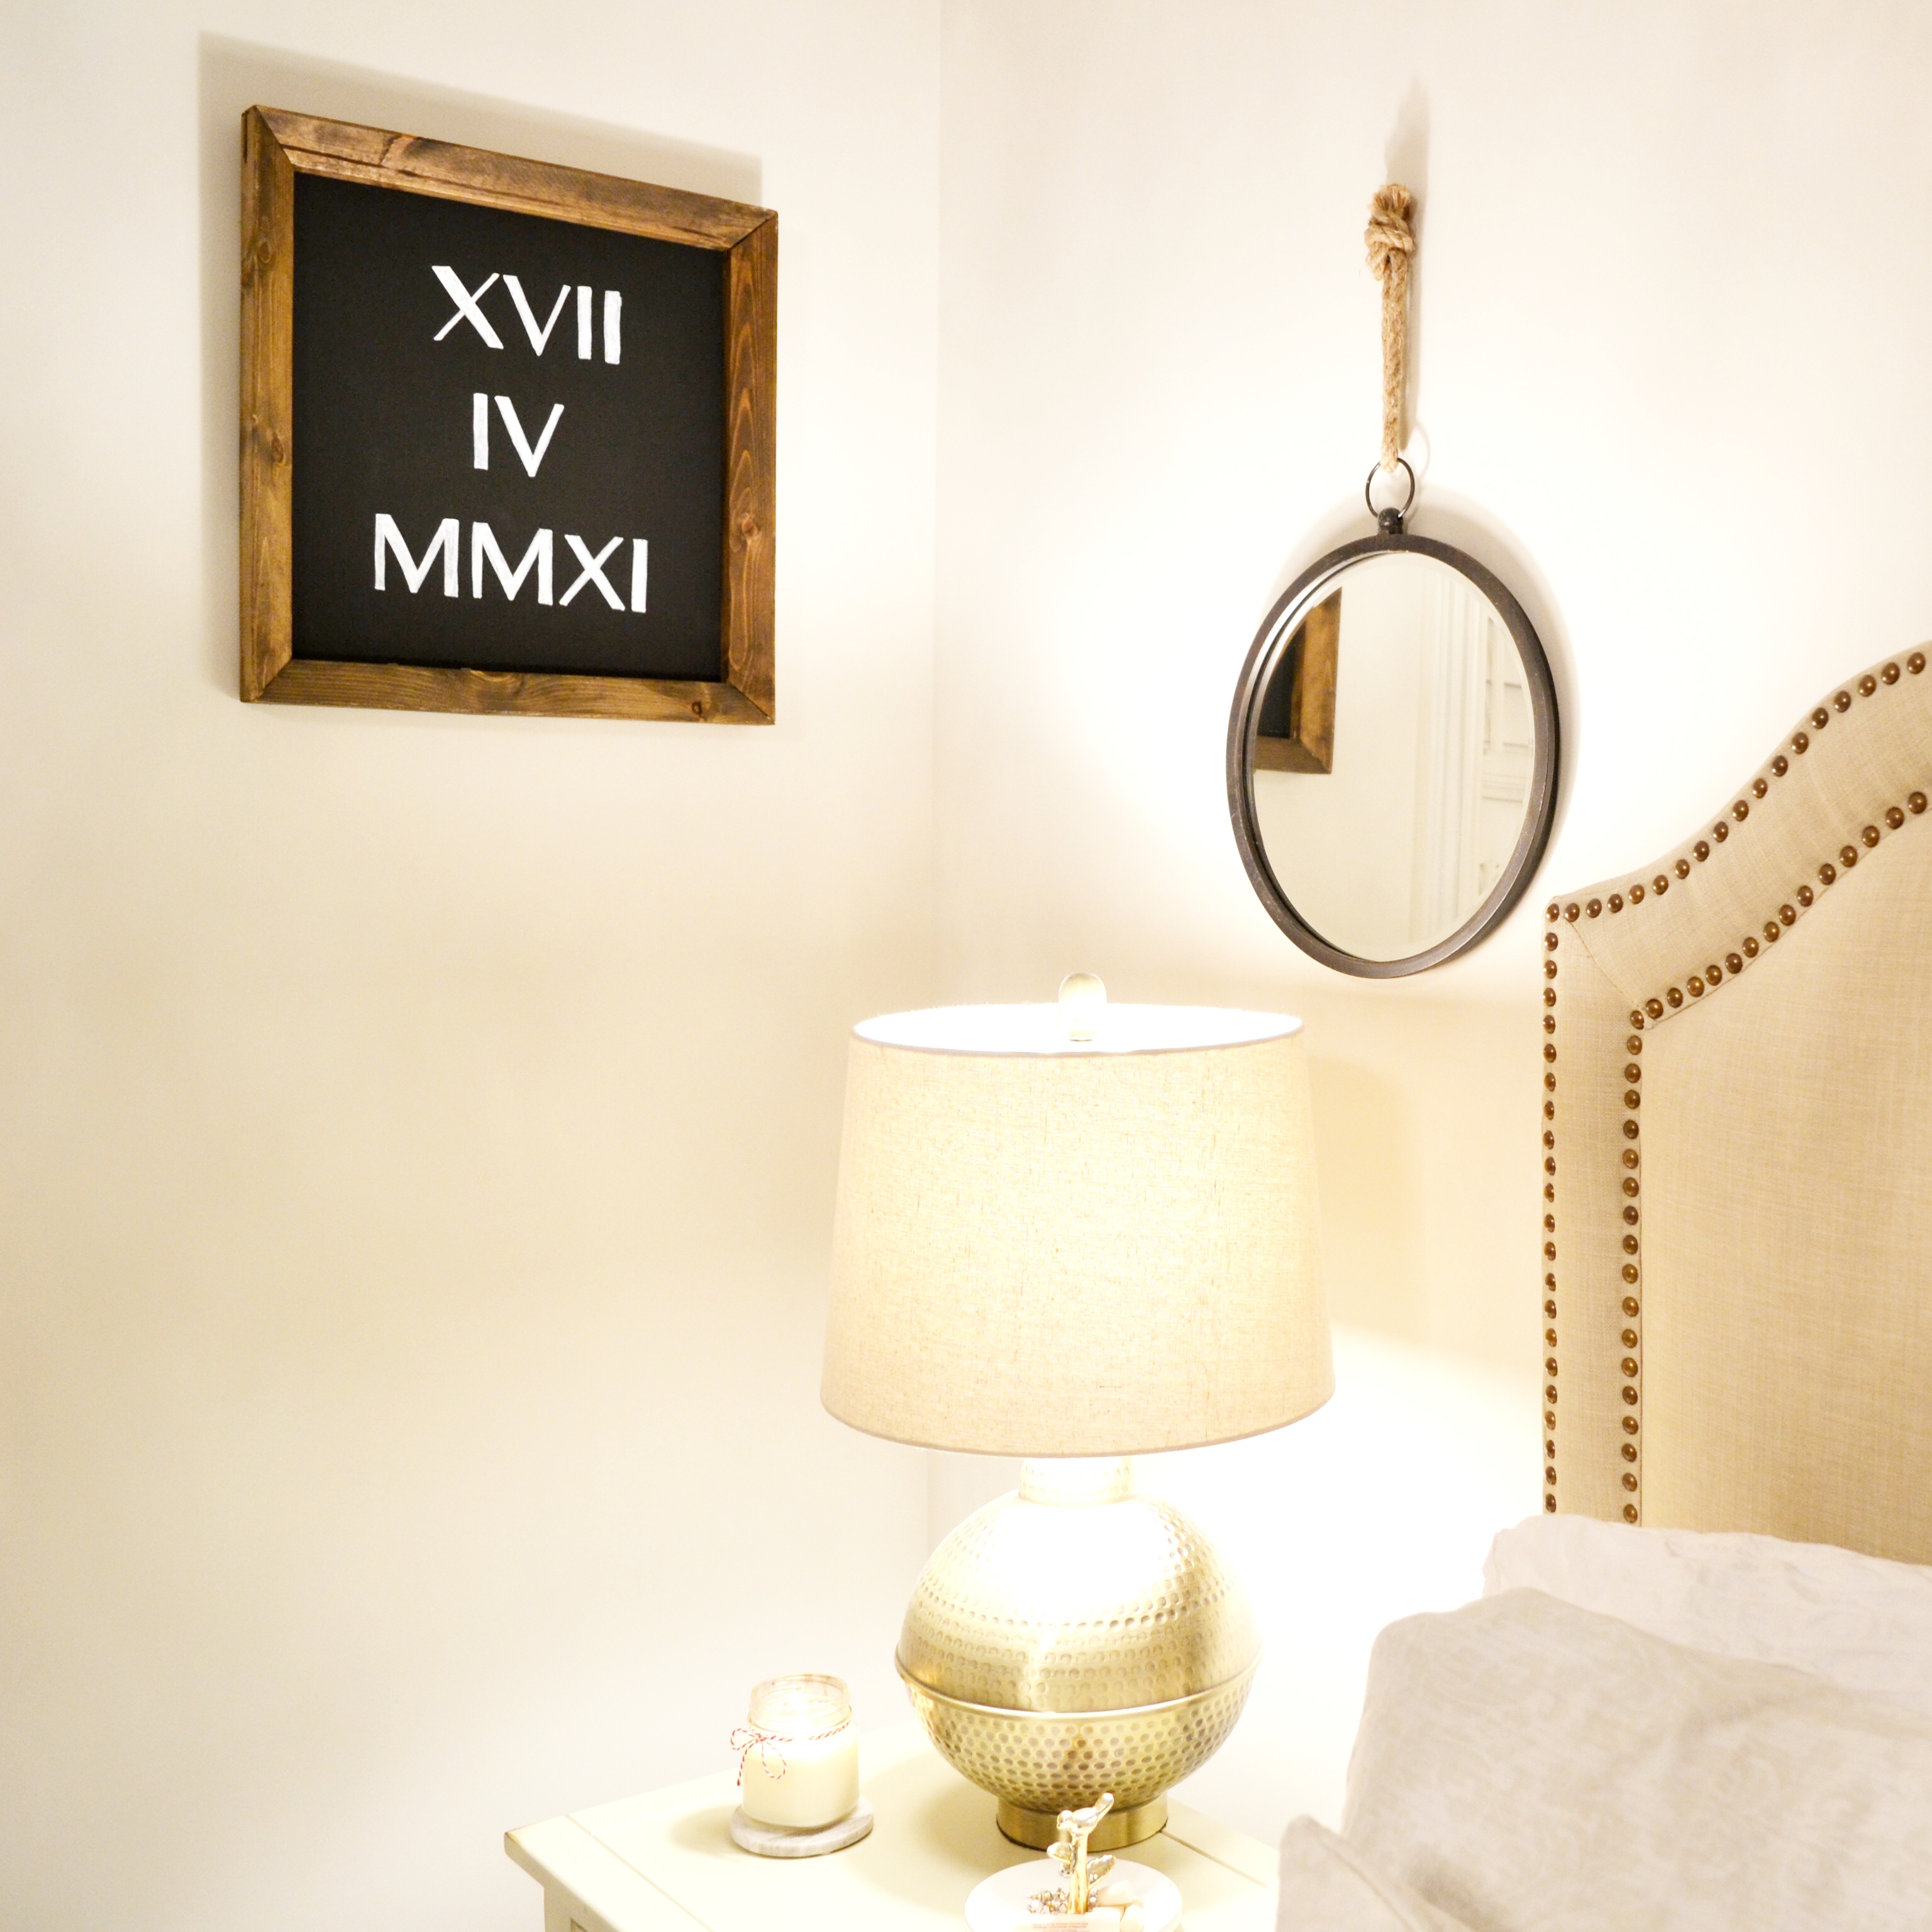
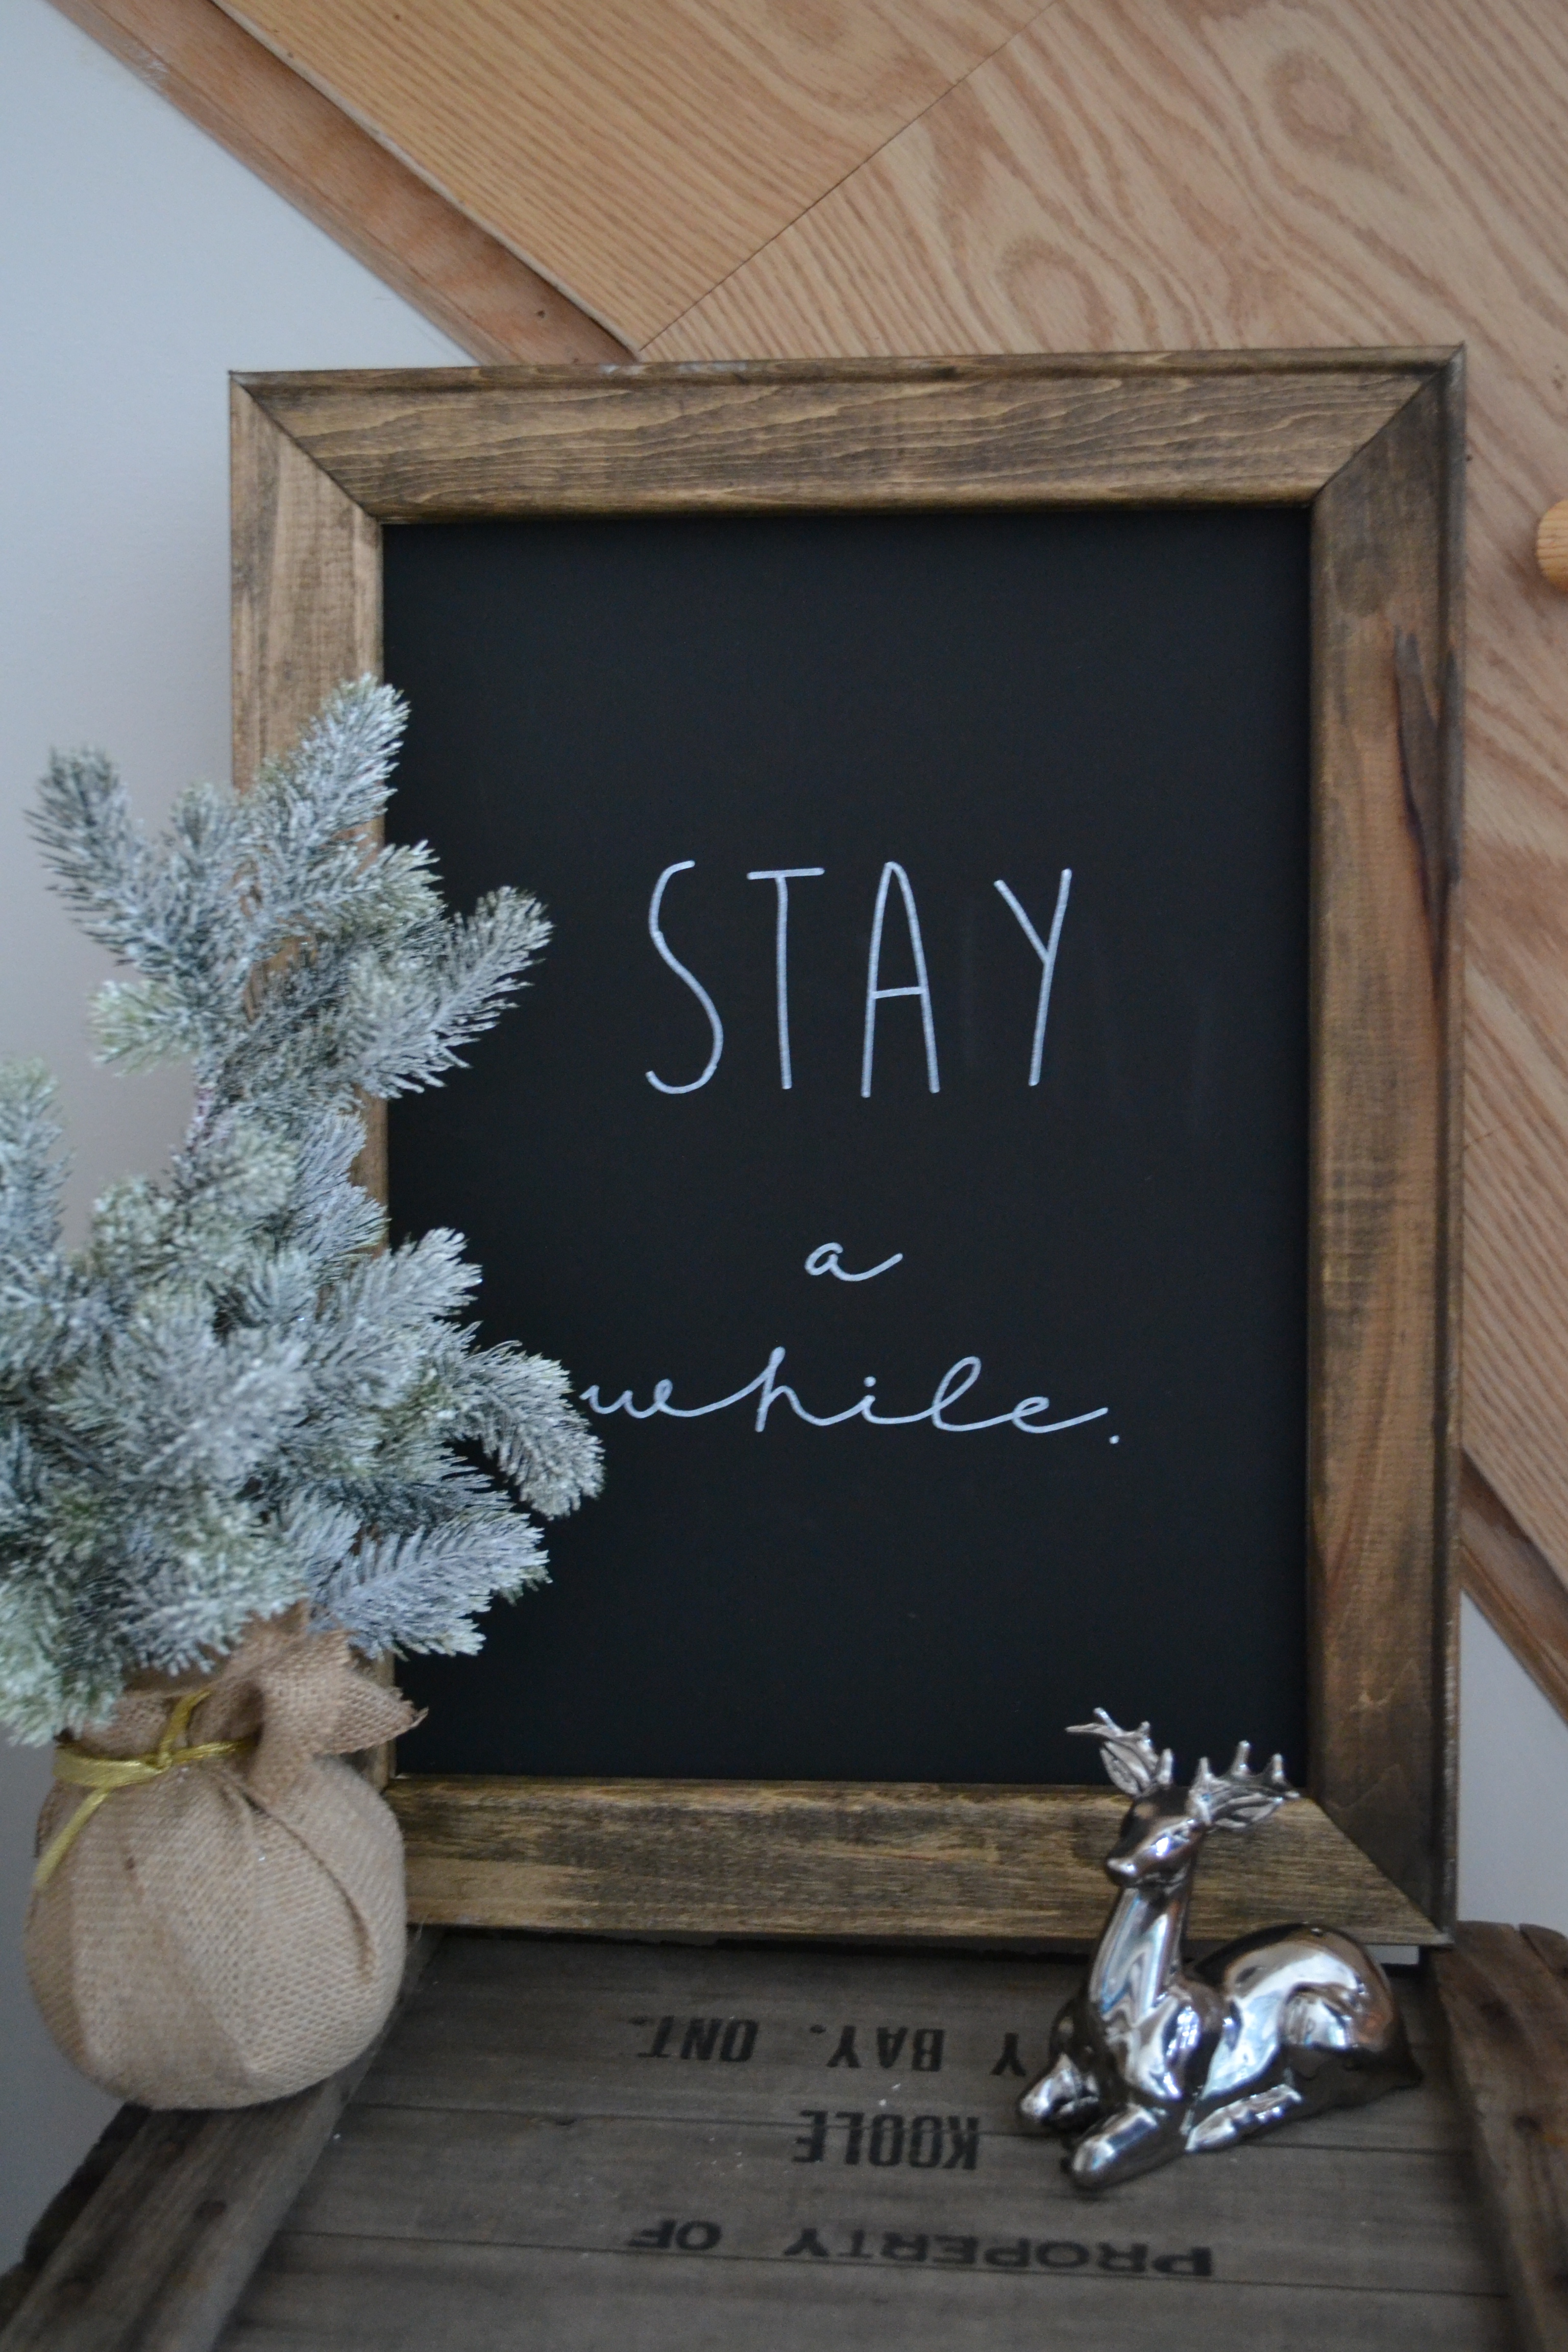
Next I used a S’well chalk ink pen in white to write over the traced copy and fill in the letters for this specific DIY Chalkboard Sign. You can get this pen in different colours if you like or use another chalk ink pen. For one of my signs (Today is a good day to have a good day), I seasoned my chalkboard, so I can erase off the sign when I want to change it up. That is totally up to you!
And that’s it… ! No fancy stencils, or machinery needed. Just your computer and printer and good old paper.
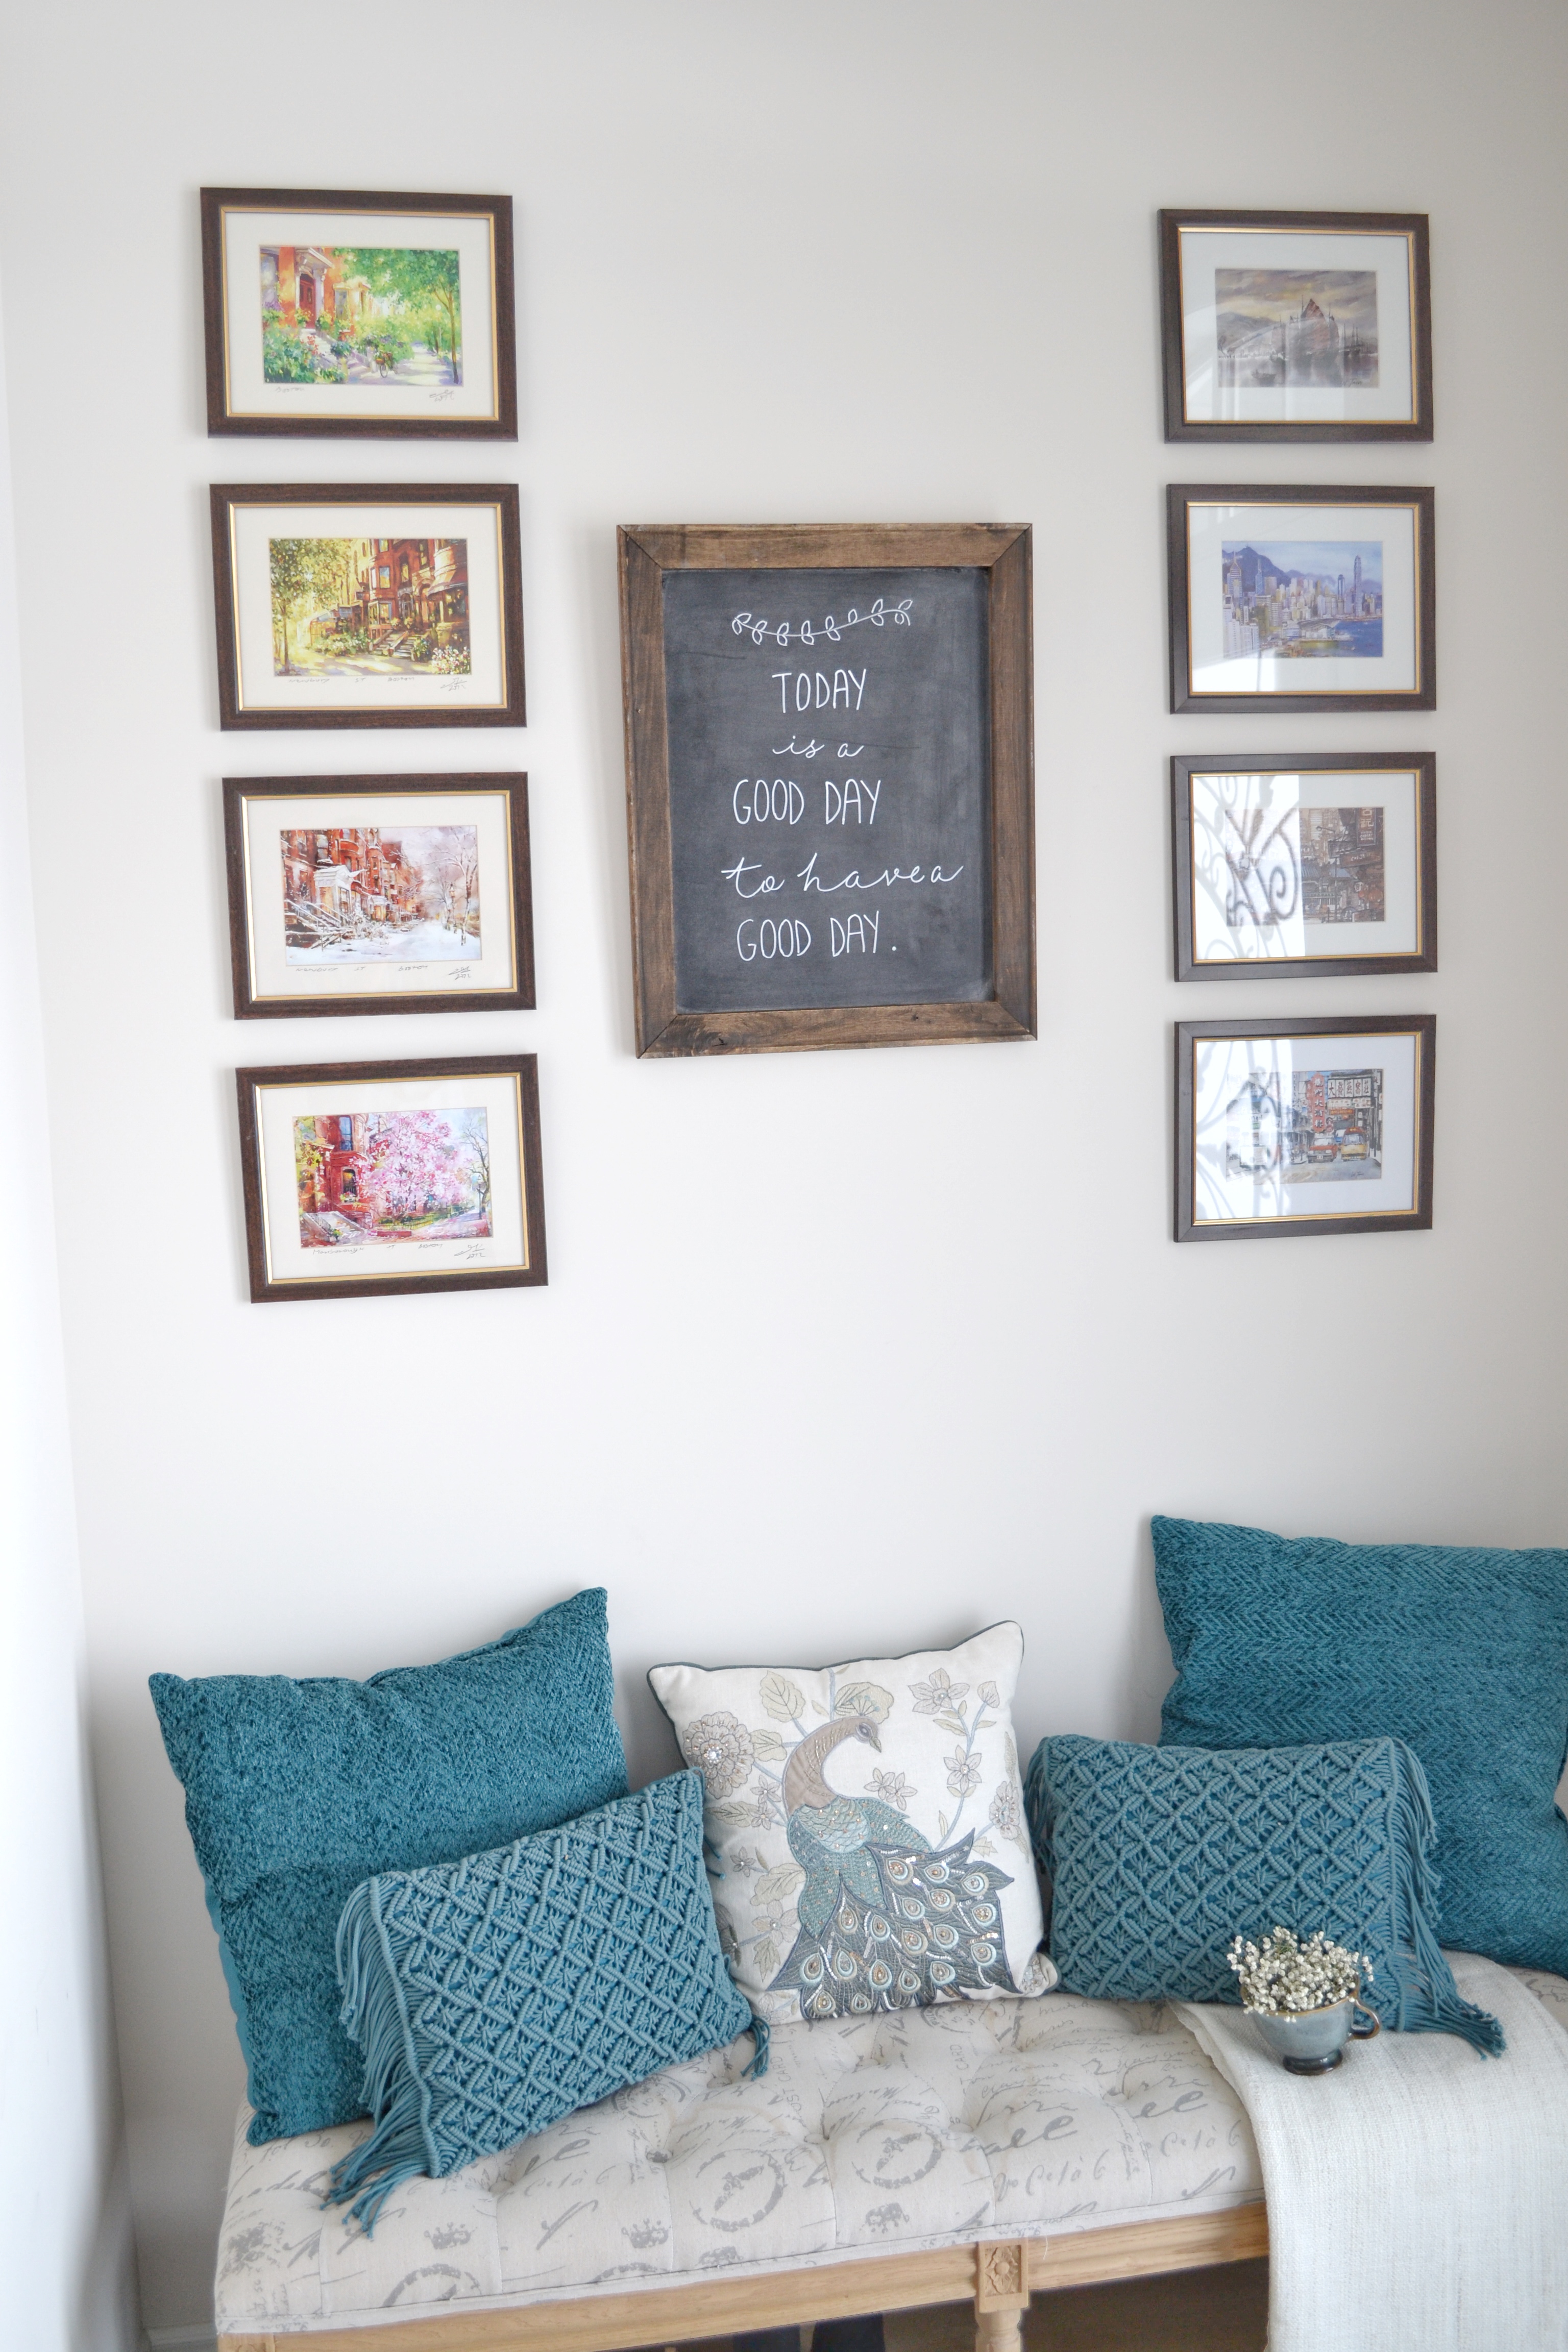
Here is how I styled my signs.
I think this whole DIY cost me $30 – for three signs, that’s pretty awesome if you ask me! But given that I had some supplies already at home (stain and nails), it is still a very reasonably priced DIY, as both the stain and nails can be used in many more future DIY’s.
I hope you liked this blog and the tips I shared and it inspires you to put up signs all over your house 😀
Until next time,
xoxo
Areeba

[…] place holder. Some of my favourite things here are my vintage crate from a farm in Ontario,, the DIY chalkboard and the pillow case is from Porter Lane […]